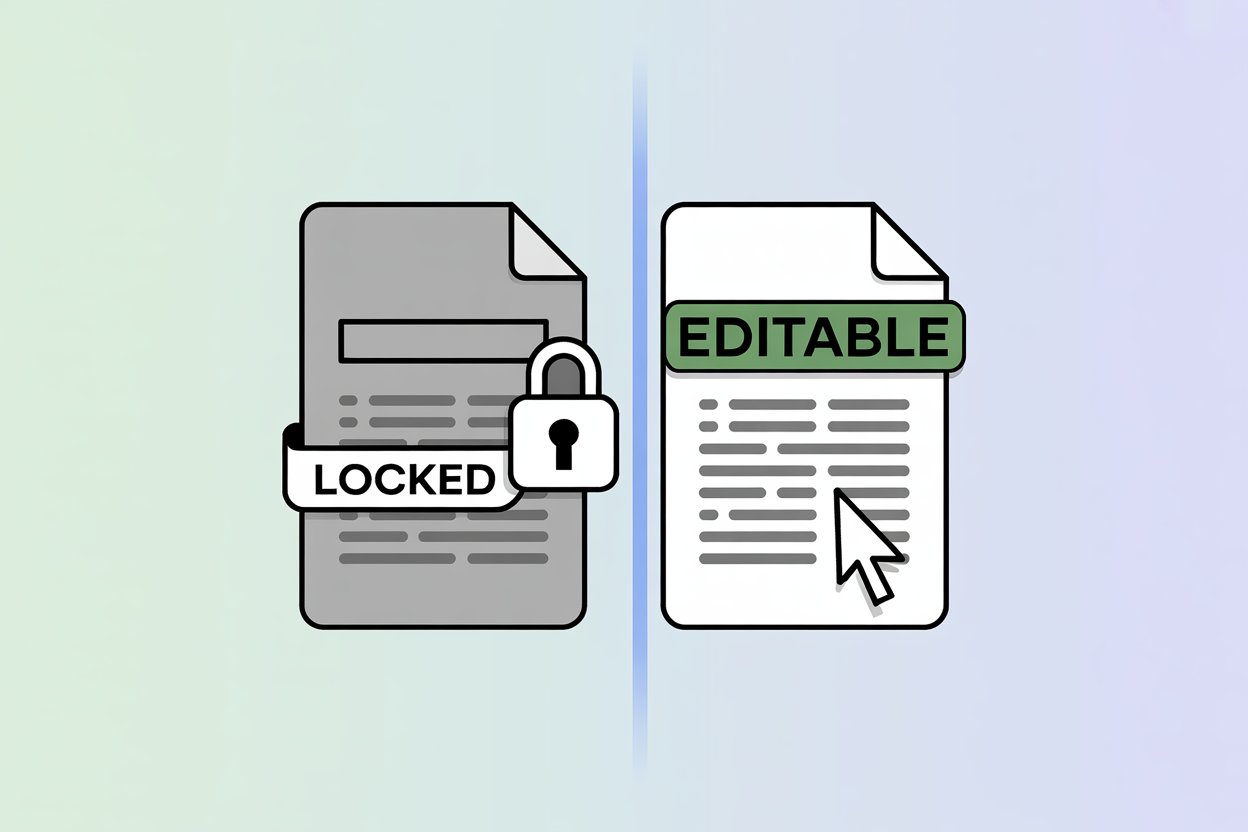

However tech-savvy you may (or may not) be, one thing is clear: We are making a fast and strong transition away from paper documents. Though the concept of cloud storage may seem recent, it’s actually built upon technologies that presented themselves over 70 years ago.
Since the inception of digital files, there have been many emerging methods of efficiently uploading them. Like, for instance, the Scanner App. Today, we’ll discuss the strengths, weaknesses, and most important information about each of the most common methods of uploading scanned documents to the cloud.
Why Many Are Moving to a Paperless Office
Before going into the intricacies of each scan-to-cloud method, we should discuss why this is becoming the leading method of storing and sharing information. Generally speaking, making the transition to a paperless lifestyle is highly beneficial. By minimizing the reliance on paper documents, you can significantly reduce physical clutter, save space, and lower costs associated with printing, storage, and document management. This shift also supports environmental sustainability by decreasing paper consumption and waste.
How Cloud Storage Enhances Efficiency and Organization
- Centralized Storage:
Cloud storage has a central place for all digital files so you don’t have to search through physical files. Saves you time in the long run. If you need to email that scan you made a month ago, it’s way easier to find it in the cloud than your phone storage or a USB stick. - Collaboration and Sharing: Cloud platforms allow multiple users to access, edit and share documents at the same time, no matter where they are.
- Automated Backup and Recovery: Cloud storage services have automated backup and recovery options so your important documents are safe from data loss due to hardware failure or any other unexpected events.
- Scalability: Cloud storage can scale to accommodate large amount of data, flexible storage options that can be adjusted according to your needs.
- Integration with Other Tools: Cloud storage can integrate with other business tools and applications, simplifies workflow and boosts overall productivity.
Method One: Traditional Scanning Methods
Traditional scanners are reliable tools for converting paper documents into digital formats. They come in various types, including flatbed scanners, sheet-fed scanners, and handheld scanners. The process involves placing the document on the scanner bed or feeding it through the scanner, which then captures a digital image of the document. This digital file can be saved in many formats, such as PDF, JPEG, or TIFF, depending on the intended use. While we encourage you to try scanning documents with your iPhone, sometimes you have to resort to a physical scanner so here’s the guide.
How To Upload Scanned Documents Using Traditional Methods:
Once documents are digitized using traditional scanners, the next step is to upload them to cloud storage for easy access and organization. Here’s how you can do it on the two most popular cloud service platforms:
Google Drive
- Save the scanned document on your computer.
- Open Google Drive in your web browser or app.
- Click on the “New” button and select “File upload.”
- Choose the scanned document from your computer and upload it.
- You can also drag and drop the file directly into the Google Drive interface.
iCloud
- Save the scanned document on your computer.
- Open the iCloud Drive folder on your computer or access iCloud Drive via the web.
- Drag and drop the scanned document into the iCloud Drive folder.
- The document will automatically sync across all your iCloud-enabled devices.
Strengths and Weaknesses of Traditional Scanning Methods
One thing that is fairly consistent across traditional scanners is that they provide high-resolution. If you have a detailed document, this will likely catch small things. Likewise, you can upload documents in various formats, not just PDFs. Some traditional scanners can also handle multiple pages at one time, which is great for scanning in bulk.
However, the process of using traditional methods to scan documents can be incredibly tedious. Scanning documents with traditional scanners involves multiple steps: scanning, saving, and then manually uploading to cloud services. It takes quite a bit of time for the user to complete the task.
Traditional scanners are also quite large and thus can’t be moved or taken on the go. Plus, if you aren’t savvy with equipment, the process of setting them up can be annoyingly complex.
Method Two: Adobe Scan
One of the most popular scanner apps on the market is Adobe Scan, and for good reason. This cloud document scanner is from a well-known company that offers many professional tools for its usage. Perhaps the best part of the app’s appeal is that those tools can be easily integrated into this scanner.
How To Upload Scanned Documents Using Adobe Scan
First, download and install the application. Open Adobe Scan and sign in using your Adobe ID. If you don’t have an Adobe account, create one by following the on-screen instructions. Position your document within the frame. Adobe Scan will automatically find the document’s edges and take the image.
After scanning, Adobe Scan allows you to edit the document. You can crop, rotate, and adjust the color settings to improve the clarity of the scan. The OCR feature recognizes text within the scanned document for easy editing and searching.
After saving the PDF, tap the share icon (an upward arrow or three dots). Select “Share a copy” and choose your preferred cloud storage service.
Strengths and Weaknesses of Adobe Scan
The top benefit of Adobe Scan is that it has powerful software and advanced recognition. Not only this but a slew of professional-grade features that can take your experience to a much more sophisticated level.
However, this versatility and ability come with a high price point. This isn’t an app for the casual user, and it can only be accessed (even in its free capacity) if the user has an Adobe account. Plus, it can be a bit resource-intensive. If you have an older device, it may not support its capabilities.
Method Three: CamScanner
Another widely used scanner application, CamScanner, has been around for quite some time. However, it is a bit antiquated compared to other options on the market, particularly due to privacy concerns.
How to Upload Scanned Documents Using CamScanner
Unsurprisingly, this process is quite similar to that of Adobe Scan. First, download and install the CamScanner application. Open the app and sign in with your account. If you don’t have an account, you can create one within the app.
Next, position your document within the frame and use the camera to capture the image. CamScanner will automatically detect the edges of the document and capture a clear scan.
Once your document is ready, save it in your preferred format. Tap the share icon (an upward arrow or share symbol). Select your favorite cloud storage service from the sharing options. Follow the instructions to upload the documents.
Strengths and Weaknesses of CamScanner
CamScanner’s main strengths lie in its OCR capabilities and support for multiple cloud services. These make it a flexible and powerful tool for users who need to digitize documents and upload them to various platforms. Its batch-scanning feature is also useful for handling multiple pages at once.
However, CamScanner also has its drawbacks. The free version is limited and comes with frequent ads, which can make the user experience much more agitating. Privacy and data security concerns have been raised in the past, making sensitive documents less appealing. Plus, many of its advanced features are locked behind a subscription, making it less accessible for casual users.
Method Four: The Scanner App
Finally, our fourth and favorite method is the Scanner App. This application has many advanced features that stand out. If you’re in a dark room, for instance, the app informs you of where to find light. It also has fantastic color correction and a strong ease of use that makes it accessible even for less experienced users.
How to Upload Scanned Documents Using Scanner App
In a not-so-surprising twist, your first step will be downloading the Scanner App and installing it.
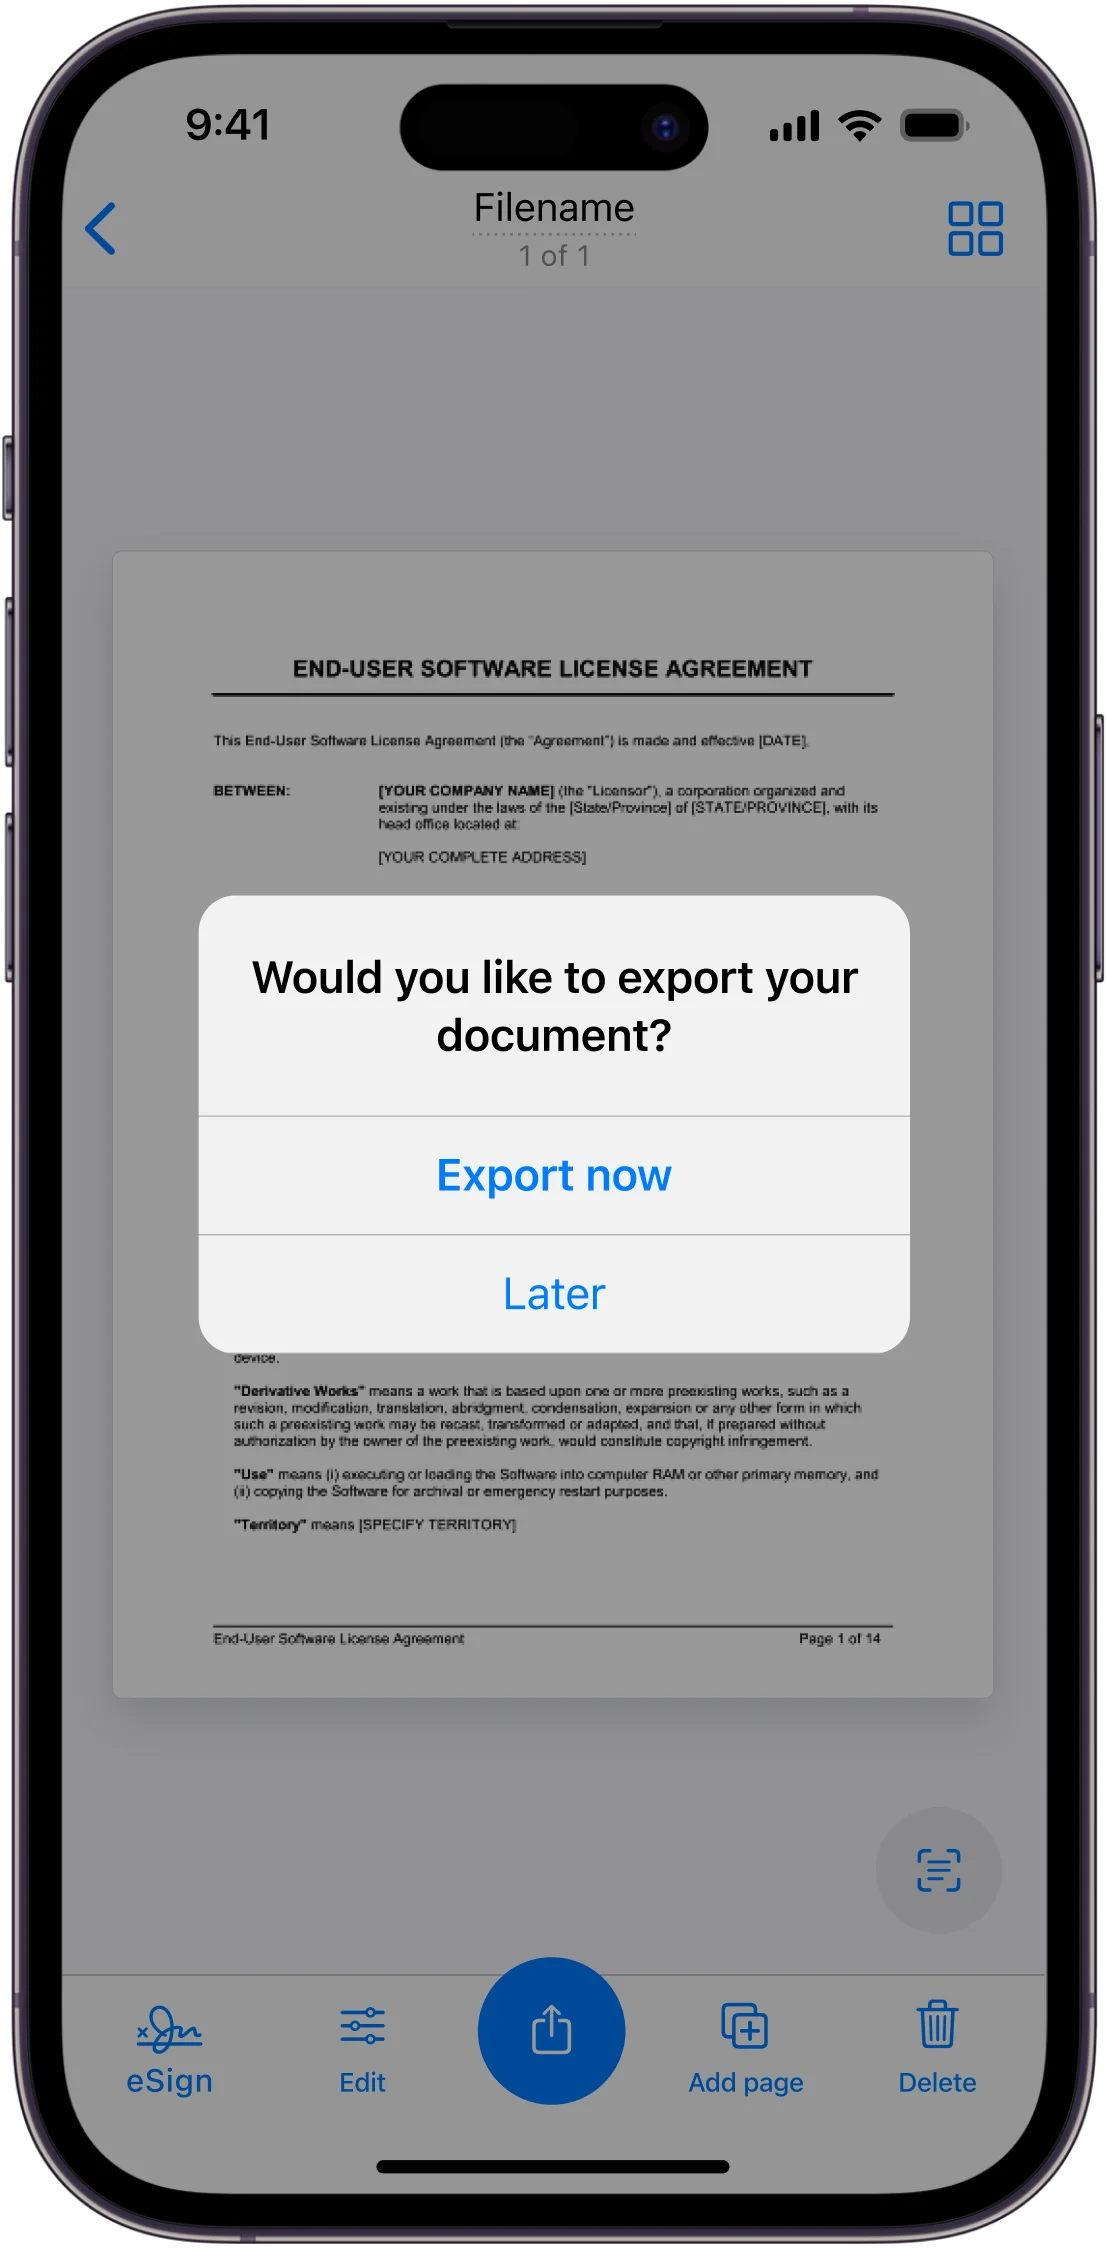
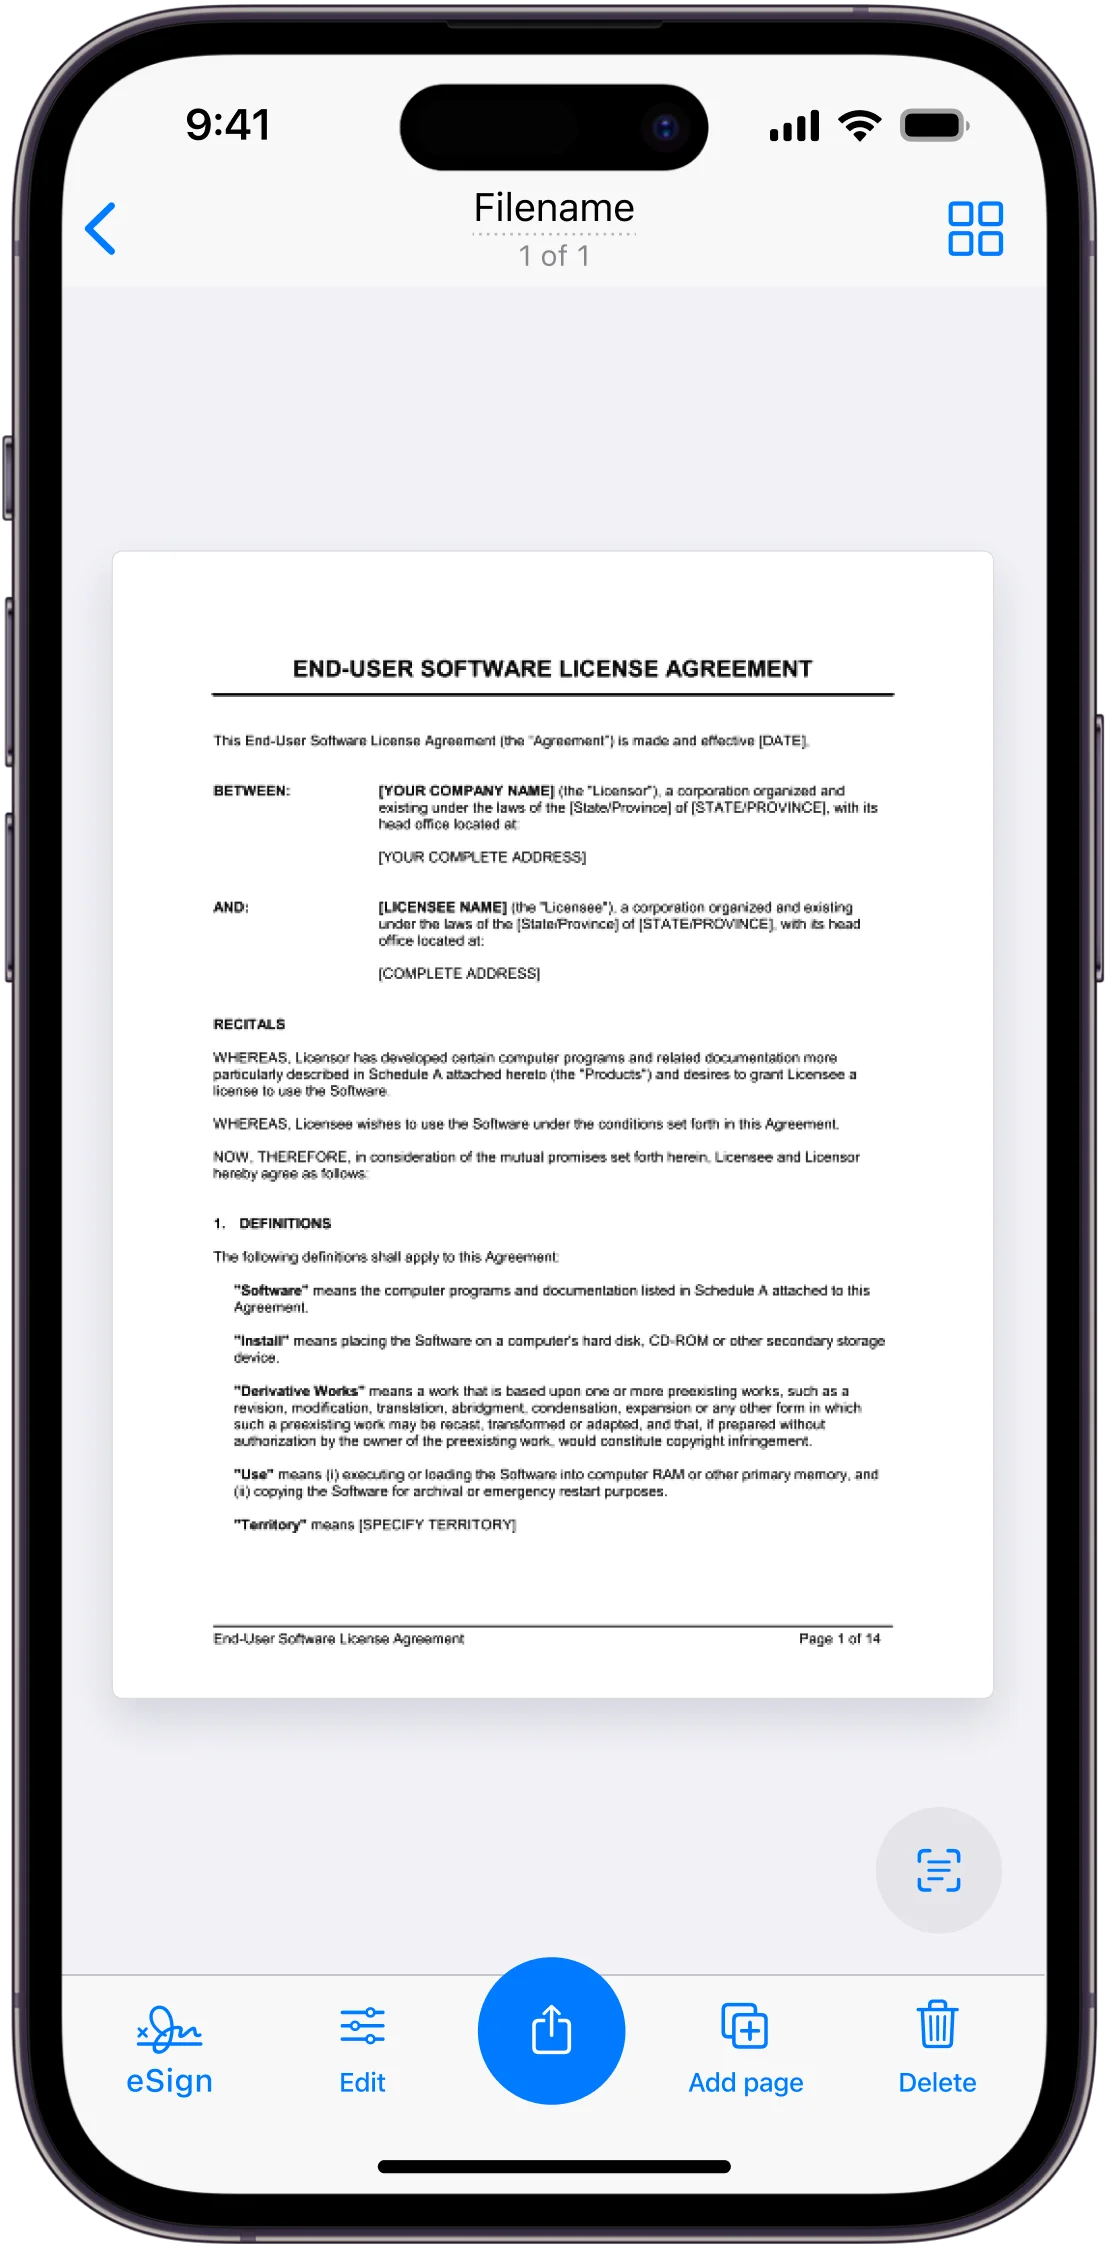
Position your document within the frame and use the camera to capture the image. The app will automatically detect the edges of the document and capture a clear, high-quality scan. After scanning, you can edit the document by cropping, rotating, and adjusting the color settings. The app’s built-in OCR feature can recognize both printed and handwritten text, making it easy to edit and search your documents.
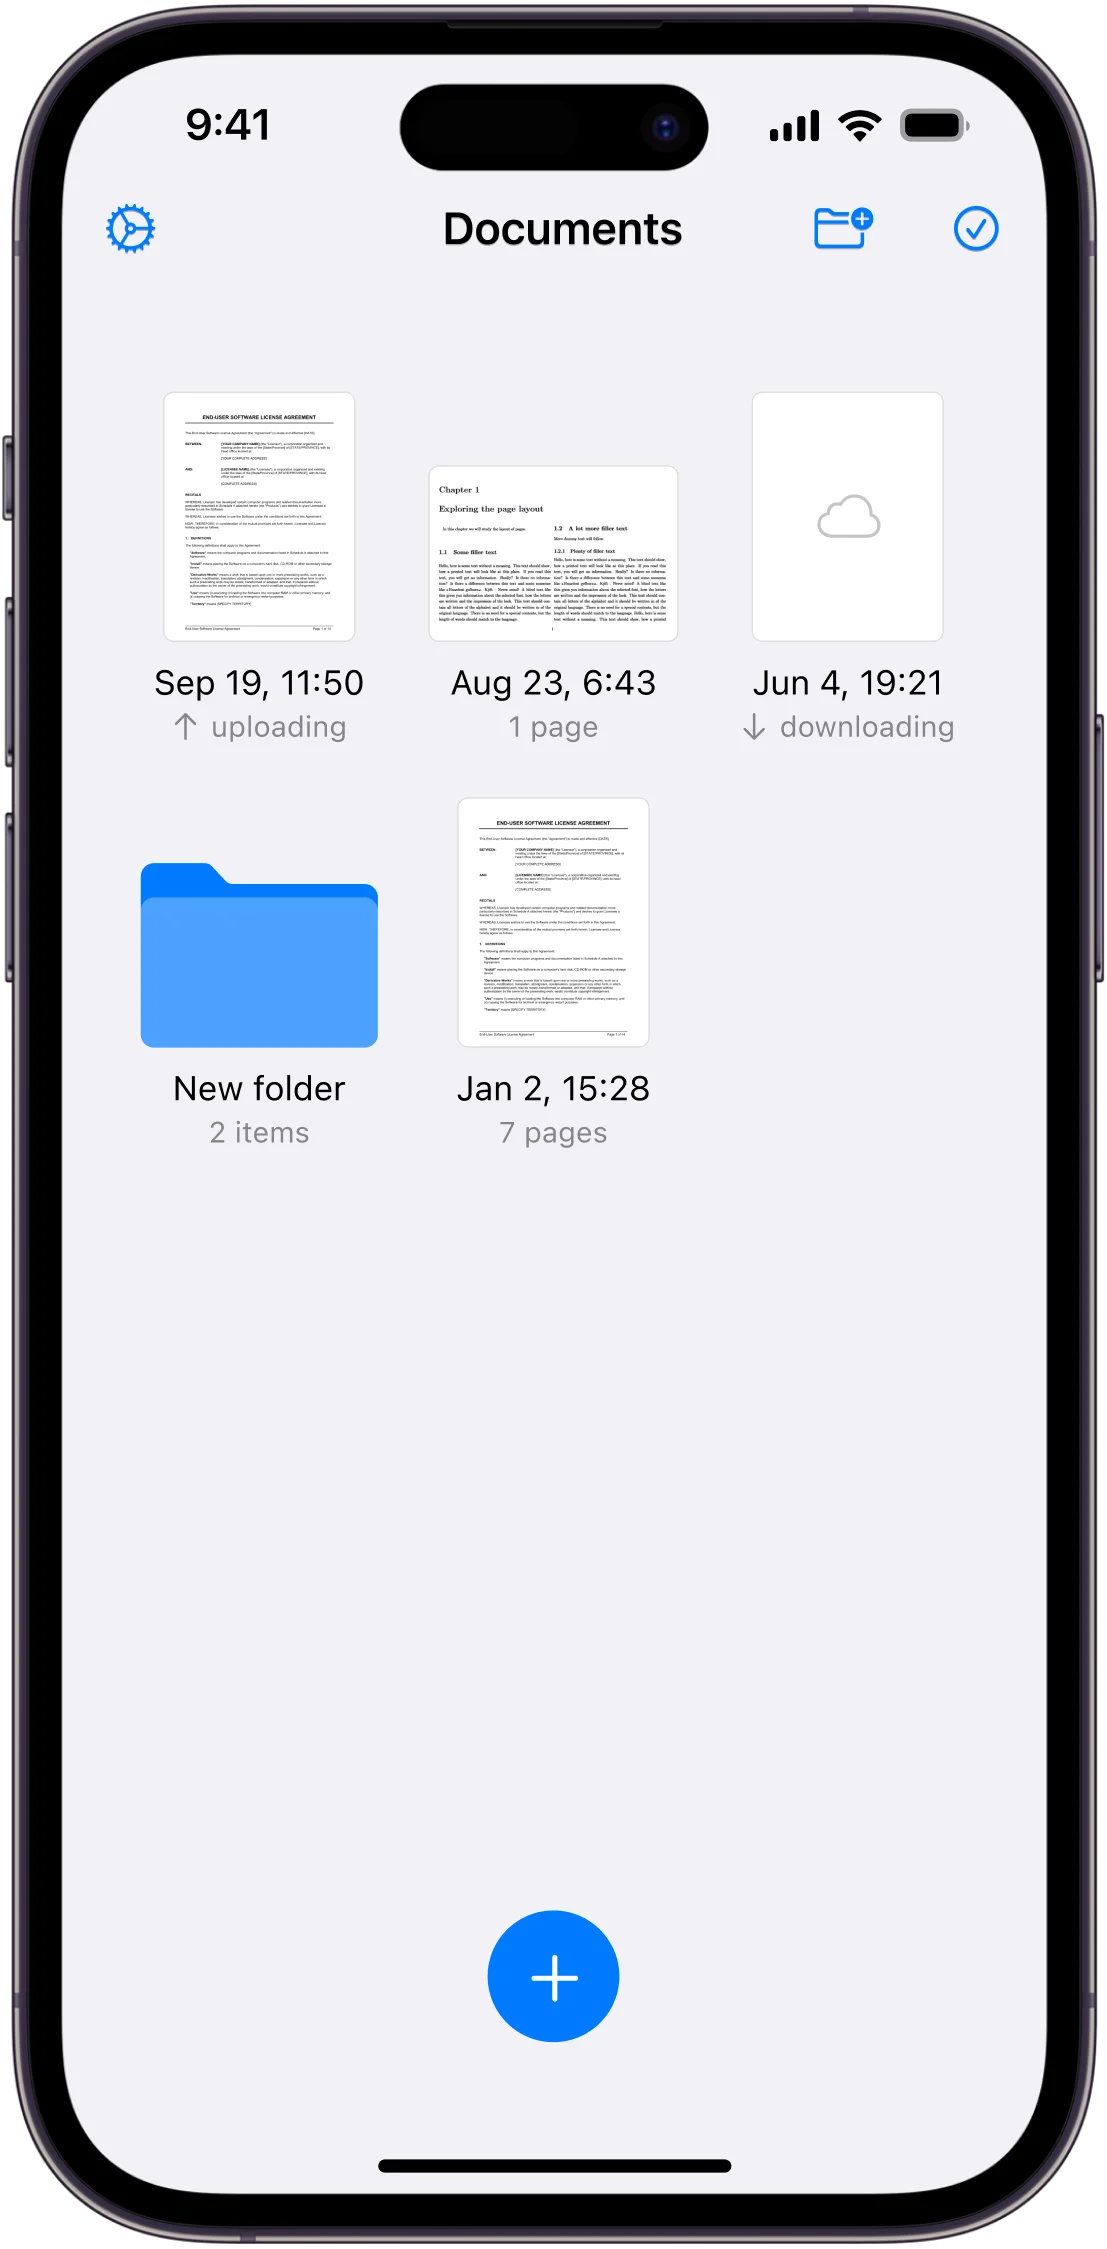
Once your document is ready, save it in your preferred format (PDF or JPEG). The PDF converter is quite fast, and it feels no different from opening a PDF you already have saved. Tap the share icon, select your preferred cloud storage service, and use the app’s intuitive interface to finish up quickly.
Strengths and Weaknesses of the Scanner App
The Scanner App has some of the same benefits as other popular scan-to-cloud applications, with a few unique aspects of its own. For instance, it has excellent scan quality and is complete with advanced color correction. Some of its other features include built-in OCR that recognizes printed and handwritten text, smart linking to contacts and third-party apps, and e-signature support.
Unlike other applications, Scanner App has a particularly dedicated and accessible support team. It also has extreme privacy protections to keep your sensitive data safe.
One of the only drawbacks is that the free version has limited features compared to its paid counterpart. However, with an annual fee below $40, the price is well worth the quality and ability.
Your Scan-to-Cloud Process Doesn’t Have to be Difficult
The options on the market for scan-to-cloud applications are seemingly endless. It can be hard to determine what is best to use, but the true answer is that there is no one-size-fits-all. Each method has its own set of benefits and drawbacks.
That being said, the Scanner App is a great combination of advanced features and user-friendly processes. Whether you’re using it casually or on a regular basis, it’s easily adjustable to your scanning needs. Give it a try today and find out just how simple scanning can become!