If you’re on the hunt for a no-fuss guide to scanning and emailing documents, look no further! Our guide simplifies the process, providing you with easy-to-follow steps to convert your paper documents into digital format and send them off via email in no time. Whether you’re equipped with the latest scanner technology or just your trusty smartphone, we’ve got you covered with tips for all types of devices, plus advice on how to keep your documents looking sharp and secure as you send them on their digital journey.
Key Takeaways
- Scanning documents is easy with the right tools, including standalone scanners, multifunction printers, and mobile devices, each catering to different needs and some offering direct scan-to-email functions.
- Attaching scanned documents to an email is straightforward in email clients like Gmail, Outlook, and Apple Mail, but be mindful of file size limits and use compression or cloud services for larger documents.
- Secure file transfer services and encrypted email providers offer enhanced security for sending sensitive scanned documents, and optimizing image quality, file format, and using OCR can improve legibility and manageability.
Scanning Documents Made Simple
Scanning documents is a simple process if you have the right tools, namely a scanning device. These come in various forms, including standalone scanners, multifunction printers, and even mobile devices. Each has its unique features that make them suitable for different scanning needs. Whether you need to scan a single page or a whole book, there’s a scanner out there for you.
Plus, with the option to send scanned documents directly via email, you can go for a secure and paperless alternative without losing access to your important scanned files, including scanning pre signed forms.
Standalone Scanners
Standalone scanners are the traditional choice for scanning. They are perfect for those high-resolution scans or when you have a large volume of documents, thanks to their dedicated scanning capabilities. To get started, ensure your scanner is turned on and connected to your computer. From there, you can use the scanner’s software or your computer’s built-in scanning features to begin the scanning process.
To scan a document, follow these steps as part of the document scanning process:
- Position your document on the scanner bed and close the lid.
- If you have multiple or double-sided documents, you can use the automated document feeder for efficiency.
- Once the scanning is complete, take a moment to preview the scanned image before saving it. This ensures that the scan is of suitable quality and accuracy.
Multifunction Printers
Multifunction printers have revolutionized the scanning process. As their name suggests, they can perform multiple tasks, including scanning documents. One of their most notable features is the scan-to-email function. With this option, you can directly scan and send your documents to an email address, eliminating the need to save them on your computer or mobile device first.
Setting up this handy function might require configuring the printer with appropriate SMTP settings and an email account. Once set up, the scan-to-email feature can make your digitizing process faster and more efficient, especially when dealing with small volumes of documents.
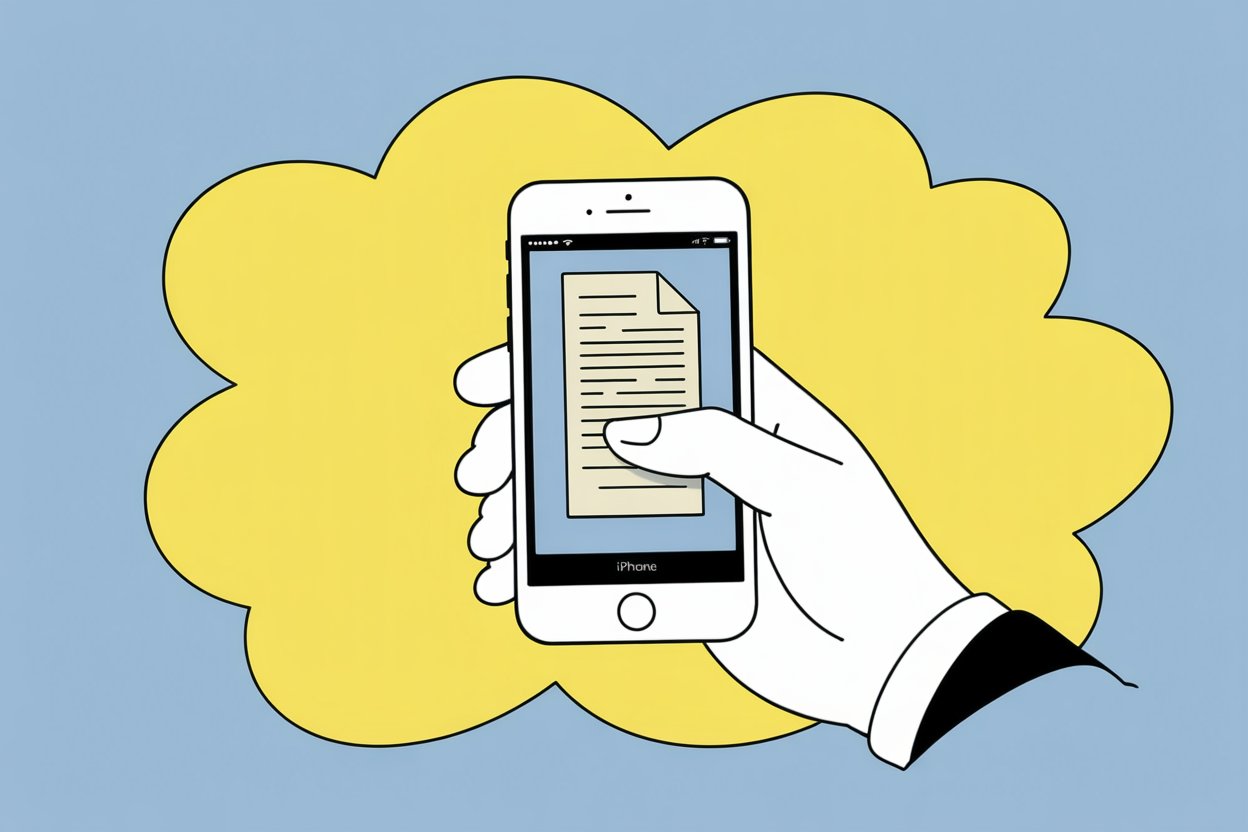
Mobile Devices
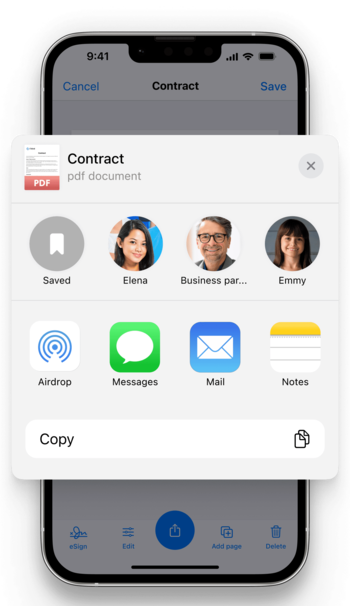
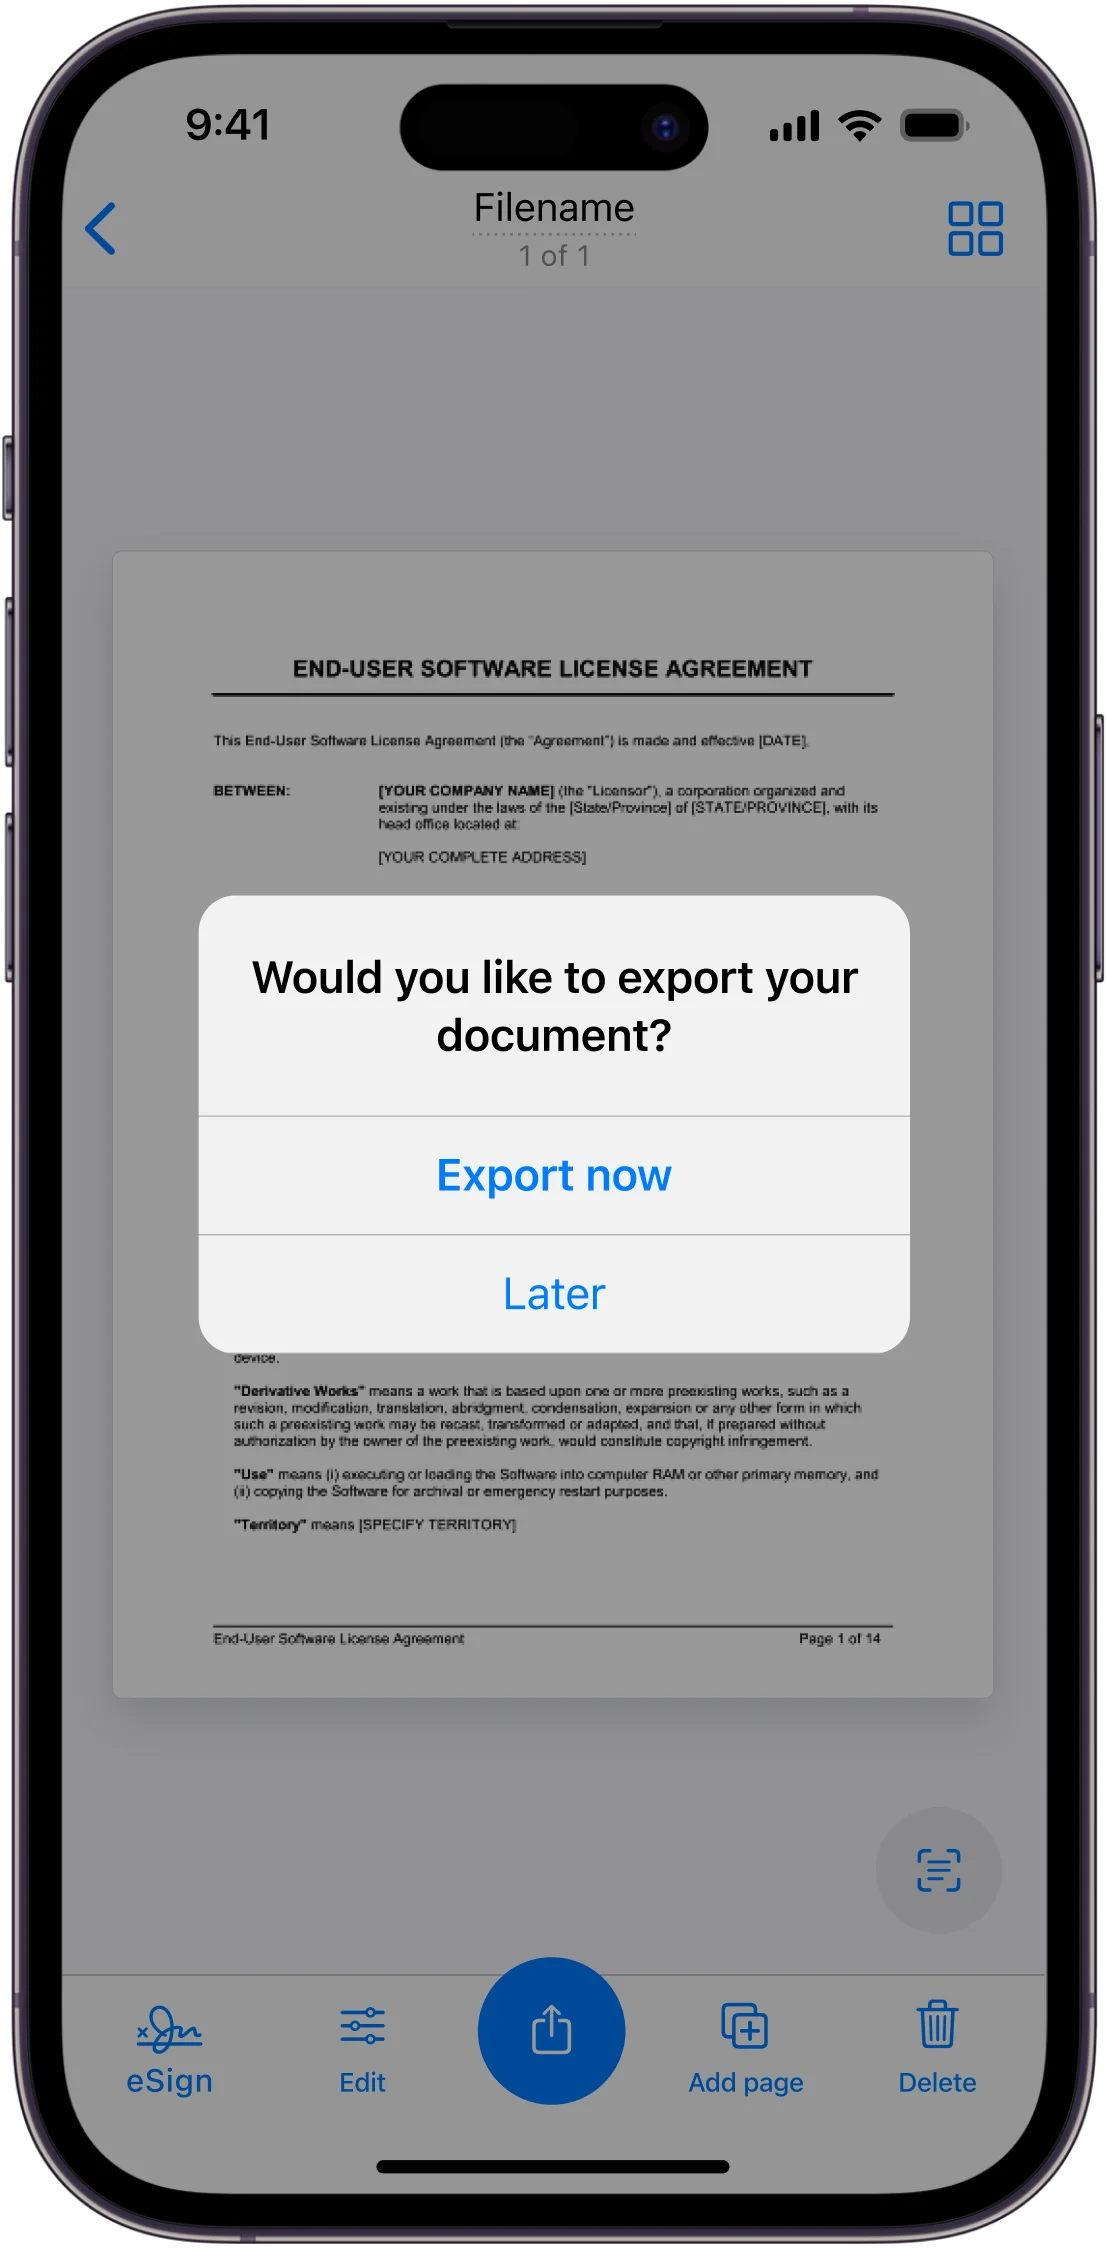
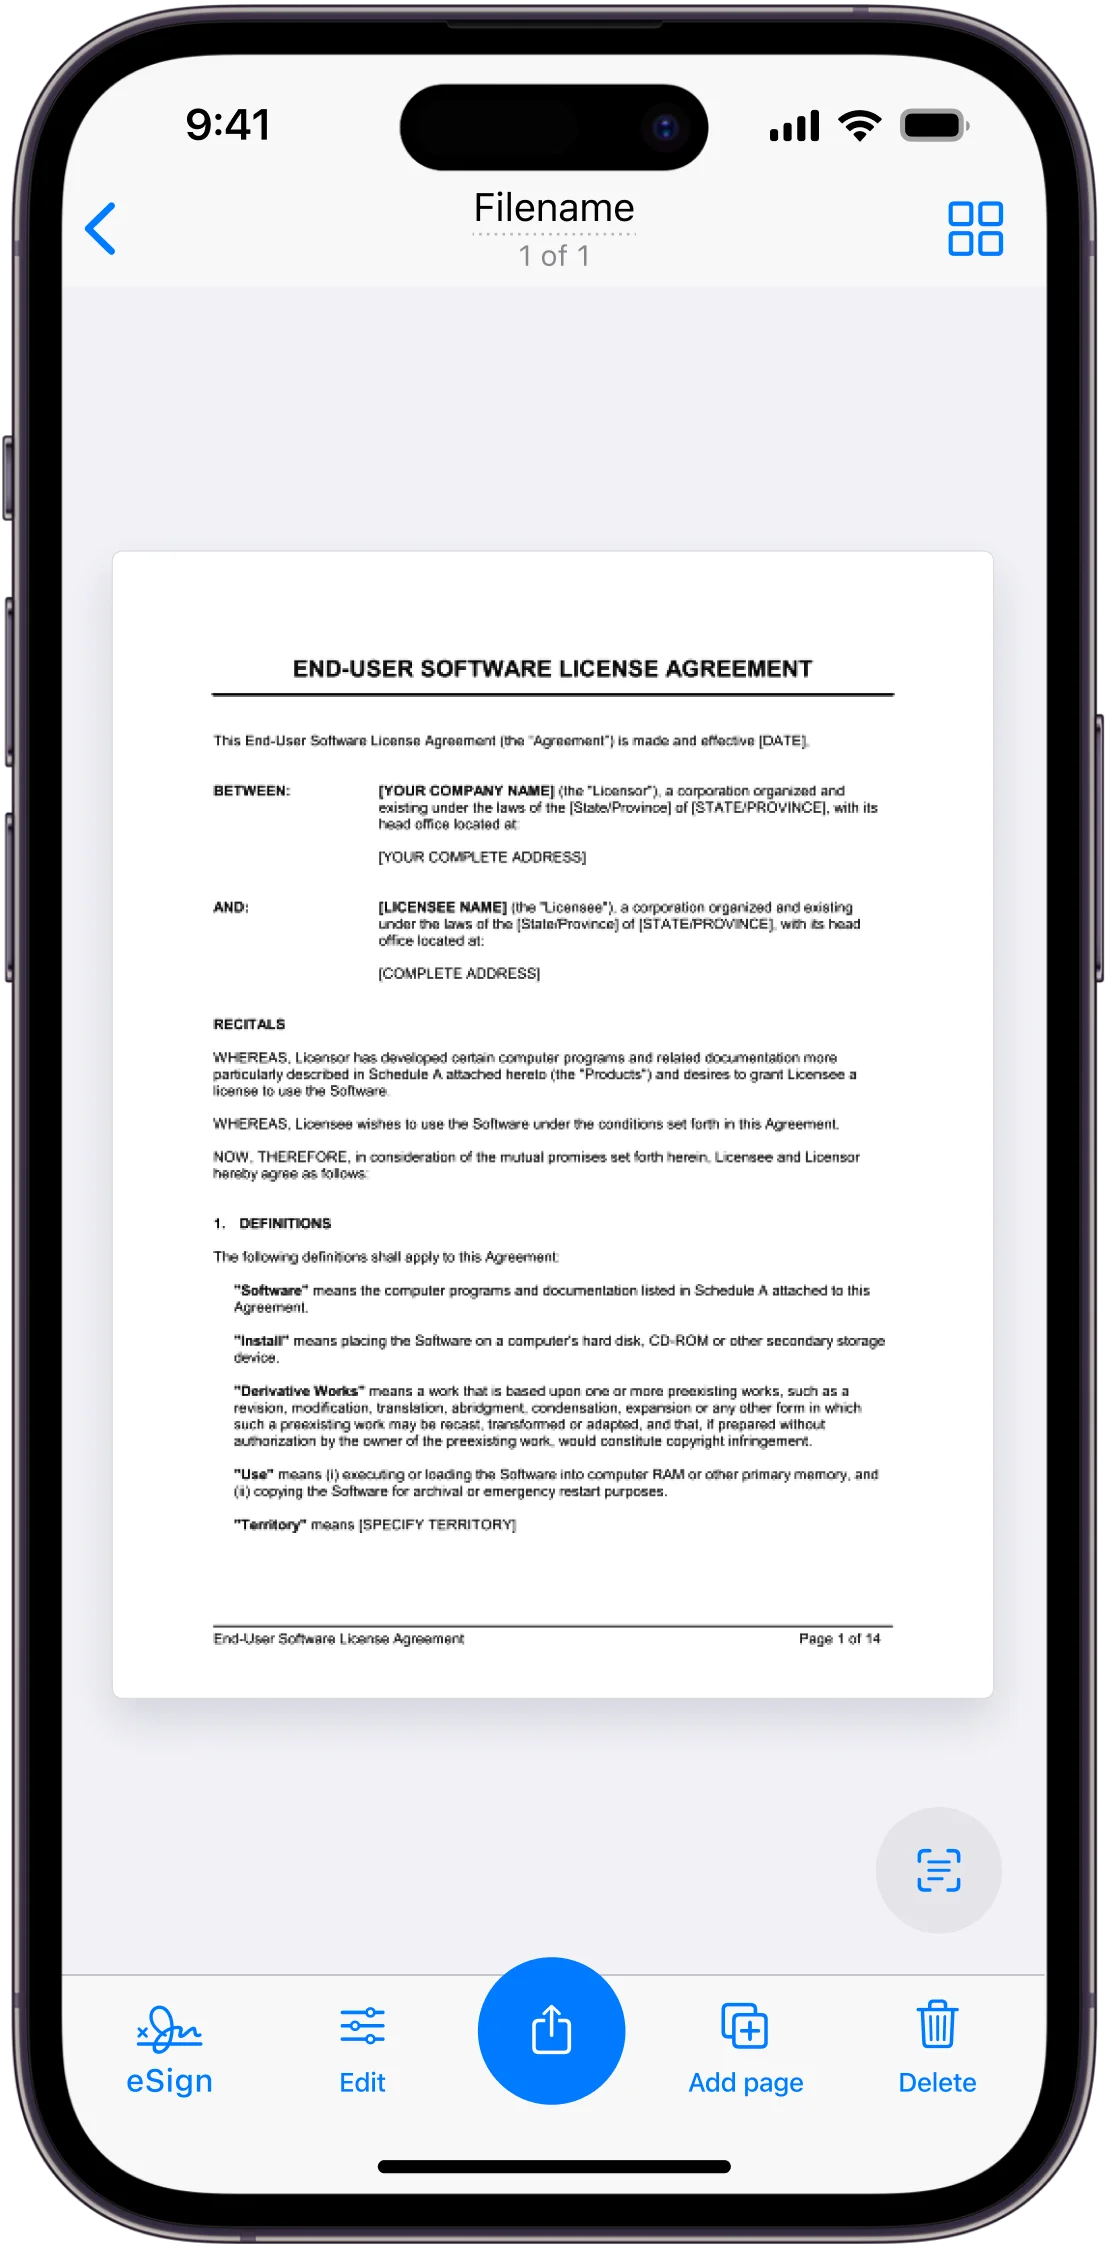
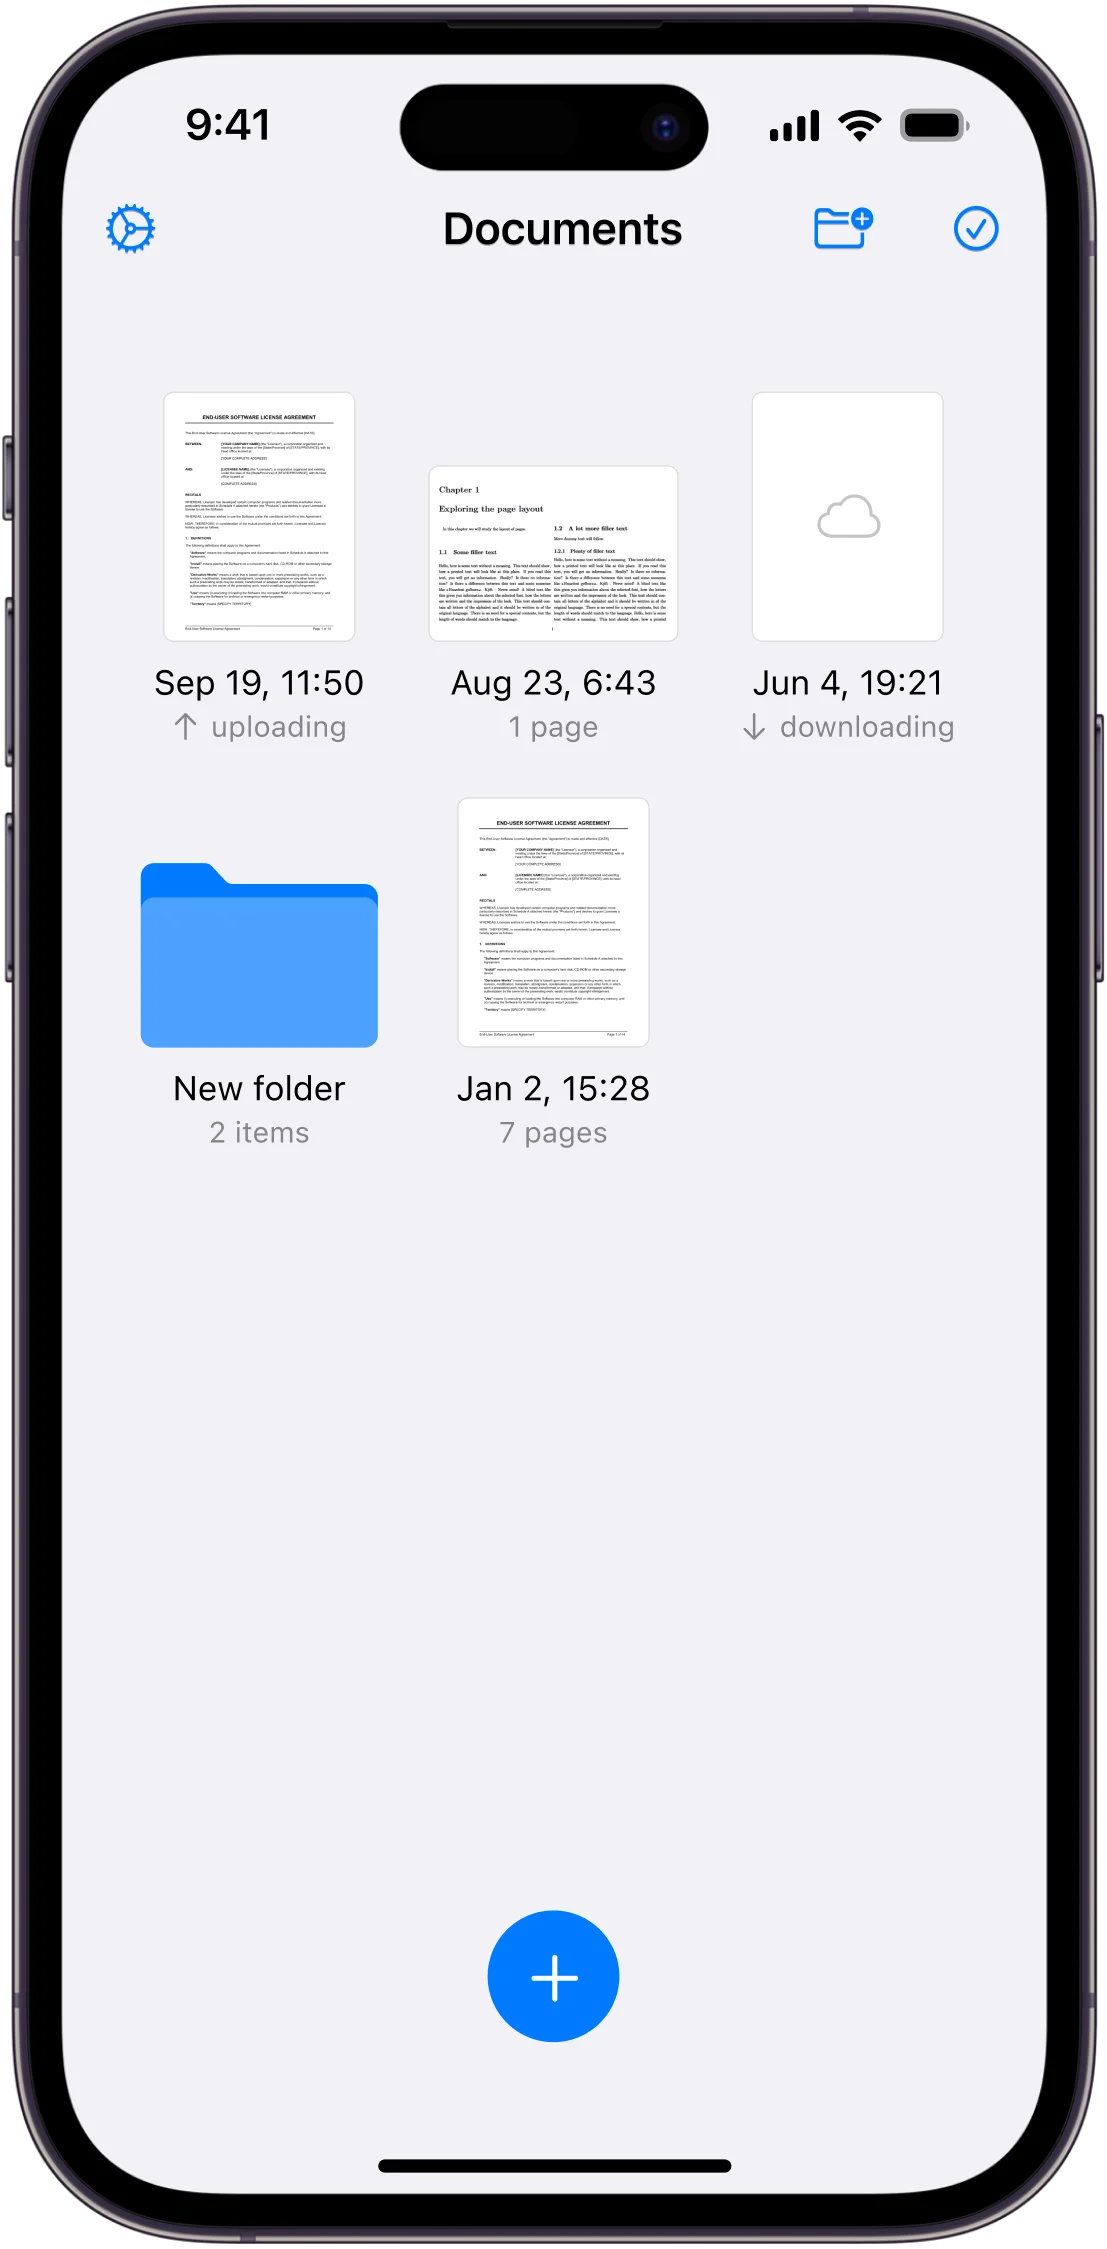
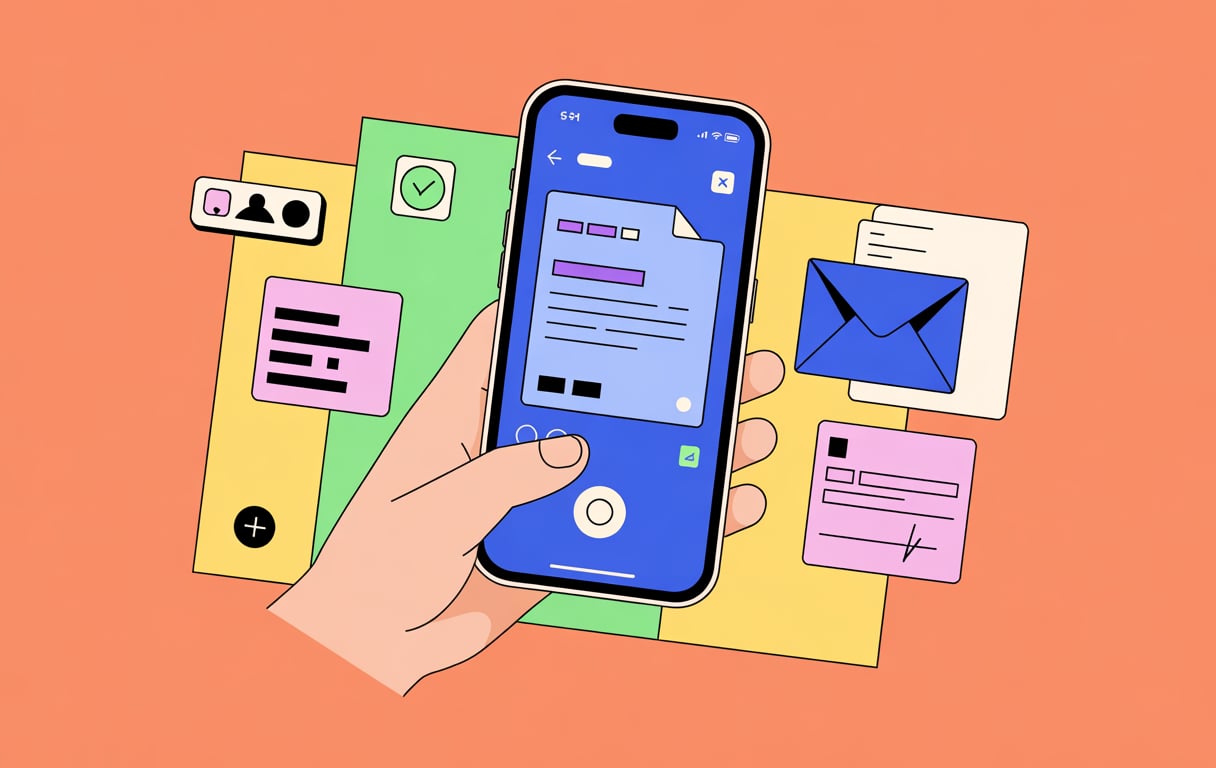
In the age of smartphones, even mobile devices can be transformed into a handy scanner. Most Android smartphones come equipped with the Google Drive app, which leverages the phone’s camera to scan documents. On the other hand, iOS devices allow document scanning via the Notes app, again utilizing the built-in camera. This allows you to scan and email documents on the go, without the need for a traditional scanner. For more advanced scanning capabilities there’s Scanner App as well.
Moreover, mobile apps like Outlook simplify the document attachment process by enabling users to take a picture with Office Lens and directly attach it to emails. This means you can scan and email documents using just your mobile device, making the process convenient and efficient.
Attaching Scanned Documents to Emails
Now that you’ve scanned your document, the next step is to attach it to an email. This process is quite straightforward, regardless of the email client you’re using. All you need to do is:
- Open your email application
- Start a new message
- Click the paperclip icon
- Select the scanned file
- Fill in the recipient’s address, subject, and personal message
- Press Send.
To make it even easier, we’ll break down this process for three popular email clients: Gmail, Outlook, and creating an Apple Mail account, ensuring you can find the recipient’s email address with ease.
Gmail
Attaching scanned documents in Gmail is a breeze. Here’s how:
- Click the ‘Compose’ button to open a new email.
- Use the paperclip ‘Attach’ icon to browse and select the file from your computer or mobile device.
- If you’re using the desktop version of Gmail, you can even drag and drop the file directly into the email body for a quicker process.
Just keep in mind that Gmail has a size limit of 25 Mb for attachments. If your attached scanned document is larger than this, you might need to use file compression or a cloud storage service such as Google Drive.
Outlook
Outlook offers similar ease when it comes to attaching scanned documents. On the desktop version, navigate to ‘New Email’ and click the ‘Attach’ button to add your attached document. Alternatively, you can drag and drop your scanned document directly into the body of a new email. If you’re using Outlook mobile, you can tap the paperclip icon and then select ‘Attach file’ to choose the desired document. Regardless of the version you’re using, Outlook makes it simple and efficient to attach and send your scanned documents.
Apple Mail
Apple Mail offers a few different options for attaching scanned documents. On a Mac, you can either drag and drop the files into the body of the email or click the ‘Attach’ button. If you’re using an iPad, tap where you want to insert the attachment, select the Insert Attachment option, and locate the document within the Files app. To add images or videos in the Apple Mail mobile app, first long press in the body of the email. Next, tap the right-pointing arrow followed by the attachment icon. These methods make attaching scanned documents a breeze on any Apple device.
Secure Document Sending Options
While scanning and emailing documents is convenient, it’s essential to consider the security of your files, especially when dealing with sensitive information. Standard ‘scan to email’ functions may not provide adequate security, as emails sent using this method can be intercepted when connected to the same WiFi network.
Fortunately, secure file transfer services and encrypted email providers offer a more secure method for sending important documents.
Secure File Transfer Services
When it comes to choosing a secure file transfer service, there are several options to choose from, including Semaphor by SpiderOak, SyncThing, and Internxt Send. Each of these platforms offers robust encryption to ensure that your scanned documents are protected during transmission.
Semaphor, for instance, allows for encrypted communication and file sharing of up to 2GB per file attachment. SyncThing, on the other hand, uses the efficient Bittorrent protocol for file copying in addition to robust TLS encryption. With secure file transfer services, you can rest assured that your important documents remain confidential and secure during transmission.
Encrypted Email Providers
If you’re looking for an extra layer of security, encrypted email providers may be the solution. A recommended tool for this purpose is GnuPG, which provides ‘public key’ encryption to protect sensitive information. This type of encryption involves a pair of keys, where one key encrypts the email content and only the other key, kept private, can decrypt it, thus preserving confidentiality.
Many email clients, including Mozilla Thunderbird, support GnuPG, making it a flexible option for secure email communication across different platforms. With encrypted email services, your sensitive scanned documents remain safe and secure.
Tips for Optimizing Scanned Documents
Scanning and emailing documents is not just about getting the task done; it’s about doing it well. And that involves optimizing your scanned documents. Here, we cover three important aspects of optimization: image quality and file size, file formats, and OCR technology.
Each of these factors plays a crucial role in ensuring that your scanned documents are clear, easy to manage, and ready for efficient emailing.
Image Quality and File Size
Image quality and file size often go hand in hand when it comes to scanning. The dpi (dots per inch) setting determines the quality of the resulting scanned image. For quality prints, a scan resolution of 200-300dpi is generally sufficient. However, if you’re scanning for on-screen viewing or emailing, you can lower the scan resolution to match the screen’s pixel dimensions.
Choosing higher scan resolutions can be beneficial for enlargements, though it will result in larger file sizes. The key here is to find a balance between the clarity of the document and the ease of emailing it. And adjusting both the resolution and compression settings can help you strike that balance.
File Formats
The file format of your scanned documents also matters. It can impact both the quality and the file size of your scans. For instance, scanning documents in Black & White or Greyscale can minimize file sizes, which is beneficial for text or line art where color is not critical. The choice between black and white or 24-bit color scanning options depends on the importance of the document’s original color to its overall clarity and contrast.
Different formats have their pros and cons. Here are some considerations for each format:
- JPEG is widely used but may suffer quality loss upon resizing or compressing.
- TIFF and BMP provide better detail preservation at the cost of larger file sizes.
- PNG is commonly used for web graphics but is not recommended for scanned documents due to its lower resolution compared to TIFF and PDF files.
PDF format stands out as it supports OCR, enabling the creation of text-searchable files which facilitate data retrieval and editing.
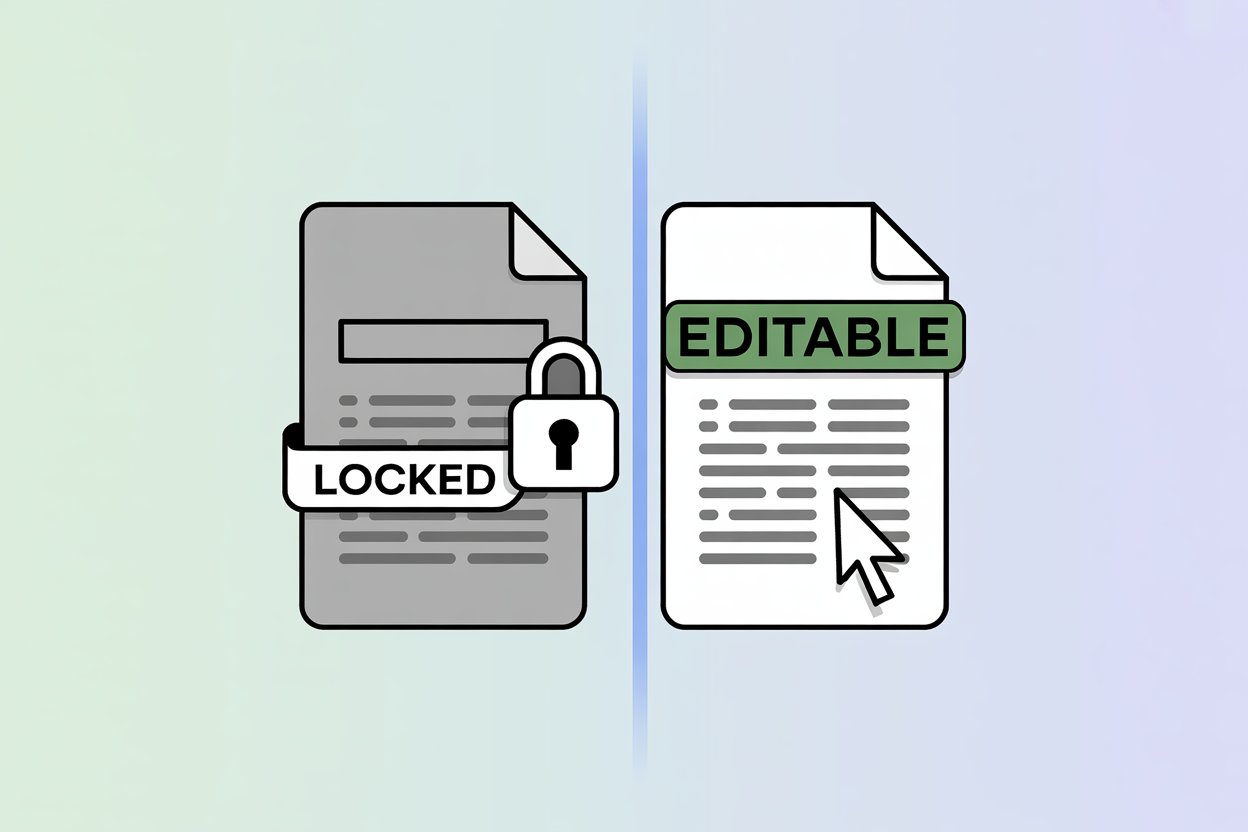
OCR (Optical Character Recognition)
OCR, or Optical Character Recognition, is a technology that can convert images or scanned documents into searchable, editable PDF files. This means that instead of just having an image of your document, you can actually search for specific text within it, just like you would in a digital document.
Built-in OCR capabilities in scanners can convert scanned images into searchable and editable text. This is commonly known as saving a document as a Searchable PDF. PDF files are often used for scanned documents because they can become text searchable with the integration of OCR technology and are widely recognizable to most users.
Summary
Scanning and emailing documents might seem like a daunting task, but with the right tools and understanding, it can be a breeze. Whether you’re using a standalone scanner, a multifunction printer, or a mobile device, you now know how to take a physical document and transform it into a digital file. You’ve also learned how to attach these files to emails and send them securely, ensuring that your important documents are protected. Finally, you’ve learned how to optimize your scanned documents for clarity, manageability, and efficient emailing. Remember, it’s not just about getting the job done; it’s about doing it well.
Frequently Asked Questions
What is the recommended dpi setting for scanning documents?
For quality prints, it is recommended to set the DPI for scanning documents between 200 and 300. If the purpose is on-screen viewing or emailing, the scan resolution can be lowered to match the screen’s pixel dimensions.
How can I securely send scanned documents?
To securely send scanned documents, use secure file transfer services or encrypted email providers that offer robust encryption for document protection during transmission.
What file format should I use for scanned documents?
For scanned documents, it’s best to use the PDF format as it supports OCR, allowing the creation of text-searchable files, making it easier to locate specific information within the document.
How do I attach a scanned document to an email in Outlook?
To attach a scanned document to an email in Outlook, simply create a new email, then click the ‘Attach’ button or drag and drop the scanned document into the body of the email. This allows you to easily include the scanned document in your email.
What is OCR technology, and how can it benefit my scanned documents?
OCR technology can benefit your scanned documents by converting them into searchable, editable PDF files, allowing you to search for specific text within the document. This makes it easier to manage and access information (source: web).