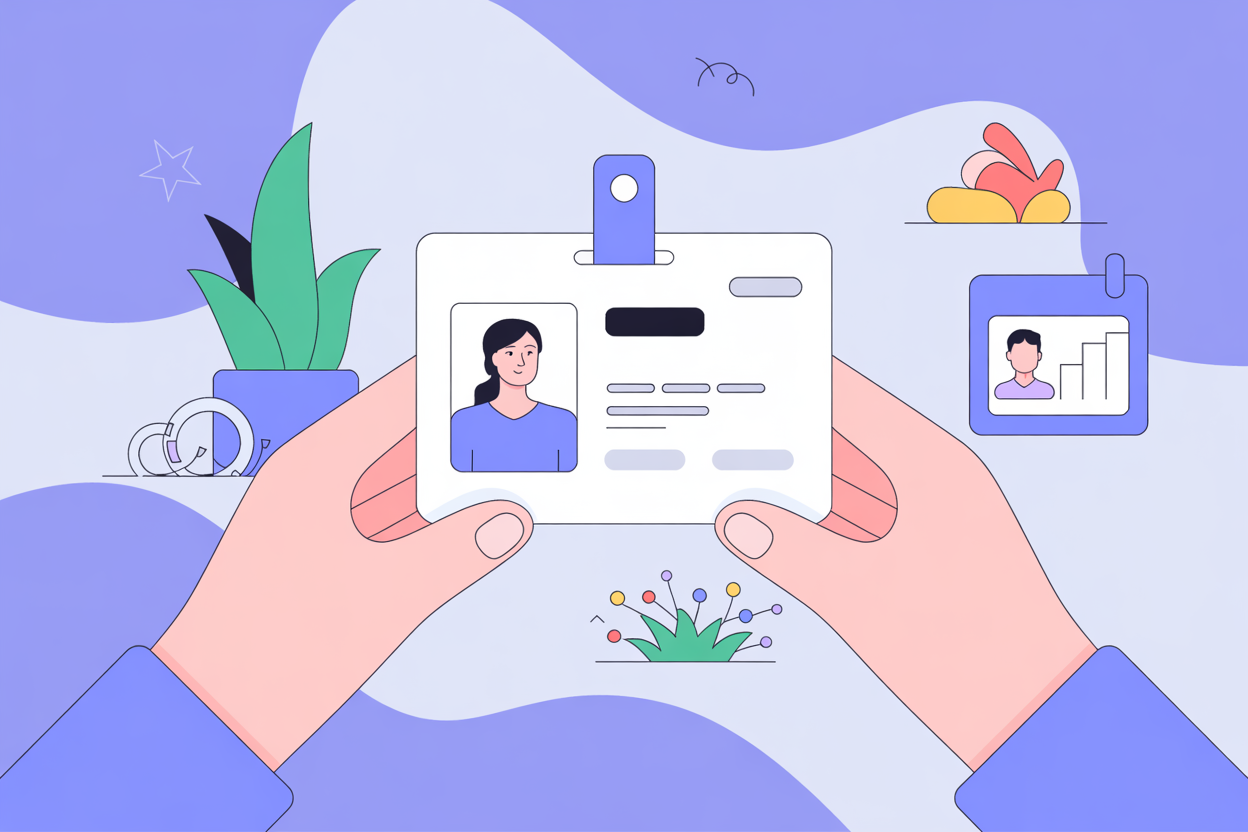
Ever wondered why copying both sides of an ID card feels like a hassle—especially when time’s short or the nearest office scanner’s on the other side of town? With a reliable app, anyone can scan both sides of an ID card and save them together on a single page in minutes. There’s no need for bulky machines, complicated settings, or technical jargon that only IT can understand.
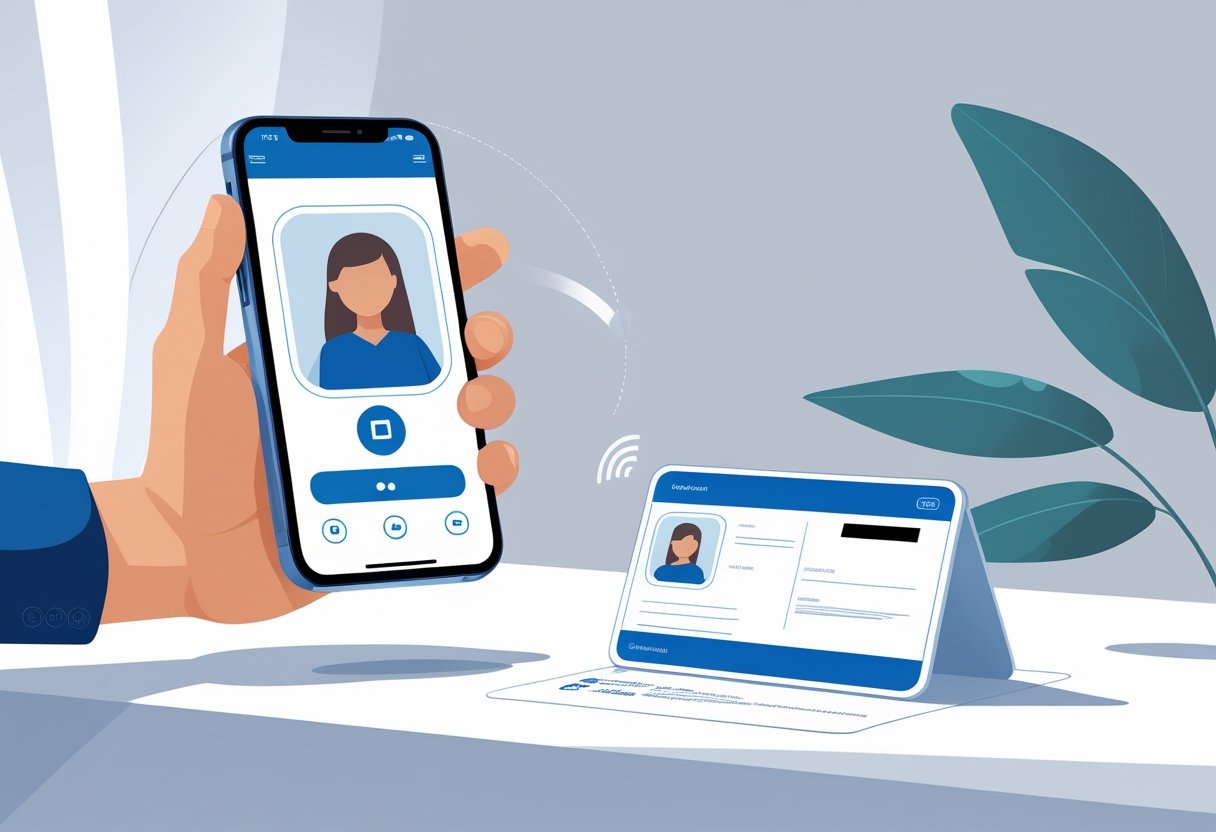
Most people assume the front and back require two separate files, but apps like Scanner App wrap everything up in one neat, professional document—ideal for digital forms, online submissions, or just having a backup saved on your phone. It’s as easy as snapping a picture, flipping the card, and letting the app handle the rest, almost like taking a selfie (but less glamorous—unless you’re proud of your driver’s license photo).
Messy backgrounds or poor lighting can ruin a scan, so a bit of prep goes a long way. And honestly, who hasn’t tilted their card just a bit too far or fought the glare from overhead lights? Believe it or not, a lot of apps actually fix those issues automatically, making the whole process feel effortless. Why not save yourself a headache and see just how simple this can be?
Importance of Copying Both Sides of an ID Card
It might seem straightforward—scan, print, move on. Yet, copying both sides of an ID card matters much more than people think. The front side usually holds the name, photo, and a number. But flip it over and there’s often a lot more: an address, ID issue and expiry dates, or a barcode.
Many organizations, from banks to medical clinics, require full details to provide their services. Missing information from the back of an id card can lead to delays or extra visits. Nobody enjoys waiting in line just to realize the copy is incomplete.
Think about these common scenarios:
- Opening a new bank account
- Registering for a class or program
- Completing HR payroll paperwork
- Verifying insurance or health coverage
In each of these cases, a complete id card copy speeds up the process and reduces back-and-forth communication. Some systems even ask to see both sides for legal or compliance reasons.
On top of that, ID cards aren’t all designed the same way. One country’s card might put the date of birth on the front; another hides it on the back. Copying both sides covers all the bases so there are no surprises.
And with scanner apps (like Scanner.biz), it’s easy and fast. Just snap a photo of each side, and both are saved neatly onto one page—no more misplaced ID halves or confusion. It’s a small step that saves time, prevents mistakes, and works anywhere, whether at home or at the office.
Preparing to Copy Both Sides of an ID Card
Getting both sides of an ID card onto a single page isn’t magic, but it does take a little prep work. The process depends on having the right app, a supported device, and making sure everything lines up in portrait orientation for neat, readable scans.
Choosing the Right App
Selecting the best app might feel overwhelming, given the flood of choices out there. Established names like the HP Smart App, iScanner, or native scanner apps built into smartphones all claim to get the job done. But does every app handle ID cards equally well? Not quite.
People should look for an app that specifically mentions “ID card copy” or “two-sided copy” in its features. This makes the job a lot easier and saves time fiddling with edits after the fact. Apps like HP Smart App, for example, provide dedicated steps—scan the front, flip the card, scan the back, then merge both images on one page.
Other factors matter, too. Is the interface easy to understand, or does it look like a maze? Some scanner apps offer real-time edge detection or automatically capture the card when it’s lined up. That little bit of automation takes the pressure off—no shaky hands or awkward cropping.
Bottom line: Pick an app with clear two-sided scanning instructions and built-in editing tools. Avoid anything that buries the feature in endless menus. If available, choose apps tailored specifically for IDs; they’ll reliably detect card edges, keep sizing consistent, and offer quick clean-up tools.
Supported Devices and Requirements
Not every phone or tablet can handle double-sided ID scanning smoothly. Imagine someone using an ancient phone, only for the app to freeze right as it snaps the second image—frustrating, right? Ideally, the device should run a recent version of iOS or Android, with a decent camera (8MP or better if possible) for crisp images.
Some brands tie special features to their own hardware—HP Smart App pairs well with HP printers and certain scanners. If someone’s using iPhone, Android device, or even a tablet, most popular scanner apps today play nicely with both platforms. A small table sums up essentials:
| Requirement | Details |
|---|---|
| Operating System | iOS 13+ / Android 8+ |
| Camera | 8MP+ suggested |
| Storage Space | 100MB+ recommended |
| App Compatibility | Check on Google Play/App Store |
| Extra Hardware | (if printing) HP/Canon/Epson |
Extra tip—stable lighting helps a ton. If possible, work near a window or use an overhead lamp. Shadows and glare are public enemies number one and two for consistent scanning.
Ensuring Proper Portrait Orientation
Getting the orientation right when scanning an ID card matters more than people realize. Many apps, by default, assume portrait orientation for documents (taller than wide), but a landscape-aligned ID can mess things up if not adjusted.
Users should always place their ID card within the outlined frame in the app, checking that the text runs from top to bottom (portrait)—not side to side. If the card’s cropped or sideways, printed results look odd and might get rejected for official paperwork. Some apps—like iScanner—will prompt users to align in portrait, even rotating the image automatically.
Here are a few simple reminders:
- Put the card in the center, keeping it upright
- Double-check the preview before finalizing
- If the app doesn’t auto-correct orientation, use editing tools to rotate manually
That tiny detail—portrait orientation—can be the difference between an accepted scan and a wasted trip to the copy shop. And who wants extra errands, anyway?
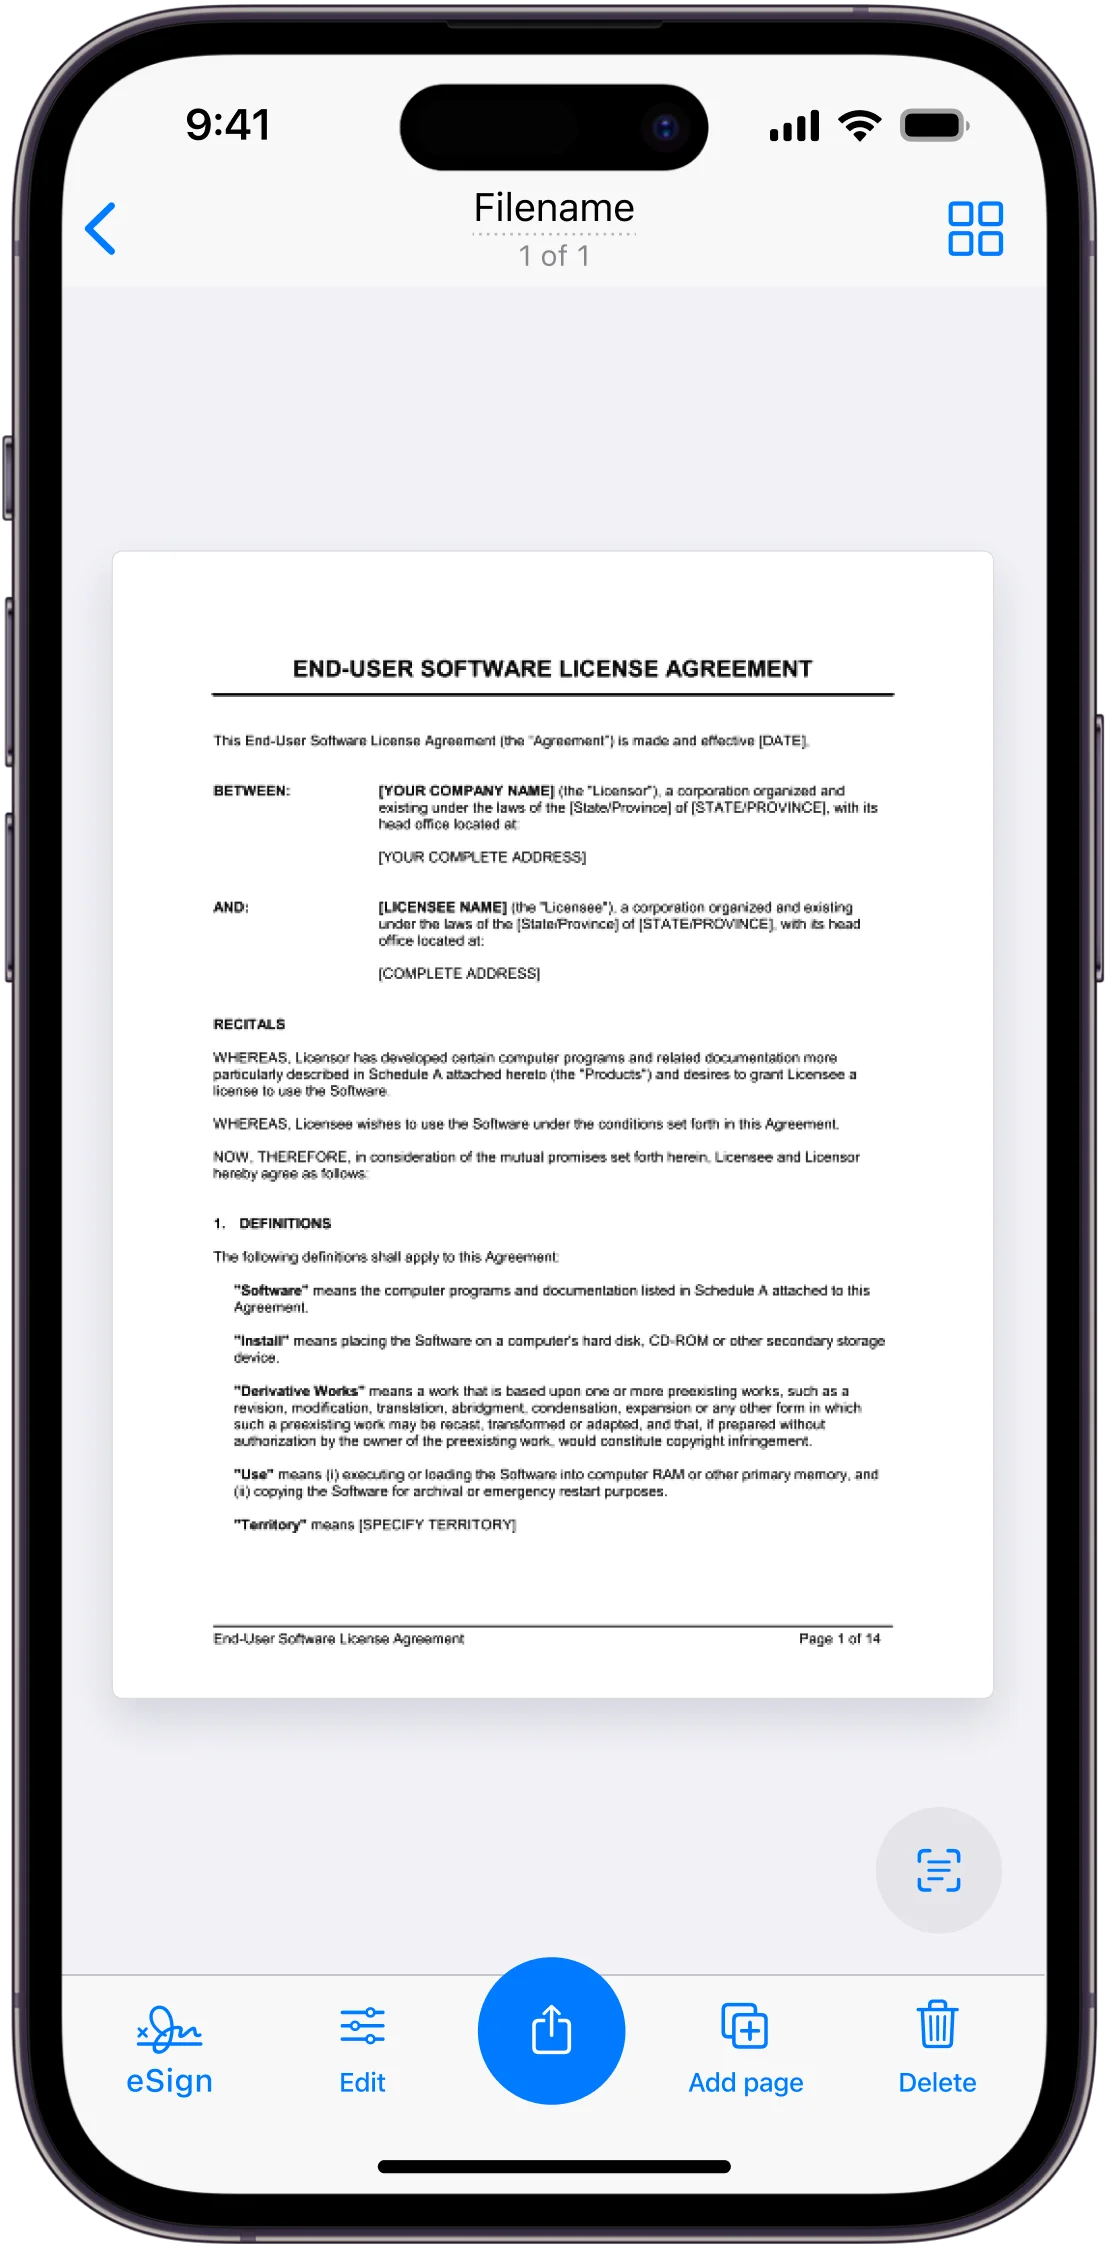
Step-by-Step Guide to Using an App for ID Card Copy
Making a clear, professional copy of an ID card with an app doesn’t have to be a chore. With the right steps, anyone can capture both sides on a single page—quickly and accurately.
Launching the App and Setup
First things first—choose and open the scanning app. Apps like HP Smart or Municorn’s own tool often greet users with a clean home screen. For users already juggling a dozen apps, it can feel refreshing to see a straightforward layout.
Connecting the device (phone, tablet, or even a laptop in some cases) to a Wi-Fi network gives access to cloud features and smart editing. If it’s a brand new install, setting permissions for camera and storage is a must—no skipping that step, even if it feels like a bother.
Many apps ask which type of document is being scanned. Users should select “ID card” or a similar setting. This makes sure the app’s built-in tools (like edge detection) work as intended. Before going further, check that the paper size is the same as the printer—no one wants half a card squeezed onto a corner.
Positioning the ID Card on the Scanner Glass
Once set up, the next challenge is getting that tiny ID card in the right spot. Place the card in the upper-left corner, aligning it with the onscreen or physical markers. If there’s a blue frame or guideline in the app’s camera view, use it. The goal is to keep both your hands and shadows out of the shot; nobody likes those awkward finger photobombs.
A little tip: For plastic cards, a quick wipe avoids smudges. Some apps even suggest placing a sheet of plain paper over the card to boost contrast, especially for cards with lots of white space. Why not try it out if the first scan looks faint?
Scanning the Front Side of the ID Card
Ready to go? Hit the scan or capture button (words like “Start” appear in some apps). The app—whether Scanner App, or another—usually gives a preview before saving.
It’s important to double-check the scan for clarity and straightness. If the text looks off-center or too dark, most apps feature basic editing: crop, rotate, adjust brightness. Mistakes happen—luckily, rescanning just takes a second.
For those concerned about security, ensure sensitive details aren’t accidentally shown in the preview or shared to the wrong device. A quick look at the scan before moving on avoids any headaches later. Most apps have a “Scan Next Side” or “Continue” button, perfect for smooth transitions.
Scanning the Back Side of the ID Card
After finishing the front, flip the ID card over. Carefully place it in the exact same spot on the scanner glass—this helps the app combine both sides neatly on a single page.
Tap “Scan Back,” “Continue Copying,” or whatever fits the app’s language. It’s almost a rhythm at this point: position, check the frame, and scan. If there’s a “Both Sides” toggle, make sure it’s switched on from the start; some apps offer this for double-sided cards.
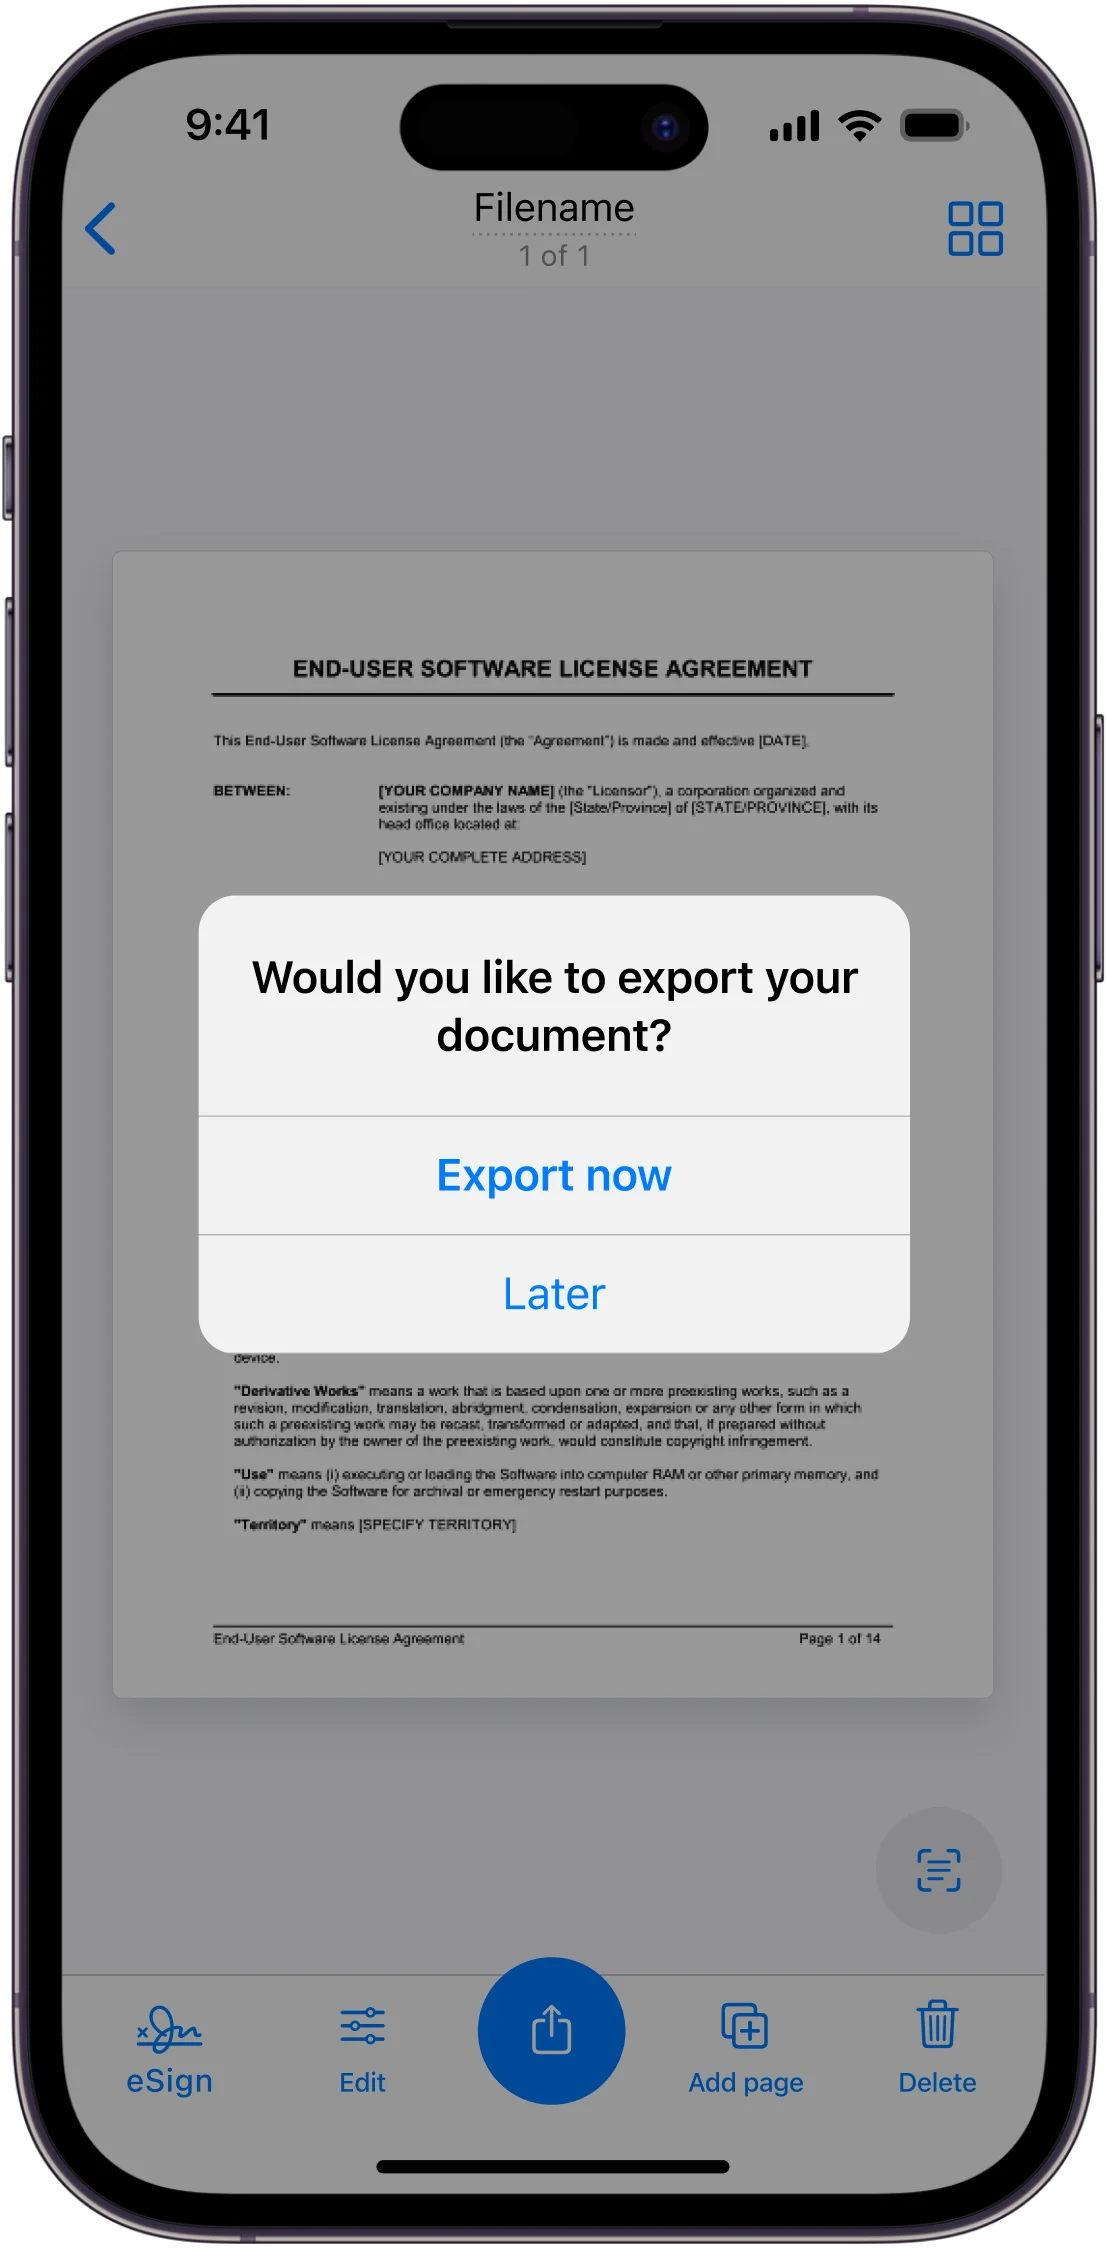
Compare the two scans. Do they line up well? Minor shifts can usually be fixed with drag-and-drop tools before hitting finish. Tap “Finish” or “Done” to save the final file, often as a PDF or image ready for printing or sharing.
That’s it—no more wrestling with photocopiers just to get both card sides looking professional and clear, all thanks to a well-designed app.
Optimizing Copy Quality
Smooth, clear ID copies make a world of difference—whether someone’s verifying their identity online, submitting forms for work, or just archiving family documents. Good copy quality hinges on the right settings and format, which can save users a lot of time and frustration.
Adjusting Resolution Settings
Resolution plays a key role in how crisp an ID appears when scanned or photographed with a phone app. Too low, and details like small text or holograms might blur or vanish. Too high, and the file balloons up in size—slowing downloads, clogging email, and eating up phone storage.
Most scanner apps (like Municorn Scanner App) offer a choice of DPI—dots per inch—usually ranging from 150 to 600. For ID cards, 300 DPI is a reliable sweet spot. It’s sharp enough to catch embossed numbers, watermarks, or fine print, but not so large it’s a hassle to send or upload. Going higher, such as 600 DPI, makes sense for IDs with security features that need careful review or for official archiving at an office.
Some apps even let users tweak brightness and contrast; a little adjustment can bring out faded ink or faded photos. It’s smart to preview scans before saving them, since glare, shadows, or skewed angles can ruin clarity.
Selecting the Correct Output Format
Choosing the right output format isn’t just a techy detail—it’s about how easily someone can share, print, or store their scanned IDs. The most common formats in mobile scanner apps are PDF and JPEG.
- PDF: Great for sending files to banks, schools, or employers. PDFs combine both sides of the ID onto a single page—easy for reviewing and quick to print. Most apps let users password-protect a PDF, adding a layer of privacy.
- JPEG or PNG: Handy for uploading a single side to an online form, or for saves to photo galleries. JPEG often shrinks files to manageable sizes but can lose a little clarity if compressed too much. PNG keeps edges crisp for things like logos or stamps.
It’s helpful if the app offers direct sharing to email or cloud drives, minimizing extra steps. People should check the app defaults, since accidentally saving in the wrong format can make simple tasks—like uploading to a website—feel a lot harder than they should.
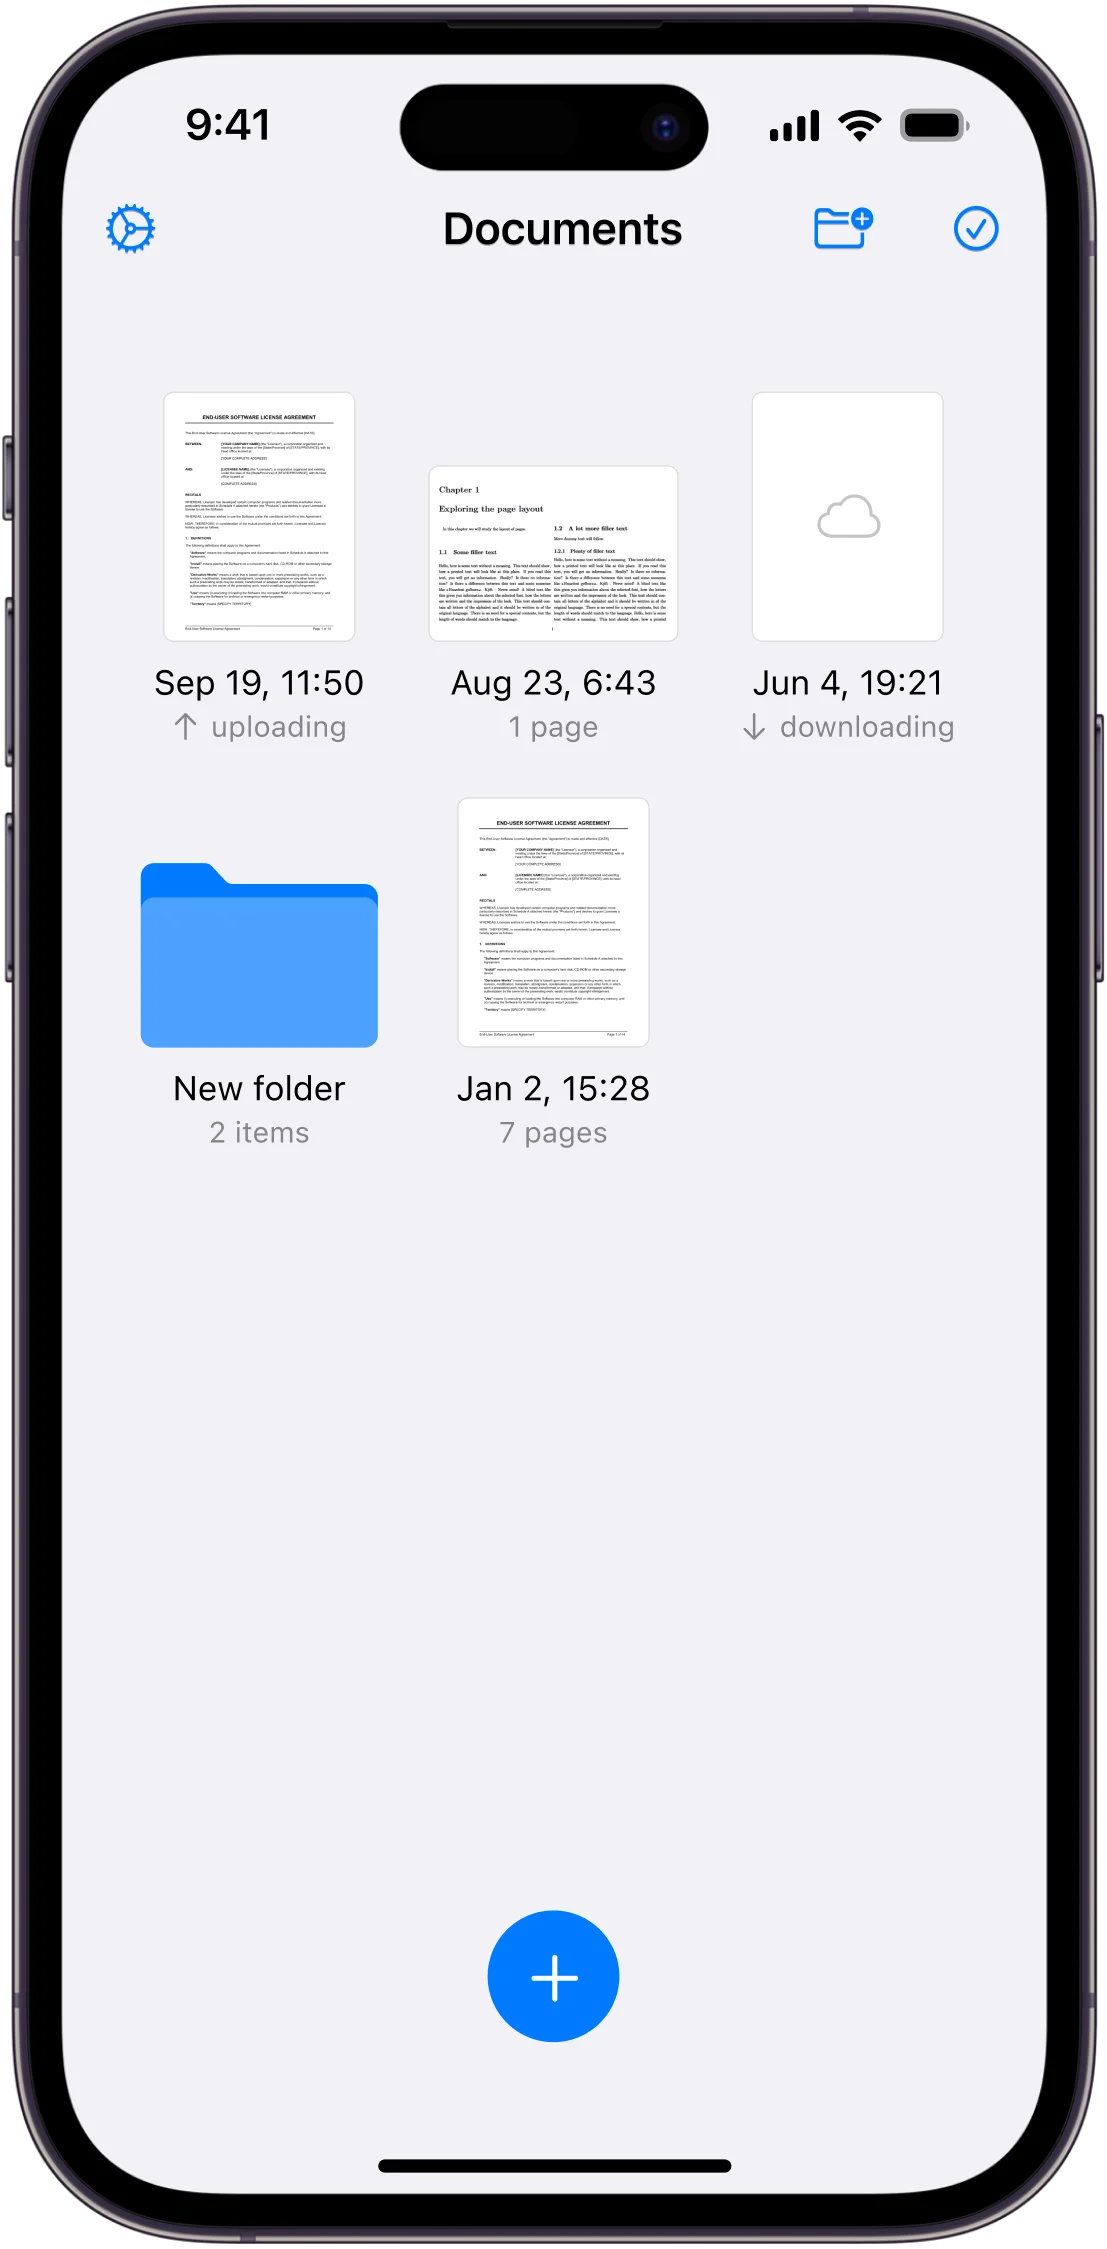
Accessing and Managing ID Card Copies
Managing digital copies of ID cards requires some attention to details most people forget at first—like file names, print setups, or even privacy when sharing. With a scanning app, these small steps make things run smoother and keep things neat. No one needs chaos in their phone gallery, right?
Saving and Naming Your Document
After scanning both sides of an ID card, the document should be saved in the app’s library for easy access. Many apps, like iScanner or HP Smart, let users select a file format—PDF works well for printing, while JPEG files are best for sharing online or through messaging apps.
Naming files is surprisingly important. Instead of generic names like “scan1”, adding the card type (like “DriverLicense2025” or “ID-Workplace-June25”) makes it easier to find later. It’s a simple habit, but it pays off when you’re digging through digital piles of forms. Some folks even add dates or a short note in the file name—little touches that help avoid confusion.
Using folders in the app or on cloud storage is a smart move too. For anyone managing several documents—like freelancers, caregivers, or parents—organized folders cut time spent searching. Color coding or labels can add another layer of clarity for those who crave a tidy digital workspace.
Printing Both Sides on a Single Page
Printing isn’t just about hitting the print icon and hoping for the best. To print both sides of an ID card on one page, select the “ID Copy” or “2-sided Copy” feature if the app or printer supports it. This keeps both the front and back on a single sheet and saves paper.
Alignment matters. Make sure each side fits inside the recommended borders, or things could get cropped (frustrating, right?). Some apps (like Canon or Ricoh copier software) will walk users through scanning the front, flipping the card, and scanning the back—all before printing a centered, clear copy on a single page.
Double-check orientation before printing. Nothing’s worse than getting sideways or upside-down ID cards on a form. Printing a quick draft on plain paper can help catch silly errors before using official stationery or submitting important paperwork.
Sharing and Sending Digital Copies
Once scanned and named, digital copies can be shared directly from most scanner apps. Just tap the share icon, pick from email, text messages, or cloud services like Google Drive or Dropbox. Many apps even let users limit file access or add basic passwords for privacy.
Security matters—always think about where the ID copy is going. For personal or legal documents, encrypted email or secure file-sharing links are recommended. Sending via regular text may not be safe for sensitive IDs, especially if confidential details (like an address) are visible.
It’s also handy to use the “Send as PDF” option, since PDFs preserve layout and are less likely to get squished or stretched. Quick tip: many apps have a history or outbox showing when and where IDs were shared, so users can check if a file actually went through—no more guesswork or hunting through old emails.
Frequently Asked Questions
Digital scanning makes it easy to copy an ID card’s front and back onto the same page. Mobile apps and online tools help people get clean, reliable scans for work, school, or personal needs right from their phones.
What apps can I use to photocopy an ID card with both sides on one page?
Plenty of apps now let users scan both sides of an ID card and combine them onto one page. Apps like Scanner App, Adobe Scan, CamScanner, and Microsoft Lens are favorites. They let users snap a picture, crop it, and then place the front and back together in a single document—usually with a few taps.
Each app works a bit differently. Some guide users with on-screen steps, while others rely on manual image placement. Personal preference and phone type can play a big role in deciding which one feels right.
Is there a free method to scan an ID card’s front and back onto a single page using my phone?
Yes, there are free ways to scan both sides of an ID card onto one page using just a phone. Free versions let users take two photos—one for the front, one for the back. After saving each image, they can combine them into a single PDF or image file.
Occasionally, free apps might add a small watermark or limit advanced features. For basic ID card copying, though, these free options work just fine in a pinch.
How can I get a PDF of both sides of my ID card on one page using an online service?
Many online services can merge images into a single PDF. Users just take photos of both sides of their card, then upload the images to platforms like Smallpdf, PDF24, or PrinterScanner.
These sites usually offer free merging tools. After uploading, users arrange the images on one page, click to combine, and then download a neat, single-page PDF. There’s no need for advanced tech skills—just follow the prompts.
What steps should I follow to capture both sides of an ID card using my iPhone?
Someone with an iPhone can use apps like Scanner App, Notes, or Adobe Scan. First, open the scanning app and photograph the front of the ID. Next, snap the back. Most apps allow users to add both images to the same file right away.
If using the built-in Notes app, tap the camera, pick “Scan Documents,” and repeat for both sides. Then, adjust the order if necessary—front side first, back second—and save as a single PDF. It’s nearly as simple as taking regular photos.
Can I scan both sides of an ID card on one page without downloading any software?
Yes, it’s possible—though not always ideal—if someone uses a web-based scanning tool on their phone or computer. These tools let users upload photos straight into a browser, merge them on one page, and export a download-ready file.
While this works well for one-off tasks, slow connections or browser hiccups can cause problems. And, for those worried about online privacy, locally installed apps may feel safer.
Are there any apps that allow me to take scans of an ID card’s both sides in one go?
A few modern apps offer a special “ID Card” mode. With this, users can scan both sides back-to-back and the app automatically arranges them on a single page.
Some office printers or copiers have this feature, too—the device will prompt for the front and back, then print or email a single file. For mobile users, these ‘two-step’ scan features are a real time-saver, especially when there’s a stack of IDs waiting.