Ever tried snapping a photo of a document only to realize it’s too blurry to read or just plain useless for work? A 300 DPI scanner app changes the game because it lets users create crisp, professional-quality digital copies directly from their phones. No need to lug around a heavy scanner or wrestle with clunky computer software—just a simple tap on the app and suddenly, even complex paperwork or photos turn out sharp and clear. Handy, right?
But it’s not just about clarity—sometimes, those fine details truly matter. Schools, bosses, and even printers love high-resolution scans because they capture every small note and signature without smudging or blur. After all, nobody wants to email a fuzzy contract or send in a washed-out homework assignment. Plus, plenty of people want to store old family recipes or artwork in a way that honors the original, and 300 DPI hits the sweet spot between sharpness and file size for everyday use.
There’s also a surprising bit of freedom here: modern apps now allow users to adjust the DPI value of an image, meaning you’re not stuck with grainy files or huge downloads—just the result you actually need. Maybe that’s why so many people are trading in paper jams and slow hardware for fast, convenient scanning right from their pockets.
What Is a 300 DPI Scanner App?
A 300 DPI scanner app lets users capture high-quality digital copies of paper documents or photos using a phone or tablet camera. Using precise scanning resolution, it can reproduce sharp images and crisp text.
Understanding DPI and Resolution
DPI, short for dots per inch, measures how many dots fit within a single inch of a scanned image. This value has a direct effect on clarity—higher DPI means more detail per inch. A 300 DPI scanner application, as the name states, captures 300 dots per inch when scanning. In print and digital archiving, this figure is sort of a sweet spot. You get a document that’s sharp but not enormous in file size.
For most people, 300 DPI is enough for clear prints, scanning business documents, or archiving photos. It’s a standard used by printers, photo shops, and even government forms. When someone scans at a lower DPI—say, 72 or 150—the text may come out grainy or too pixelated if printed or zoomed. At the same time, shooting for much higher DPI can balloon file sizes and slow down sharing or storage. That’s why experts and industry guides recommend 300 DPI for most scanning tasks.
Key Features of 300 DPI Scanner Apps
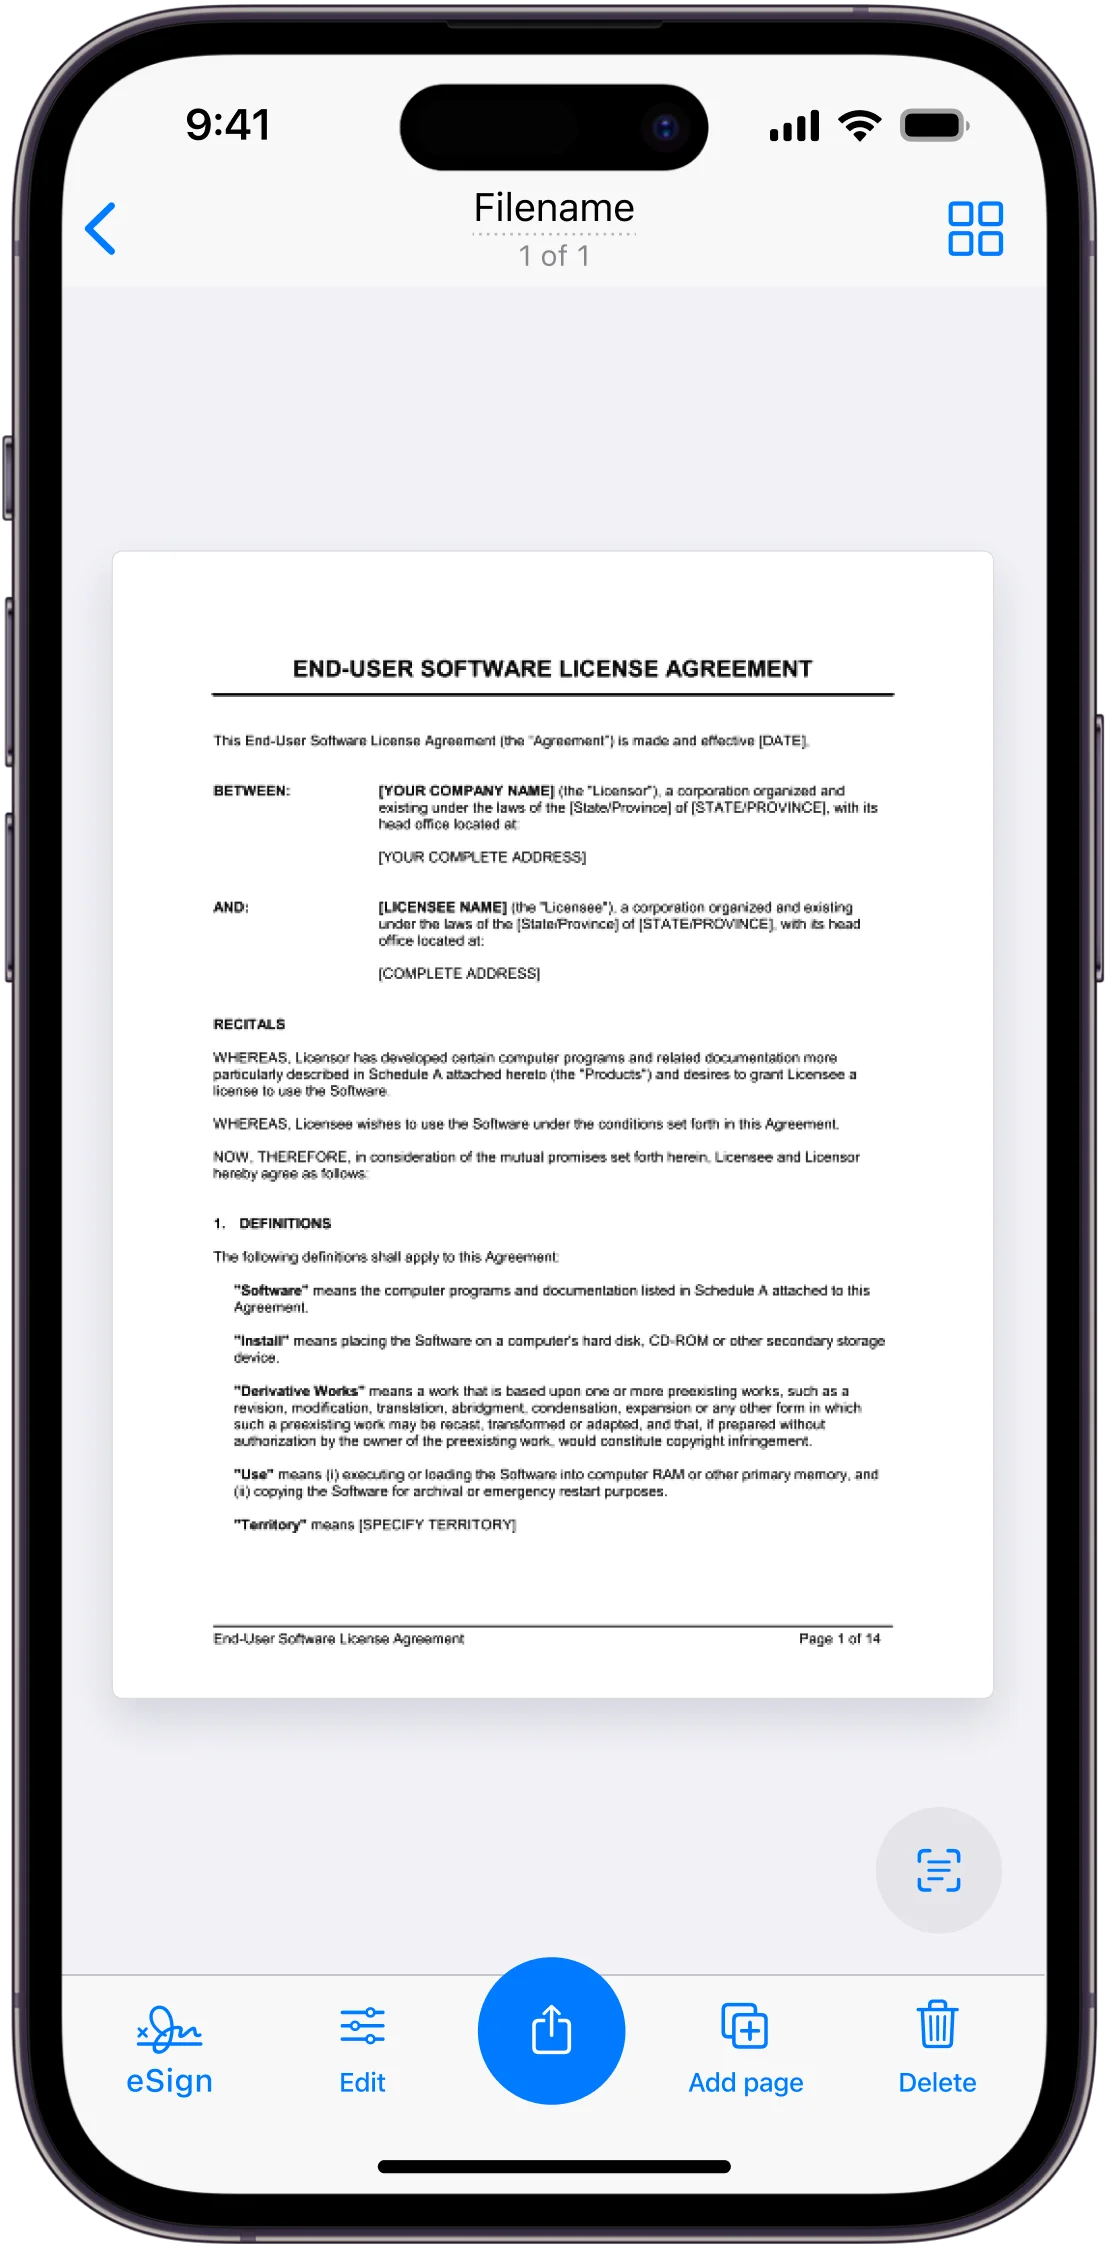
Most 300 DPI scanner apps offer powerful tools packed in a user-friendly design. Some automatically detect document edges, crop extras, and even straighten tilted shots. Others include text recognition (OCR) so scanned pages can be searched or copied as text.
Popular apps allow adjustment of scanning resolution on the fly. For instance, if you’re scanning an old photo, you might use the full 300 DPI, but for receipts, a lower DPI may work fine. A handy feature list might look like this:
- Flexible resolution options
- PDF and JPEG output formats
- Document auto-cropping and alignment
- Built-in OCR (optical character recognition)
- Cloud sync or sharing tools
These features make the difference between a blurry scan and a clean, accurate digital copy. They also help keep digital files organized and easy to work with, whether someone uses the app for work, school, or personal archiving.
Benefits of Scanning at 300 DPI
Scanning documents, artwork, or photos at 300 DPI gives a noticeable improvement in image quality while helping users manage file storage and digital sharing. This setting works well whether someone needs crisp scans for printing or just wants to save space on their device.
Image Quality and Clarity
A scan at 300 DPI delivers sharp lines and well-defined text, which makes reading and sharing documents a pleasant experience. Edges won’t look fuzzy or pixelated, and detail in images stands out better than with lower settings.
People who scan contracts, reports, or even colorful art pieces will notice that small print and fine graphics come through clearly—great for capturing everything on the page accurately. For many home scanners and smartphone apps, 300 DPI represents a sweet spot that pulls out the depth and contrast you see in real life.
Comparing 300 DPI to lower resolutions, the difference is obvious. Letters on a scanned letterhead look crisp enough that you could zoom in or print without squinting at the results. That’s helpful for business needs or anyone who hates seeing blurry edges on scanned images. In fact, professionals often recommend this setting for most common scanning tasks because the quality remains consistently high.
Optimal File Sizes for Digital Copies
Balancing quality and storage is where 300 DPI shines—nobody wants huge digital files that eat up computer space. Scans at this level create documents clear enough for reading and sharing, while not overwhelming phones or cloud drives with giant files.
Files scanned at 300 DPI are usually smaller than those done at 600 DPI, often around 85 KB for a single page, which makes them easy to attach to emails or store in batches. This kind of efficiency matters if users work with lots of files or need to send scans quickly to coworkers, teachers, or family.
A convenient file size also means less waiting when uploading or downloading, and less worry about running out of cloud storage. Professional apps—like those from scanner.biz—make it easy to get those balanced results with no hassle. Users who scan daily appreciate not having to babysit their devices or organize massive folders of oversized files.
Perfect Balance for Prints and Web
When it comes to printing, 300 DPI has become a standard for high-quality printouts, making photos and documents pop with clear, true-to-color results. Laser and inkjet printers work best with this setting since it holds onto detail without ballooning file sizes.
This setting is also a smart pick for documents going online, whether for business use or sharing with friends. Website images and email attachments look crisp and load quickly—nobody wants to squint at text or wait for big files to download. The balance at 300 DPI means scans look good on screens and paper, so they’re flexible for both digital and physical copies.
Most home users, students, and even small businesses get all they need from 300 DPI; there’s no need for super-high settings that slow everything down.
When to Use 300 DPI versus Other Resolutions
Choosing the right resolution when scanning matters more than most people realize. Different numbers—like 72 dpi, 300 dpi, or even 600 dpi—create real changes in the look and size of each scanned document or photo. Whether the goal is sharing online or archiving special family memories, picking the right pixels per inch can make or break the process.
Comparing 72 DPI, 300 DPI, 400 DPI, and 600 DPI
Let’s be honest—these numbers can seem confusing on the surface. But put simply, resolution means how many dots or pixels are captured per inch of the original item. Higher numbers mean more detail but also bigger file sizes.
Here’s a quick comparison:
| DPI | Typical Use | Detail Level | File Size |
|---|---|---|---|
| 72 DPI | Web sharing, preview images | Very Low | Small |
| 300 DPI | Printing photos, archiving | Medium/High | Medium |
| 400 DPI | High-quality prints | High | Large |
| 600 DPI | Detailed graphics, large prints | Very High | Very Large |
A scan at 72 dpi works for quick previews or web pages, where speed and small file size matter most. For most documents and photos, 300 dpi hits the sweet spot—it strikes a balance between sharpness and manageability. If the job involves intricate art or needs cropping small areas, 400 or 600 dpi can help capture every detail, though the files balloon in size.
Best Practices for Scanning Photos and Documents
Photographs and documents don’t always need ultra-high resolutions. For everyday documents—bills, handwritten notes, forms—scanning at 300 dpi gives a clear result without hogging storage space. Most home and office printers are designed for 300 dpi prints, so there’s rarely a need to go higher.
Photos are a little trickier. If someone plans on enlarging a photo or archiving precious images for the long haul, stepping up to 400 dpi or 600 dpi makes sense—especially for small originals like negatives or slides. But unless you’re printing a billboard, anything beyond that tends to be overkill.
One tip: always ask, “What’s this scan for?” If it’s only for sharing on social media or emailing, 300 dpi is probably perfect. If it’s for creating a family keepsake, a little extra resolution can provide peace of mind. The good news is, with the latest scanner app updates, switching between these settings is just a tap away—so experimentation is encouraged.
File Formats Supported by Scanner Apps
Mobile scanner apps handle several common file types, which can change how a scanned document looks, how much space it takes up, and how easy it is to share or store. Some formats work better for simple forms and business cards, while others handle big multi-page reports or photos with more detail.
JPEG, PDF, and TIFF File Types
Most scanner apps support three main file types: JPEG, PDF, and TIFF. Each type fits a different need—or, maybe even a different mood. JPEG is often chosen for photos or images, and it’s widely supported. These files compress well, shrinking storage space needs, but may lose some image detail due to compression.
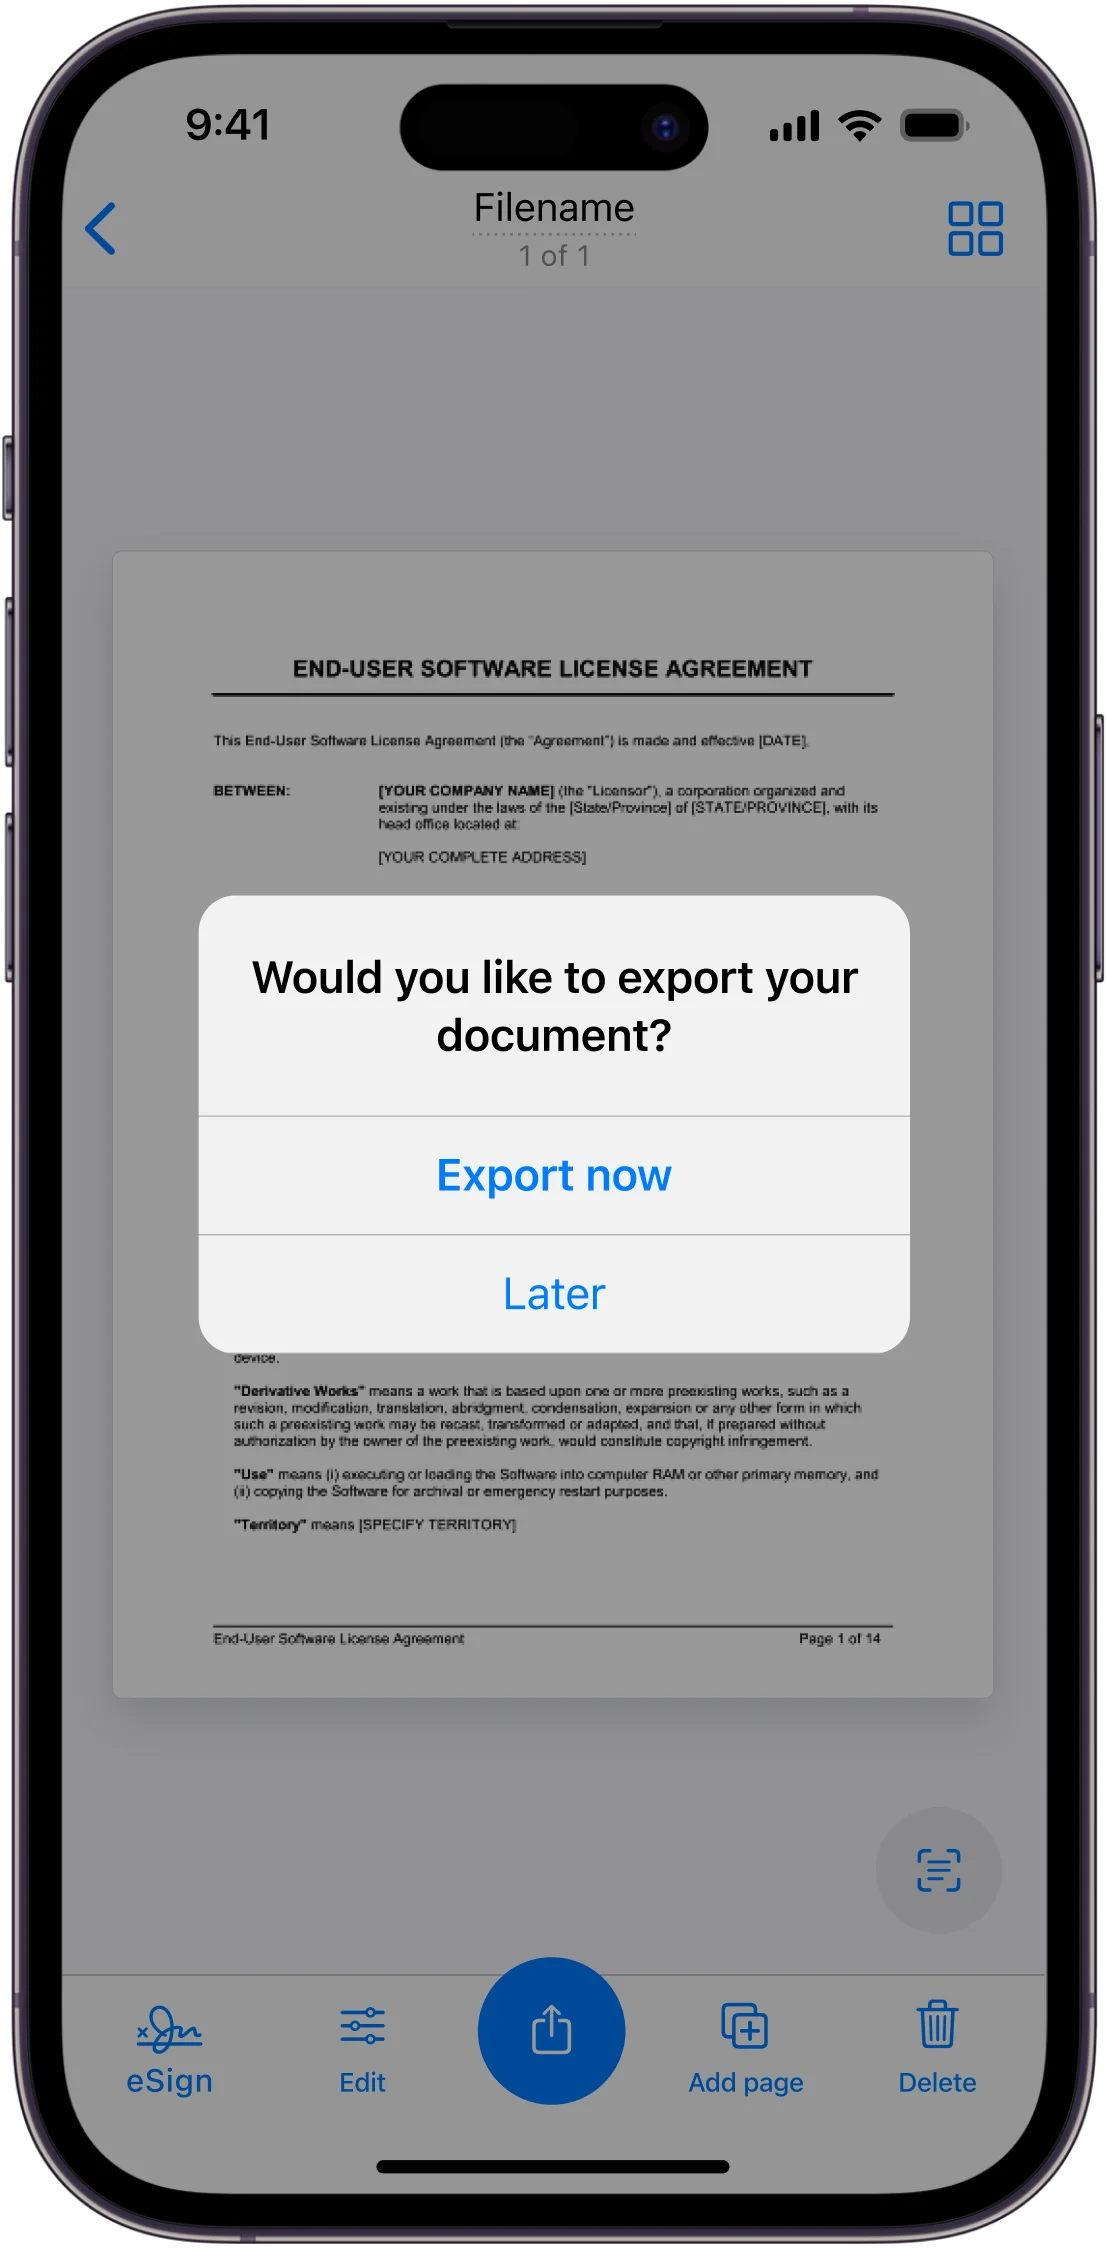
PDF files are the go-to for text-heavy documents. They keep text sharp, are easy to email, and support multiple pages — making them perfect for contracts, assignments, and reports. Creating searchable PDF files is a favorite feature in many modern apps, helping users find info fast in a pile of scans. You’ll find PDF as the standard for scanned text records at lots of schools and offices.
TIFF, short for Tagged Image File Format, pops up less often but is loved for its ability to store uncompressed, high-quality images. Some legal or archival documents are best kept as TIFF files because they hold up to repeated access and editing. Storage space is the catch: TIFF files can balloon in size, so they’re not super handy for casual scanning.
Choosing the Right Format for Your Needs
So what should someone pick? It depends on what they’re scanning and how they plan to use it. Quick receipts or notes? JPEG works fine. Want an easy-to-read, easy-to-share file for work or school? PDFs run the show. They are reliable, and you don’t have to stress about missing text or formatting—plus, they support digital signatures for added security.
TIFF might sound old-school, but it’s the hero in situations where preserving every pixel matters—think legal records or family photos you don’t want to lose quality on. However, if storage is tight, TIFF’s large file sizes can quickly fill up a phone or cloud drive.
Here’s a simple breakdown:
| File Type | Storage Space Needed | Best Use |
|---|---|---|
| JPEG | Low | Photos, quick scans |
| Medium | Text docs, multi-page files | |
| TIFF | High | Archival, legal, high-res images |
When in doubt, it’s smart to match the file type to the document’s purpose — and consider not just what looks best right now, but what will still work years down the line.
Top Features to Look for in a 300 DPI Scanner App
A great 300 DPI scanner app should go beyond simple document capturing. The best options allow users to fine-tune settings, improve photo clarity, and send scans directly to storage or sharing platforms for smoother workflows.
Custom Scanner Settings and Adjustments
The magic is often in the details. Custom settings let users change scan resolution, tweak contrast, and select color options like grey or black-and-white. For example, finding a scanner app that lets people pick the exact DPI—like 300 for sharp, clear electronic copies—makes all the difference when submitting official documents or preserving memories.
It’s also essential to have adjustable controls for brightness, contrast, and cropping. Small tweaks help text pop and important features stand out. With these custom adjustments, even a less-than-perfect lighting situation can turn into a usable, high-quality scan.
Many leading apps now feature real-time previews. Users can see changes before finalizing the scan, which saves time, storage space, and some frustration. Everyone has different needs, and these settings provide the flexibility to scan receipts, notebooks, or even beloved greeting cards with just the right look.
Photo Scanning and Image Enhancement Tools
Photo scanning is a unique challenge—nobody wants faded colors or crooked angles in their digital albums. The right 300 DPI scanner app isn’t just about sharpness; it’s about making every photo look its best. Tools for straightening, cropping, and correcting perspective can take a wonky old snapshot and make it worthy of a frame.
Integrated image enhancement features, like auto-contrast and noise reduction, make scanned photos stand out. Some apps can even remove glare and restore faded images, which is especially helpful with shiny prints or vintage photos. If a scanner app supports photo scanning and enhancement, it can take a regular phone and turn it into a reliable archiver of family history.
Many users turn to solutions like Municorn Scanner App for its smart features. Auto-edge detection and quick color balancing matter when every detail counts.
Integration with Cloud Storage and Photo Platforms
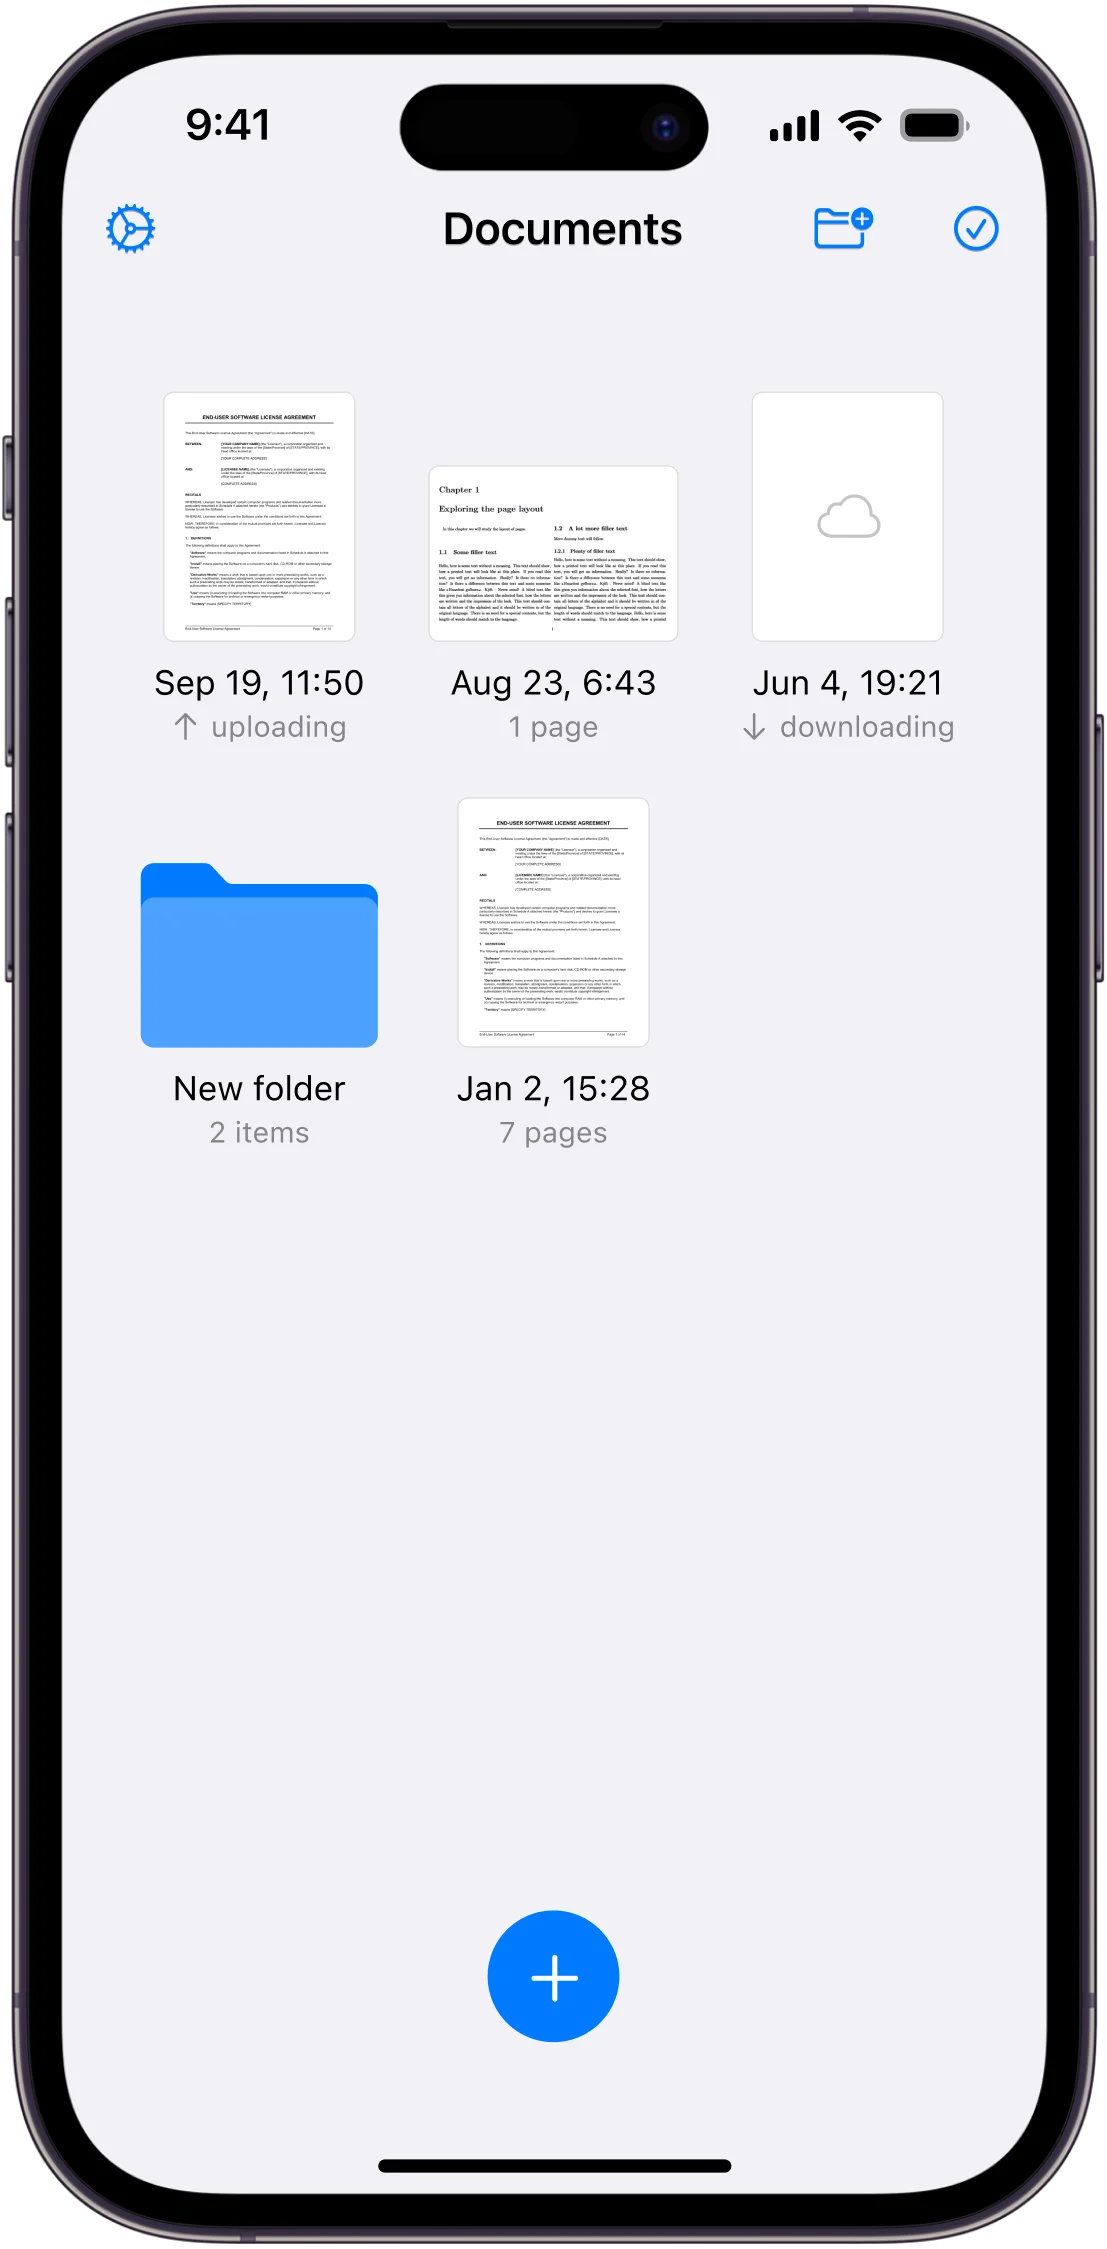
People want to save, share, and find their scans with as little fuss as possible. That’s why cloud integration—think Google Drive, Dropbox, or even direct Google Photos connections—matters so much. Uploading scans straight to a favorite cloud account keeps files safe and accessible from anywhere.
These connections cut down manual steps and help organize scanned documents or photos automatically. For families sharing pictures or busy professionals working across devices, integration is a game changer.
Lots of apps also include tools for managing storage space, alerting users when they’re running low. This attention to the little things—like file naming or folder creation based on scan type—turns a helpful app into an everyday essential.
Popular 300 dpi Scanner Apps and Tools
Not every scanner app is created equal. Some stand out with their easy interface, while others focus on delivering sharp, professional scans that make tiny text and faint diagrams crisp. For tasks like digital faxing or archiving contracts, choosing the right tool can save headaches and make workflows smoother.
Overview of Scanner App
Municorn Scanner App has become a popular choice for anyone who needs reliable 300 dpi scans without complicated menus or a confusing setup. People like how the app’s interface is simple and direct — opening the app drops them right into scanning mode, so it feels quick and straightforward, not fussy.
Here’s the thing: it offers a handful of preset scan resolutions (including 300 dpi) that fit most office and school tasks. That means users can save receipts, business cards, or even multipage reports in one go. Digital organization is made easier, too. Finished scans sort into customizable folders—handy if you juggle client files or run paperwork for different projects.
Some subtle perks include batch scanning and text recognition. For users who fax through platforms like Municorn Fax, having every scan prepped at the standard 300 dpi means fewer headaches: the scans send clearly and don’t slow down file transmission. While the app’s look is minimalist, it packs the features most regular users care about.
Using Google PhotoScan
Google PhotoScan is a bit different from typical document scanner apps. While it’s mostly known for scanning old printed photographs — think family albums, not contracts — it actually excels at capturing detailed 300 dpi images with minimal glare and distortion.
The app works by prompting users to move their phone in a pattern, snapping several images that it stitches together. This process eliminates reflections and catches all the subtle details, especially handy when dealing with glossy photo paper.
Teachers and home office users often choose Google PhotoScan for digitizing memory albums, handwritten notes, and even receipts for tax season. The interface is pared down — almost child-simple — but the resulting files are easy to share or upload to Google Drive right away. That’s useful if you want to keep everything sorted in one cloud spot.
Google PhotoScan doesn’t have as many document-specific settings as something like ally or SwiftScan, but if perfect clarity with minimal fuss is the goal, it’s a smart pick. Many find the process almost fun, a rare thing in office tech.