
A document has landed in your inbox and it’s waiting to be signed. This quick guide will show you how to sign an email document on your iPhone, Android, or computer. We’ll cover how to use built-in apps and third-party solutions to electronically sign documents.
Electronic signatures have revolutionized the way we sign documents, and you can do it from anywhere on any device. From smartphones to tablets to computers, there are built-in apps and third-party solutions to simplify and expedite the process.
Many platforms have built-in e-signature apps so you don’t need additional software. Here’s how to sign documents on iPhones, Androids, and computers.
Sign a Document Sent by Email on iPhone
If you’re an iPhone user, you’re in luck. The built-in Mail app has a built-in e-signing feature using the Markup tool. You can sign documents sent to you via email using this method.
Open the email attachment in the Mail app on your iPhone. Tap the circular icon with three horizontal lines in the upper right corner of the screen to open the Markup feature. This is where the magic happens. You can annotate PDFs, images, and other file types using the Markup tool. To e-sign, simply tap the signature icon and draw your John Hancock using your finger or a stylus.
Save your signed document and reattach it to the email. If you need more features, check out apps like Scanner App.
How to Sign a Document with the Municorn Scanner App
- Download and Install the Municorn Scanner App: Open the App Store on your iPhone and search for “Municorn Scanner App” in the search bar. Download and install this handy app so you can get started.
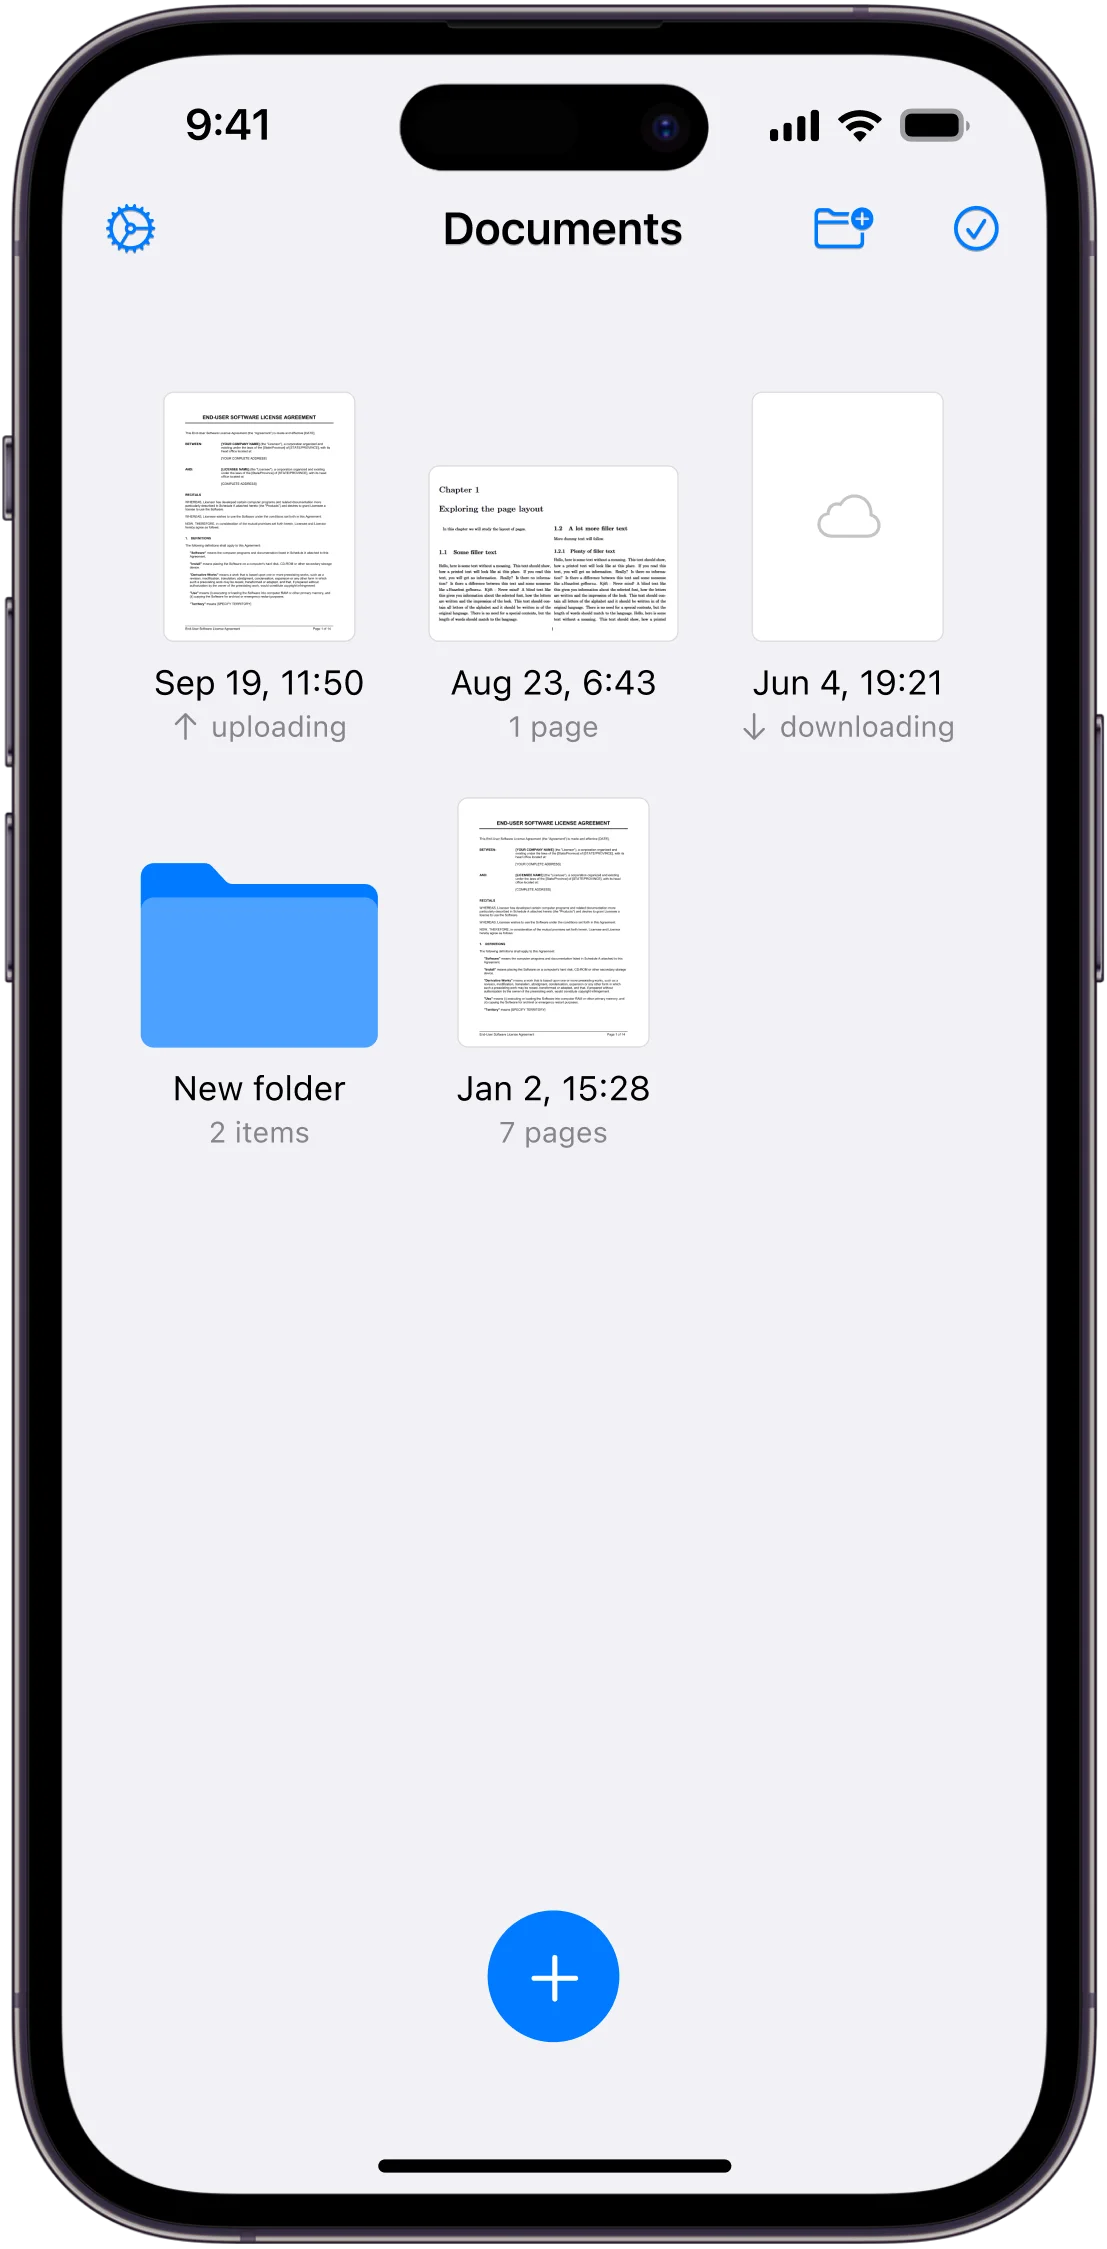
- Open the Municorn Scanner App: Find the Municorn Scanner App on your home screen and tap it to open.
- Import the Document: It’s time to bring in the document you want to sign. You have a few ways to do this:
- Scan a Physical Document: Use your iPhone camera to scan the document. Make sure it’s well-lit and flat, and try not to move it while scanning for the best results.
- Import from Files: Tap the import icon and select your document from Files, iCloud or another cloud storage service you use.
- Import from Photos: If you already took a photo of your document, you can import it from your Photos app.
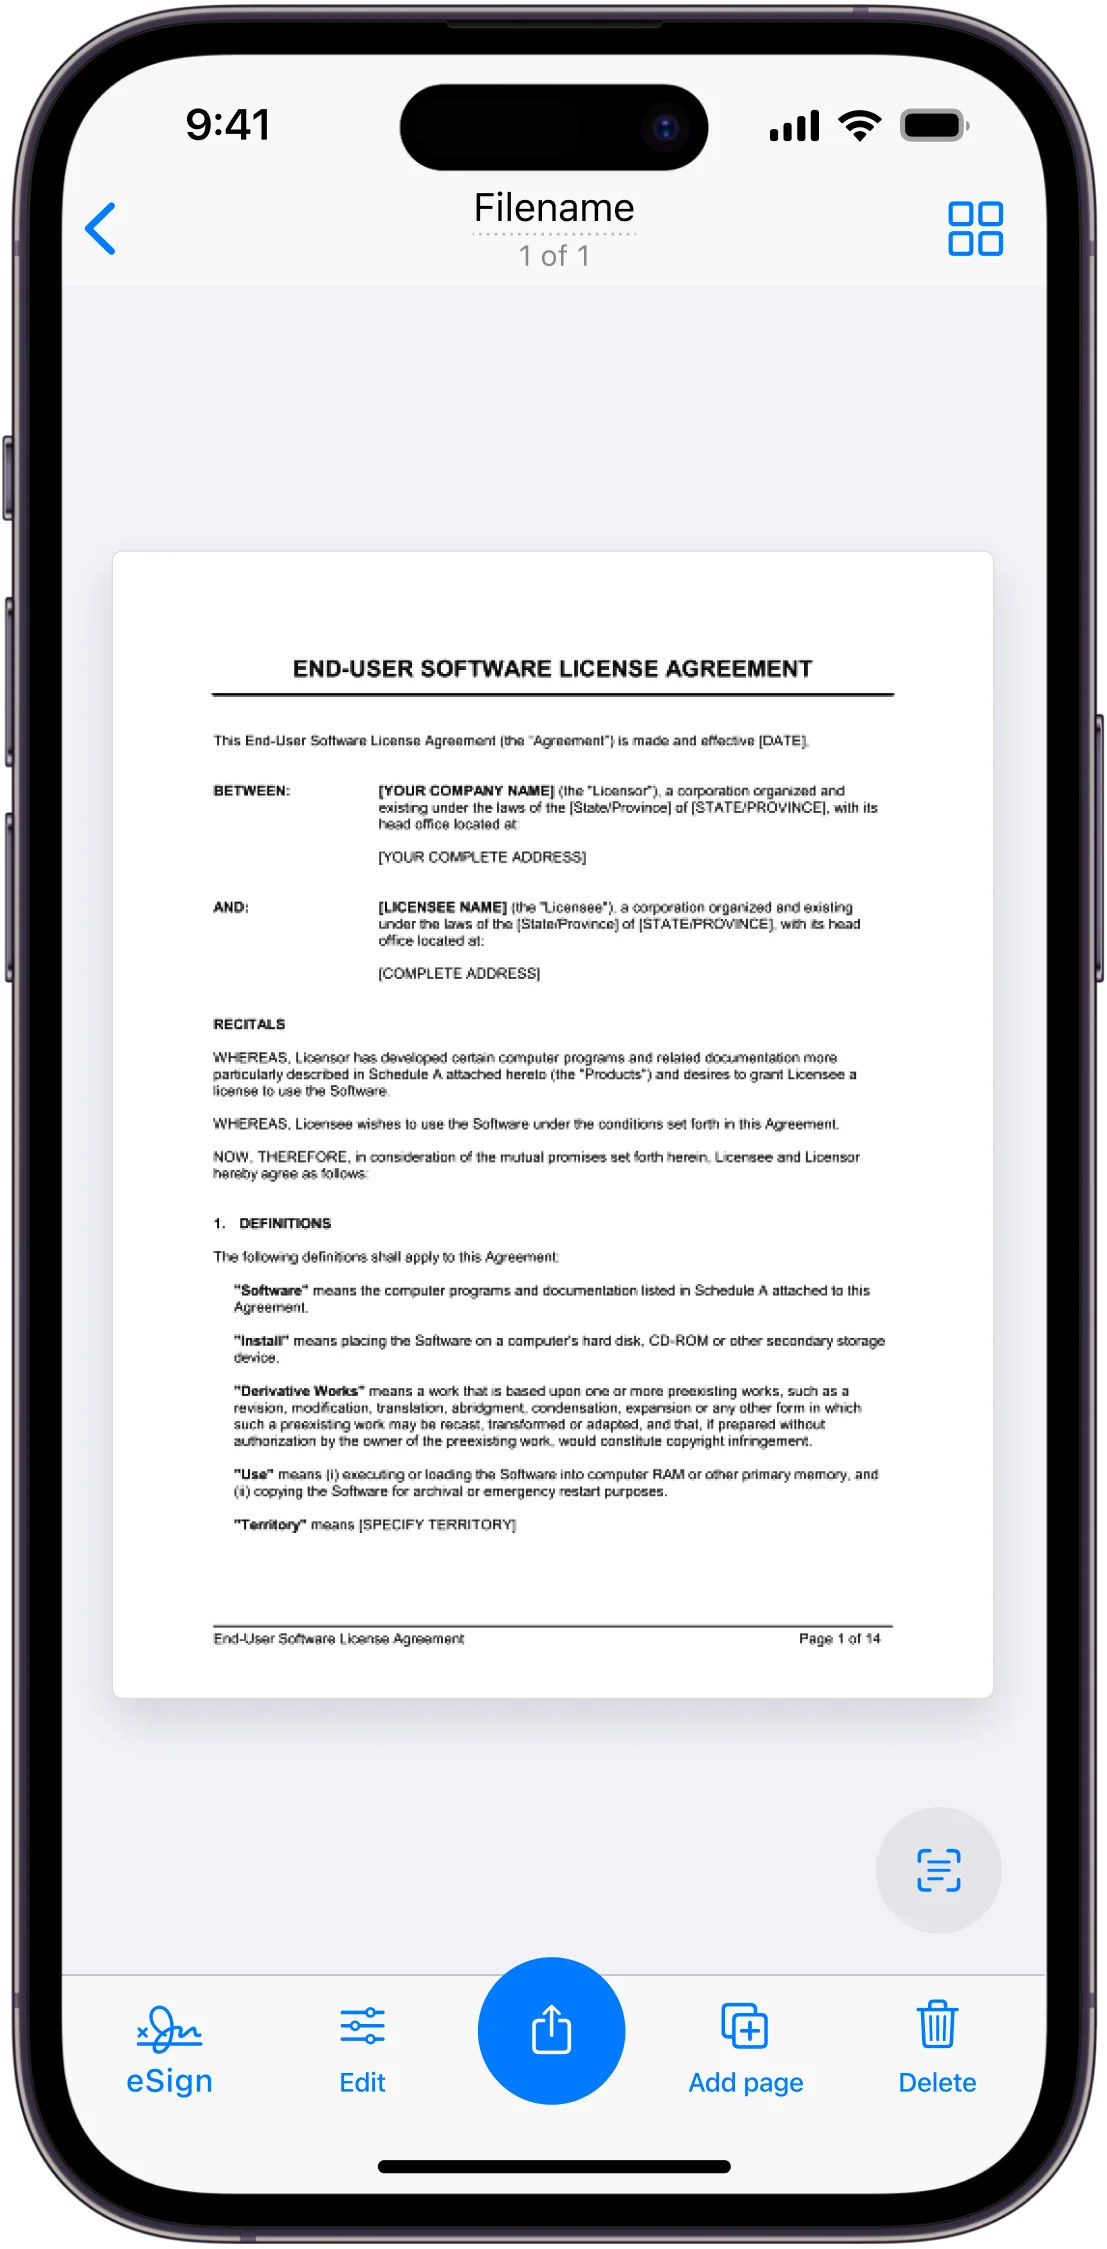
- Open the Document for Editing: The document will open in the editing view where you can start editing.
- Access the Signature Tool: In the editing view, find the signature tool icon – usually a pen or signature symbol. Tap this icon to begin signing.
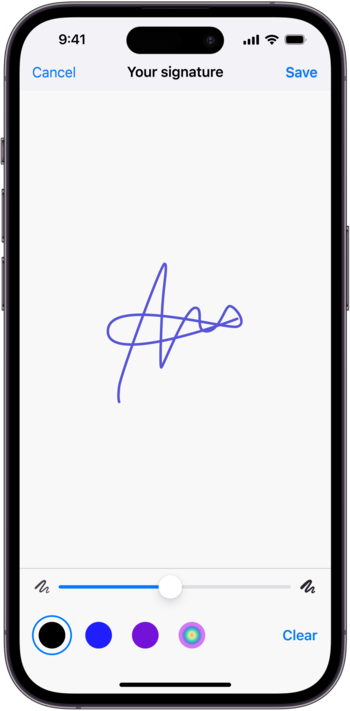
- Create Your Signature: You will be prompted to create a new signature. Simply draw it with your finger or stylus. If you have saved signatures before, you can select one from your list of saved signatures.
- Place the Signature on the Document: Drag the signature to where you want it on the document. You can resize it to fit.
- Save the Signed Document: Once you’re happy with your signature, the document will save automatically. You might need to tap a checkmark or save icon to confirm.
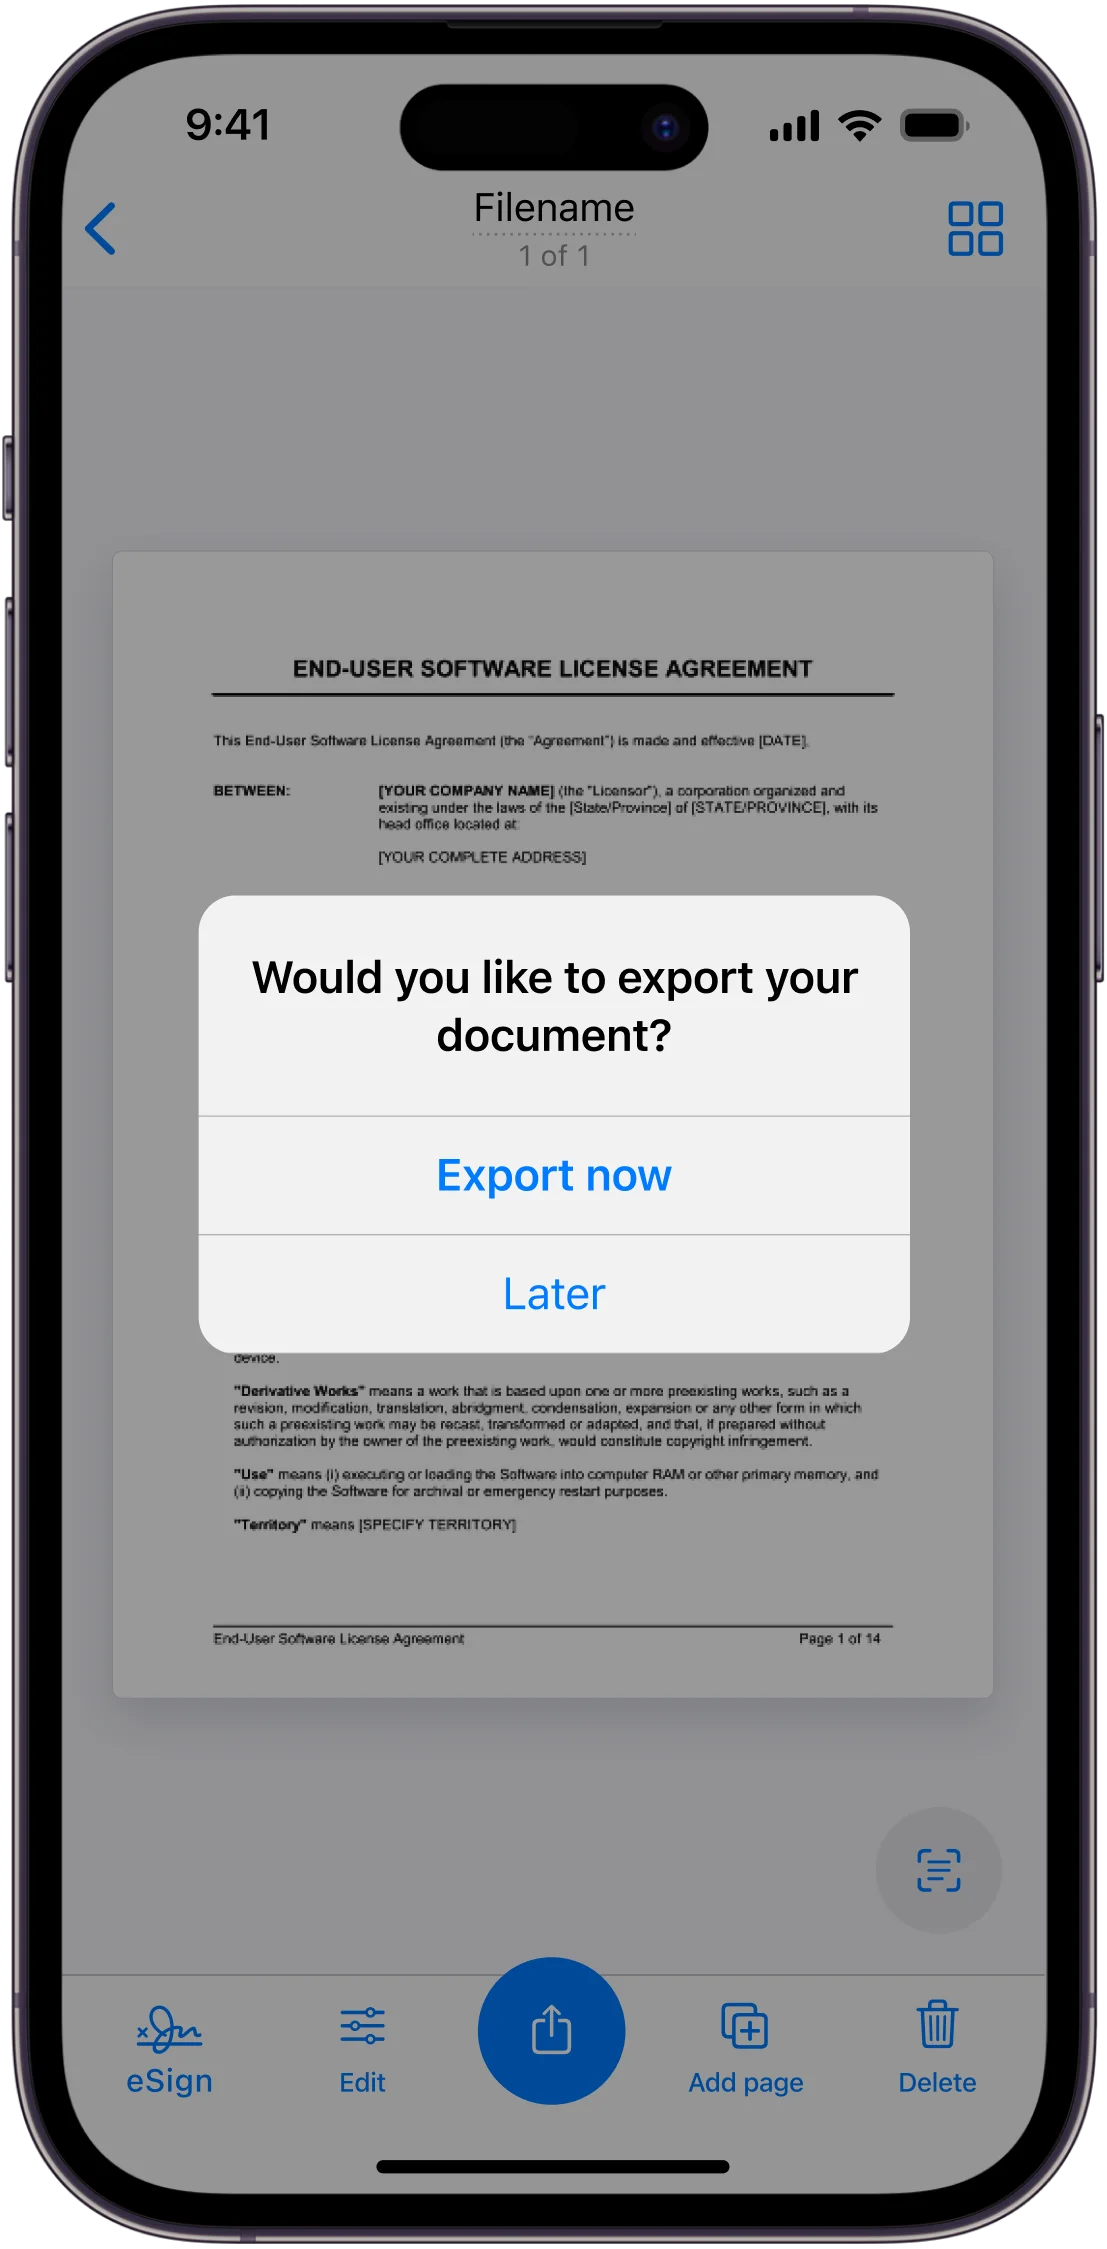
- Export the Signed Document: To share your signed document, tap the export or share icon. Select your preferred file type (usually PDF) and how you want to share it – via email, to the cloud or another option.
- Attach the Signed Document to an Email: If you choose to share from the Municorn Scanner App, your email app will open with the signed document attached and ready to send. You can also save the signed document to Files or another location and attach it to an email manually later.
Sign a Document Sent by Email on Android
E-signing documents is just as easy on Android devices. Google Drive has a built-in feature to add electronic signatures. Open the document in Google Drive, and you’ll see an option to sign. Add your signature, and the document is signed.
This method doesn’t require additional software, and your signed document is saved to Google Drive, where you can share it easily.
If you don’t have Google Drive, you can use the Notes app to sign documents on your Android. Open the PDF in Notes, and you can sign using the touchscreen.
Use Scanner App for Android if you need a more user-friendly and powerful solution. See our step-by-step guide above to learn how to use Scanner App to sign documents.
Sign a Document Sent by Email on Computer
On your desktop, you can sign documents using various electronic signature tools. One popular option is Adobe Acrobat. Open the PDF document, and click on the ‘Fill & Sign’ tool. Follow the prompts to add your signature.
Your PDF viewer has built-in tools to sign documents on both Windows and Mac. On Windows, you can sign in the built-in PDF viewer. On Mac, you can sign using the Preview app.
Use Built-in Apps for e-Signing
Built-in apps on your iPhone, Android, and computer offer a quick way to e-sign documents without downloading additional software.
The following sections explain how to use built-in apps on iOS, Android, and your computer for e-signing.
Sign with iOS Mail App
The iOS Mail app has a built-in Markup tool to create and insert electronic signatures onto email attachments. You can sign documents using this method. Open the email attachment, tap the Markup tool, and add your signature using your finger or a stylus. Send the signed document back to the sender.
The iOS Mail app is a great built-in app for e-signing on your iPhone.
Sign with Android Google Drive
Google Drive is a simple way to sign documents on your Android device. Open the document, and use the signature feature. Your signed document is saved for you.
This feature means you can sign documents sent to you via email on your Android device without additional software.
Sign with Windows and Mac Preview
Your Windows and Mac have built-in PDF viewers that allow you to e-sign documents. On Mac, you can create and save signatures using your trackpad or webcam in the Preview app. This method is convenient for frequently used signatures.
On Windows, you can sign PDFs directly in the built-in PDF viewer.
Third-Party Apps for More Features
If you need more features when signing documents, third-party apps offer additional security features like encryption and audit trails to ensure your documents are authentic and compliant.
Let’s cover popular third-party apps like DocuSign, Adobe Acrobat, and e-Sign App. We’ll explain their features and how to use them to e-sign.
Sign with DocuSign
DocuSign is one of the most popular digital signature apps. You can try DocuSign online with a free trial. Upload your PDF file, add your signature, and follow the prompts to request signatures from others.
Sign with Adobe Acrobat
Adobe Acrobat is another popular app for e-signing documents. You can sign using a mouse or stylus. Open the PDF, and click on the ‘Fill & Sign’ tool. Follow the prompts to sign.
This method eliminates the need to print, scan, and email documents back and forth.
Are Electronic Signatures Legal?
Electronic signatures are generally considered legal in the United States under the ESIGN Act and UETA. These acts set national standards for electronic signatures. However, some documents like wills and specific court orders might still require a wet ink signature. If in doubt we strongly advise you to contact the recipient of the document to make sure the electronic signature is valid.