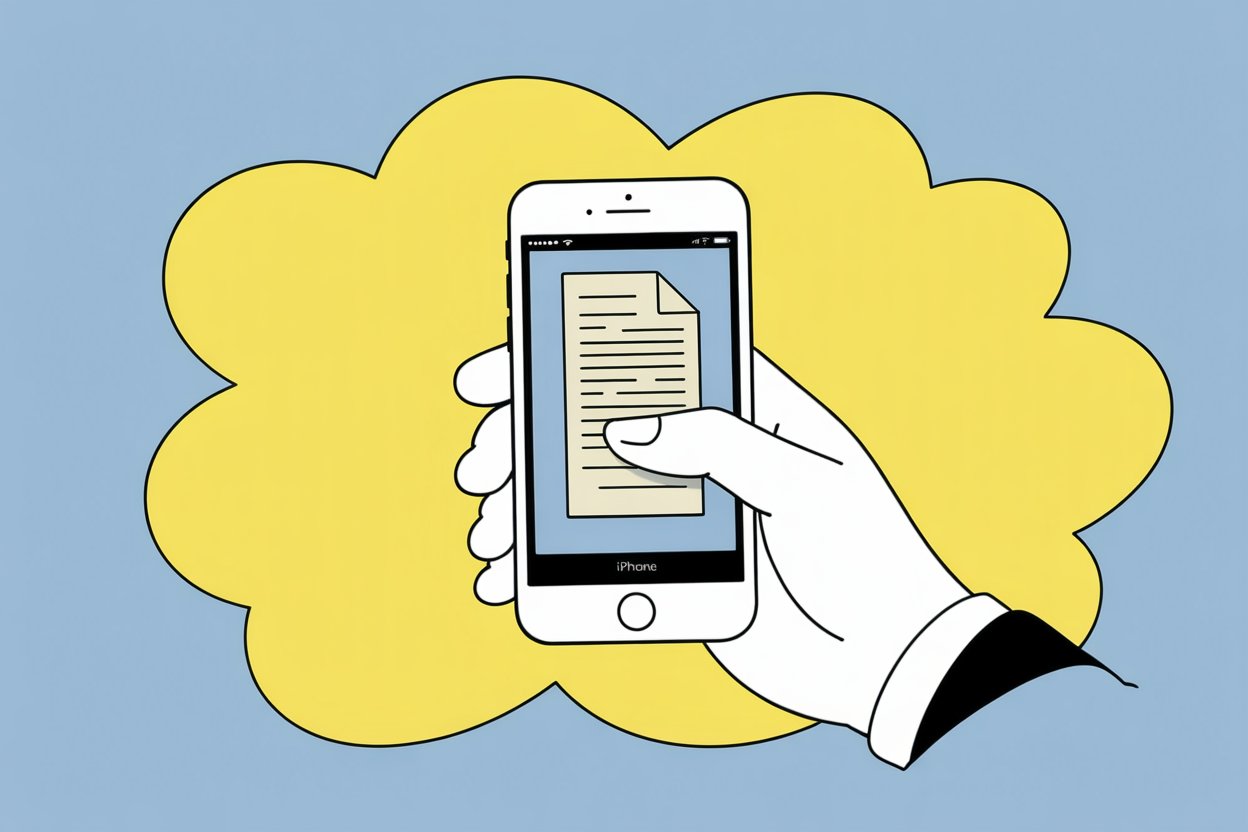

Ever found yourself needing a scan but nowhere near a printer or bulky office machine? Welcome to modern life—where everyone has a camera in their pocket, yet not everyone knows it doubles as a full-blown scanner. Anyone with an Android phone can scan documents in seconds, turning paper into crisp, shareable PDFs without missing a beat.
It’s surprisingly simple; almost too simple, honestly. With just a few taps, those random receipts, school forms, handwritten notes, or even grandma’s recipe pages transform into digital files—clean, readable, and ready to email or save. Gone are the days of fuzzy photos or squint-inducing screenshots; now, you get professional-looking scans with nothing but your phone and a trustworthy app, like Scanner App.
So why not skip the stress and clutter altogether? Whether working from home, filing taxes, or sharing an official ID, everyone can use a quick mobile scanning trick. Let’s get real—if you’ve got an Android, you already have everything you need.
Essential Requirements for Scanning Documents on Android
Scanning a document from an Android phone is simple, but it does call for specific hardware, apps, and an understanding of output options. Consistent results hinge on having the right device, using reliable scanning apps, and knowing how to save, share, or print your scans.
Compatible Android Devices
Not every Android device serves you equally well when scanning. For example, older models with lower camera resolutions may struggle to capture text sharply—a blurry scan isn’t much help, is it? Newer Android phones and tablets, especially those released in the last few years, usually have high-quality cameras (8MP or better) that can pick up fine print, stamps, or logos—a detail that often matters for contracts or IDs.
Here’s a quick comparison table for context:
| Device Age | Camera Quality | Scanning Suitability |
|---|---|---|
| 4+ years old | Often 5-8MP | Struggles with details |
| 2-3 years old | 8-12MP | Good in most lighting |
| Latest (1 year) | 12MP+ & AI tools | Best results, fast focus |
A steady hand or a tripod helps too. Even a great phone can give fuzzy results if it’s moving.
Necessary Apps and Tools
A reliable scanning app on Android makes all the difference—nobody wants to spend ages wrangling clunky software. While some users default to Google Drive (which comes pre-installed on many devices), there are stronger, feature-packed options like Scanner App, Adobe Scan, or CamScanner. These apps auto-detect document edges, snap, and correct skew on the fly.
Look for features such as:
- Auto-crop & enhancement: Ensures text stays legible.
- Batch scanning: Useful for multi-page contracts.
- Direct PDF creation: Saves time, sidesteps extra steps.
- Cloud integration: Lets you back things up and share on the go.
Bluetooth or Wi-Fi connections to printers and cloud services (Google Drive, Dropbox) make storing and sharing scanned PDFs much easier.
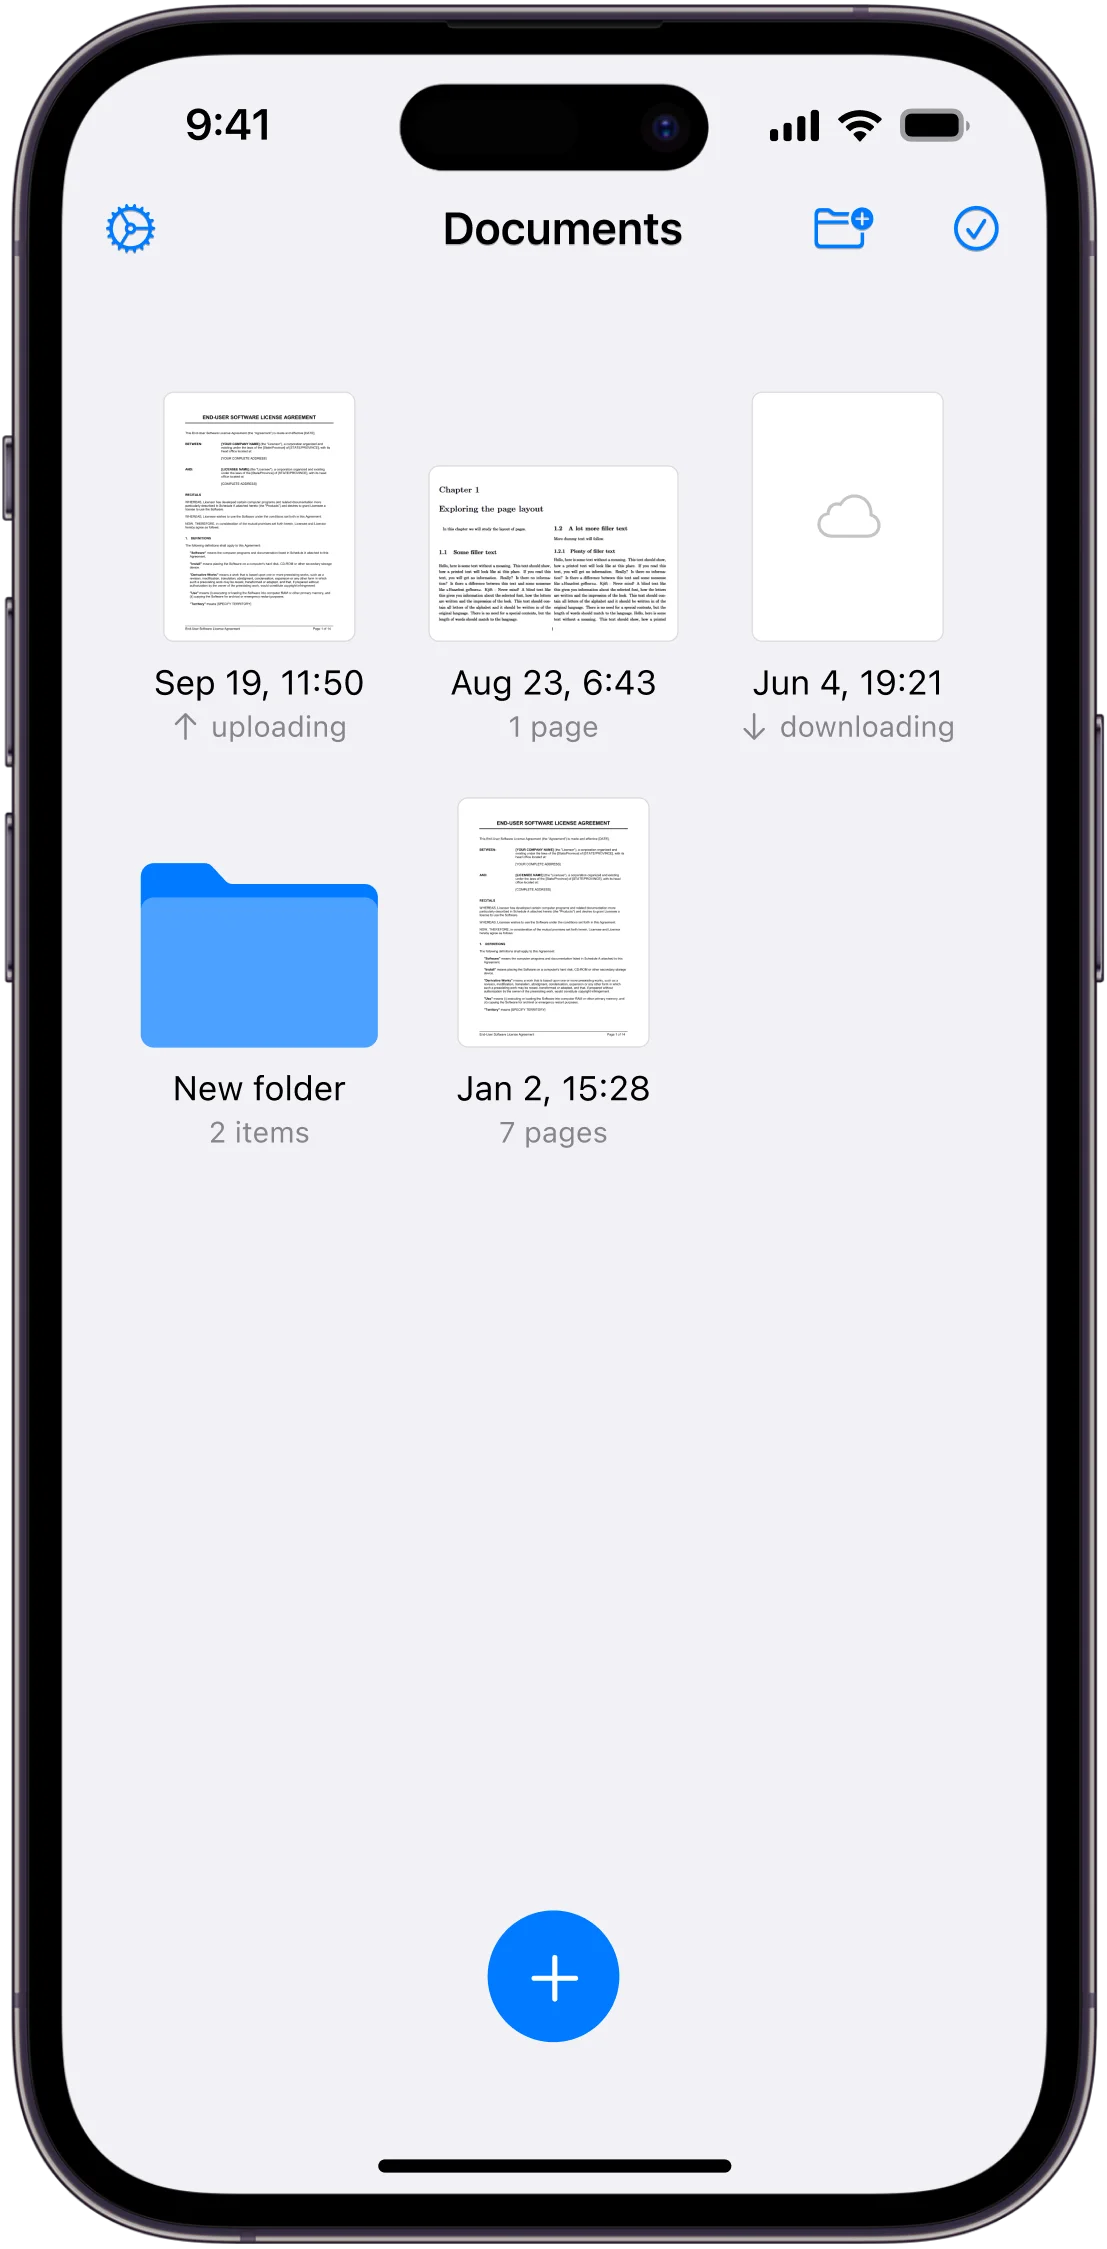
File Formats and Output Options
After scanning, Android users usually save documents as PDFs, though some apps can also export JPEG or PNG files. The format choice affects quality and file size—PDF is a standard pick for most formal or business uses because it locks the page layout and works across devices.
Here’s a quick list organized by preferred uses:
- PDF: Universal, works for anything from essays to medical forms.
- JPEG/PNG: Quick sharing, especially when image quality’s more important than text searchability. Not ideal for editing or archiving stacks of paperwork.
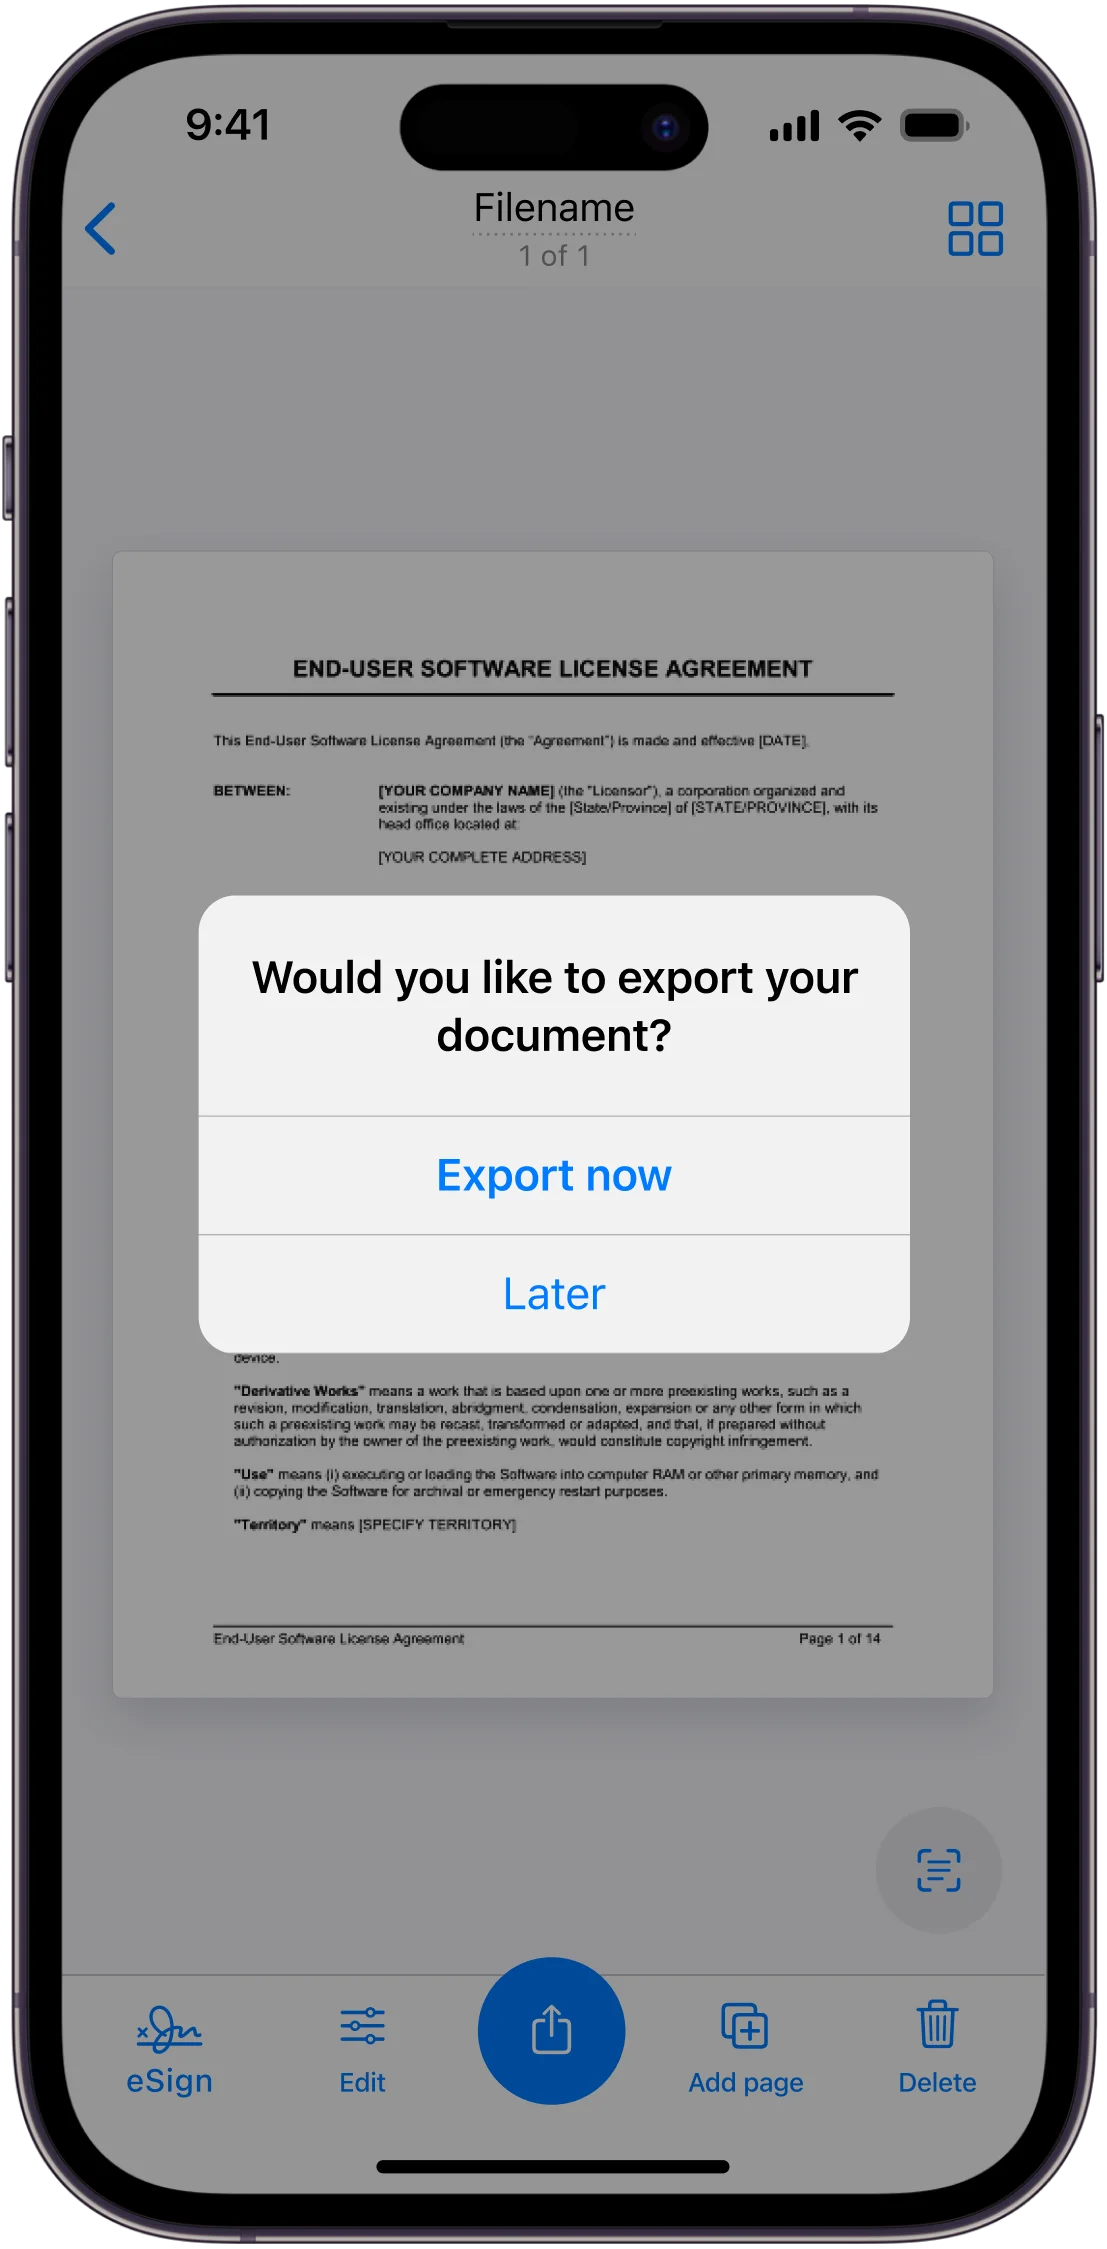
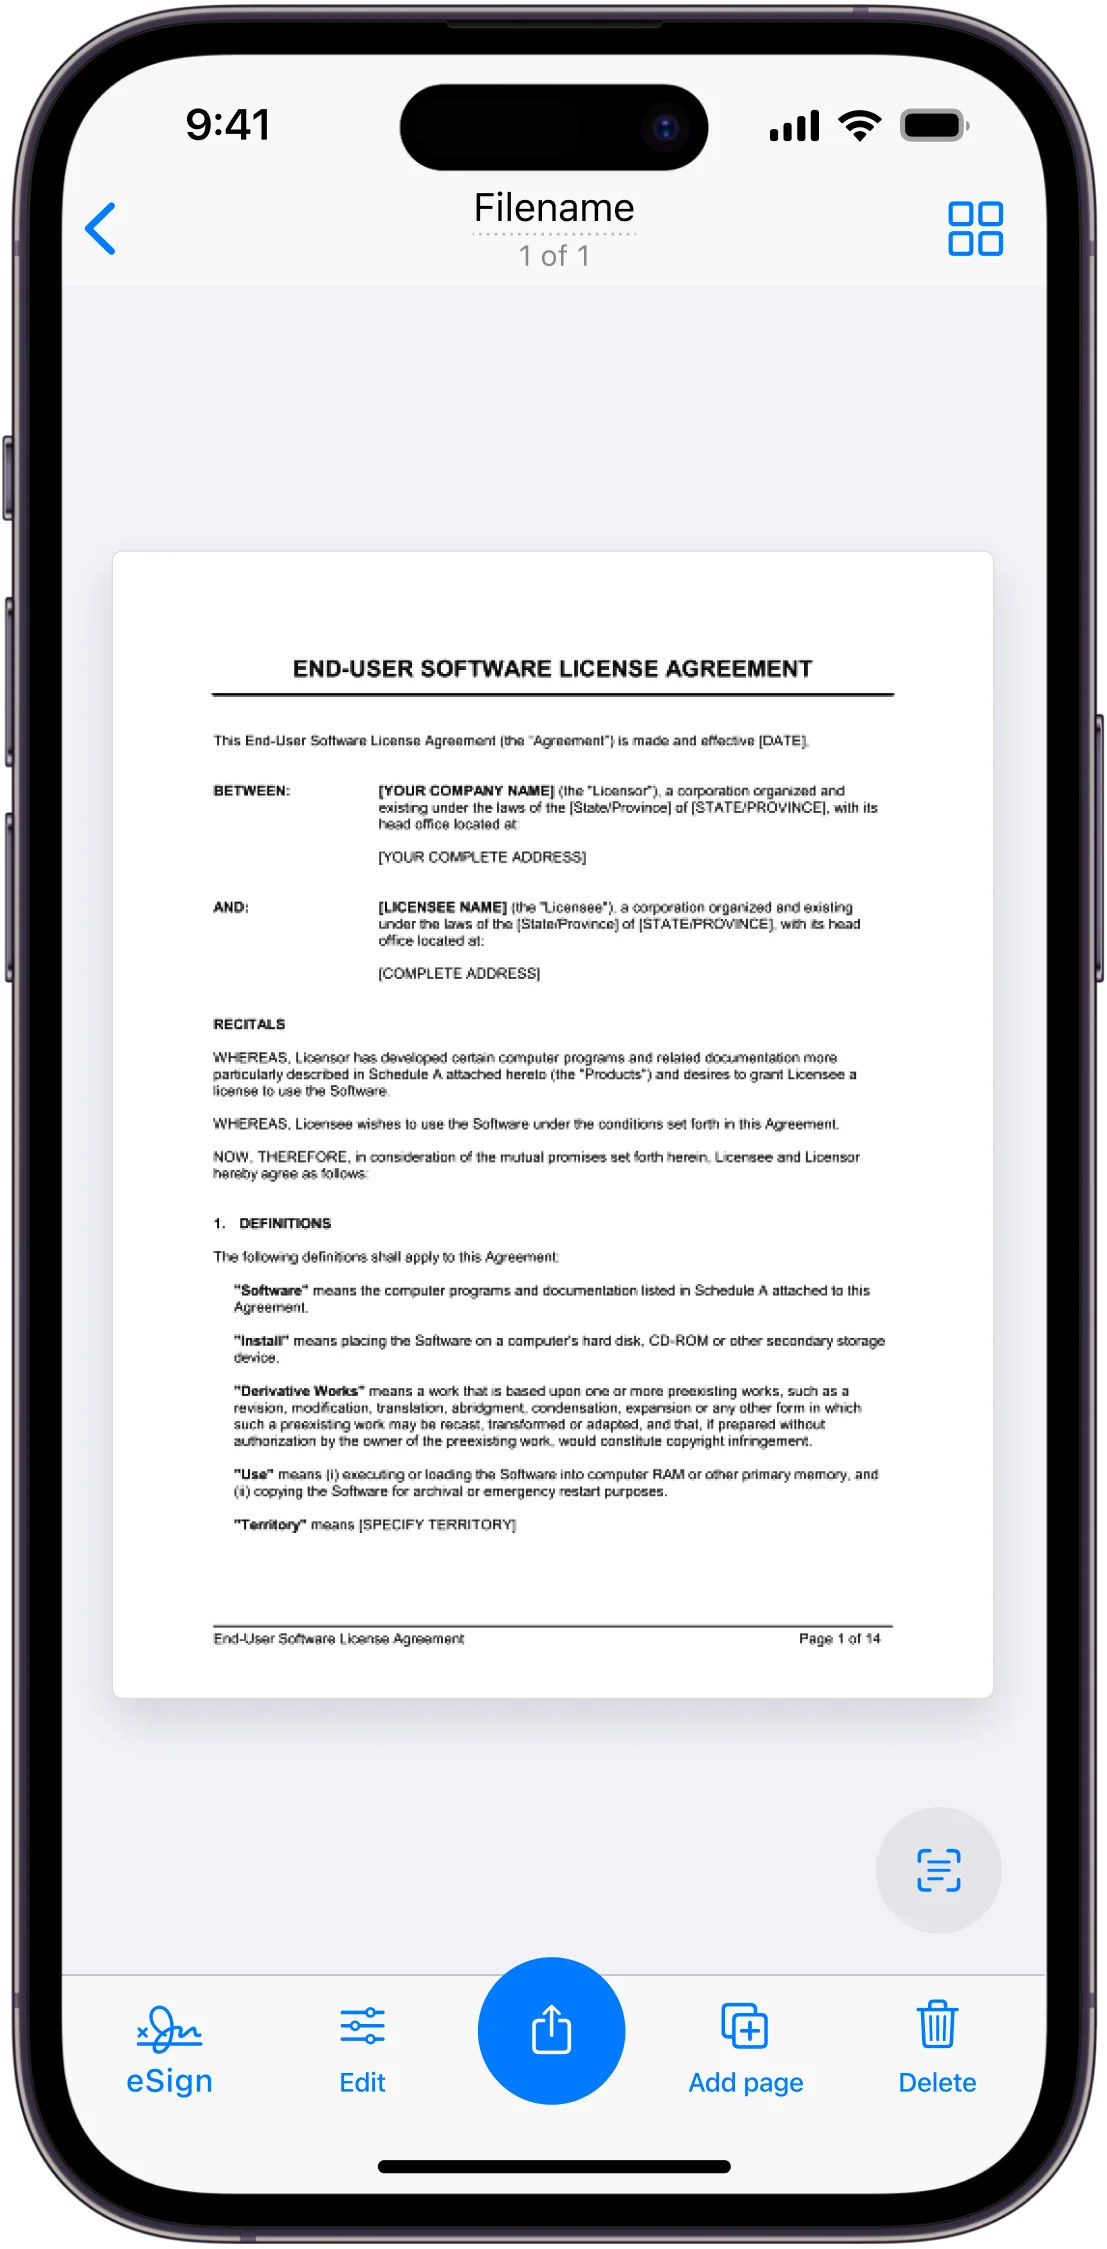
Most scanning apps on Android let users adjust resolution, page size, or even add watermarks before saving or sharing. Sending the finished PDF by email, saving it directly to Google Drive, or printing from the phone offers flexibility no matter where work happens.
Top Document Scanning Apps
Today’s Android users get to choose between many document scanning apps, each with its own strengths. Popular choices include apps that work quickly, keep documents organized, and help convert paper into digital files with very little fuss.
Scanner App by Municorn
Scanner App by Municorn delivers a simple way to turn paper into clear digital documents. It focuses on making scanning quick—just open the camera and point it at a receipt, contract, or handwritten note. The app automatically detects the document’s edges, so there’s less manual cropping and fussing with filters.
Scanner App supports multiple file formats. PDF and JPEG are the most common, with file size options to help save storage. Features like batch scanning save time by letting users scan multiple pages in a row.
Cloud integration is another convenience, letting users upload directly to Google Drive, Dropbox, or send files through email. Those who care about privacy can use password protection on individual scans.
Some users like the clean layout and the lack of overwhelming options. If you want something straightforward and efficient, Scanner App by Municorn covers the basics and then some, making it a strong everyday choice.
Overview of Adobe Scan
Adobe Scan is one of the most widely used document scanning apps on Android. Known for its clarity and precision, it’s great for scanning everything from receipts to forms. Some people think of it as the “go-to” for business documents—partly because it connects so easily with other Adobe tools.
The app automatically crops edges and adjusts colors for legibility. Scans can be saved as PDF files, and the built-in text recognition (OCR) means users can search, copy, or highlight text from almost any printed page. That’s handy for students or anyone dealing with contracts and reports.
Adobe Scan syncs with Adobe Document Cloud. The process of backing up, sharing, and collaborating fits right into office workflows. The scanning is speedy, and the controls are easy to figure out—even for first-time users.
With strong security, regular updates, and a familiar interface, it stands out for anyone who already uses Adobe’s suite or handles a lot of formal paperwork.
Exploring Microsoft Lens
Microsoft Lens (previously Office Lens) is a solid tool for people balancing work, school, and home life. It scans documents, whiteboards, and handwritten notes, turning them into PDFs, Word files, or even PowerPoint slides. The versatility makes it popular in classrooms and offices.
The scanning process is straightforward. Snap a photo, and Lens will tidy up the borders and adjust for shadows or angles. Handwriting to text conversion means diagrams and notes aren’t lost—they’re searchable and editable.
Files go straight into OneDrive or other Microsoft accounts, making collaboration and storage seamless for anyone already in that ecosystem. Practical features like business card scanning mean that contacts are quickly saved, not lost in a wallet.
Microsoft Lens is particularly useful for those who are already familiar with Office products. It creates consistency, and for many, that’s the key to staying organized day-to-day.
How to Use CamScanner
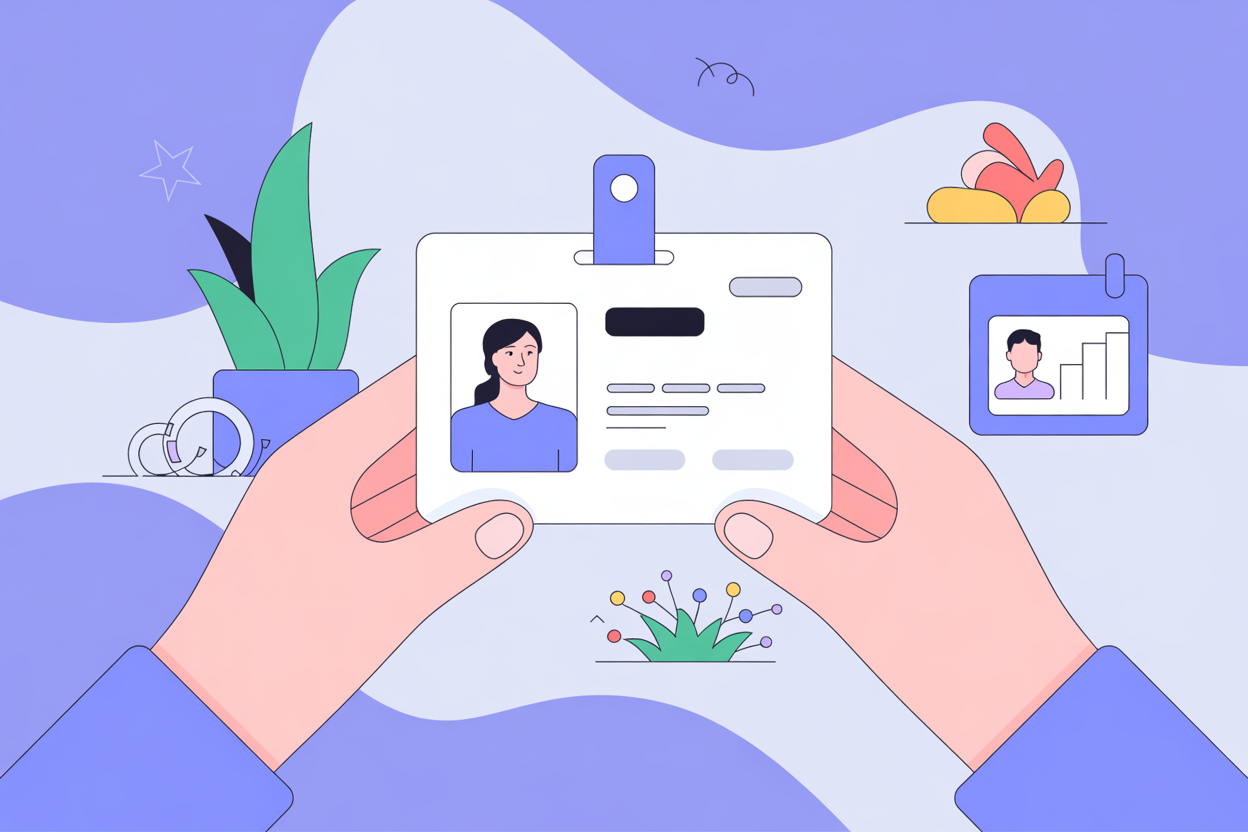
CamScanner built its reputation as one of the earliest and most recognized document scanning apps for Android. It’s known for its wide feature set, from batch scanning to image enhancement. Users can scan receipts, ID cards, meeting notes, or any paperwork they want to store or send digitally.
To scan with CamScanner, open the app, use the camera to snap a picture, and the app will detect borders automatically. Tools for cropping, enhancing sharpness, and removing background clutter help make scans more readable. It’s possible to add notes, signatures, and even stamps without needing a desktop.
Exporting files is flexible—choose PDF or JPEG, or share through email, messaging apps, or cloud platforms. For teams or families, group folders let multiple people access the same files.
While there are some ads and premium options, the free version covers the essentials. CamScanner remains a staple for people who scan documents often and want a few extra editing features at their fingertips.
Using Built-In Features to Scan Documents
Android devices often come with helpful tools that can scan documents quickly. With just a phone, users can capture receipts, handwritten notes, or even business cards—no bulky scanner needed. These features work well for personal, school, or work tasks.
Scanning Documents with Google Drive
Many Android phones already have Google Drive installed. It’s more than cloud storage—Google Drive can scan documents straight from the app. To start:
- Open the Google Drive app and tap the big “+” button in the lower corner.
- Select Scan from the menu that pops up.
- Point the phone’s camera at the document and hit the shutter.
Google Drive automatically frames the document, offers crop tools, and saves the file as a PDF. There’s an option to adjust image color and clarity if the photo looks dim or shadowy. Users can store the scan right in a Drive folder for easy sharing or future reference—handy when managing schoolwork or receipts.
Wondering about privacy? Google Drive keeps documents private unless the user chooses to share, which gives a sense of control over their files. It’s a direct, no-fuss way to scan, especially if someone already relies on Drive to organize their digital life.
Scanning on Samsung Galaxy Devices
Samsung Galaxy phones come with their own twist. Inside Samsung’s My Files or Camera app, there’s a built-in document scanning feature. Here’s the usual route:
- Open the Camera and aim at the paper.
- The phone detects the edges, sometimes with a yellow box.
- Tap Scan when it appears.
Samsung devices save the scanned page as a high-quality photo or PDF. Some versions let users annotate the file or sign it right after scanning—which can save time when paperwork gets urgent. It’s especially helpful for contracts or forms; no need for a separate scanner or extra apps.
They also have tools to straighten the scan and boost text clarity. Most people won’t need to fiddle with settings—the software handles most of the tuning. That kind of convenience sometimes gets overlooked until it’s gone, but it really can make a stressful day smoother.
Utilizing the Camera App
It sounds almost too simple, but the regular Camera app on Android can double as a document scanner. The trick is in how the photo is taken. Lay the paper flat in good light. Hold the phone steady and make sure all corners fit in the frame.
After snapping the picture, open the photo in the Gallery or Photos app. Some phones, like newer Pixels and OnePlus, have built-in editing tools. These often include:
- Crop for trimming edges
- Rotation for fixing angles
- Filters for making text stand out
While this method isn’t as smart as specialized scanning apps, it’s perfect for quick tasks or situations with limited Wi-Fi. For an extra tip, users can later upload the image to tools like Scanner App or Google Drive and convert it into a PDF. It’s old-school, but surprisingly effective in real-world situations—because sometimes, simple really is best.
Optimizing Your Scanned Documents
Creating clear, readable digital copies from paper isn’t just about taking a photo. Attention to detail—like improving image quality, tweaking with editing tools, and making text searchable—can make daily scanning tasks easier and less frustrating.
Enhancing Image Quality
Perfecting scan quality often feels like a guessing game, but a few small moves go a long way. Good lighting is essential—natural daylight beats overhead bulbs, and a well-lit space helps text pop. Blurry scans usually point to shaky hands or a dirty lens, so it’s smart to wipe the camera lens before starting.
Positioning matters, too: holding the phone flat above a document avoids weird angles and stray shadows. Many scanning apps (including Scanner App, CamScanner, Adobe Scan, and iScanner) have auto-crop features that identify edges for you. That’s one less thing to worry about.
When it comes to file formats, saving in PDF usually keeps things easy to share and print. Selecting high resolution in the app’s settings maintains details, making the scan look more professional. It’s worth experimenting—sometimes, a simple setting delivers a huge upgrade in image sharpness.
Using Editing Tools
It’s easy to overlook the power of built-in tools, but they make a big difference. Most scanning apps let users adjust brightness and contrast, erase wrinkles or shadows, and straighten crooked scans. Dragging sliders back and forth can clean up even the roughest document.
A quick crop removes messy backgrounds or hands caught in the frame. Need to merge a stack of receipts into one file? Apps let users combine multiple scans into a tidy, single PDF. Undo or redo buttons bring a little peace of mind when things don’t go as planned.
Some editing tools offer a “magic color” filter—great for faded forms or receipts that seem impossible to read. Annotating or highlighting sections is handy if the scan’s meant for sharing or a quick signature. Everything’s in one place, just a few taps away.
Applying Optical Character Recognition (OCR)
OCR almost feels like magic for anyone who scans lots of text-heavy pages. Instead of leaving content stuck in an image, OCR converts scanned words into searchable, editable text. That means you’ll never scroll endlessly through files looking for a name or date; just search and find instantly.
This feature is especially useful when dealing with receipts, business cards, or notes where quick copy-paste is a lifesaver. Many reliable apps, like Scanner App or Adobe Scan, include text recognition that works in multiple languages and even on older documents—though results may vary if the page is crumpled or handwriting is rough.
Once a document’s processed with OCR, users can export it as a searchable PDF or text file. This not only makes storage tidier but also boosts accessibility, since screen readers can go through recognized text more easily. It’s a tiny step, but one that genuinely saves time and headaches down the road.