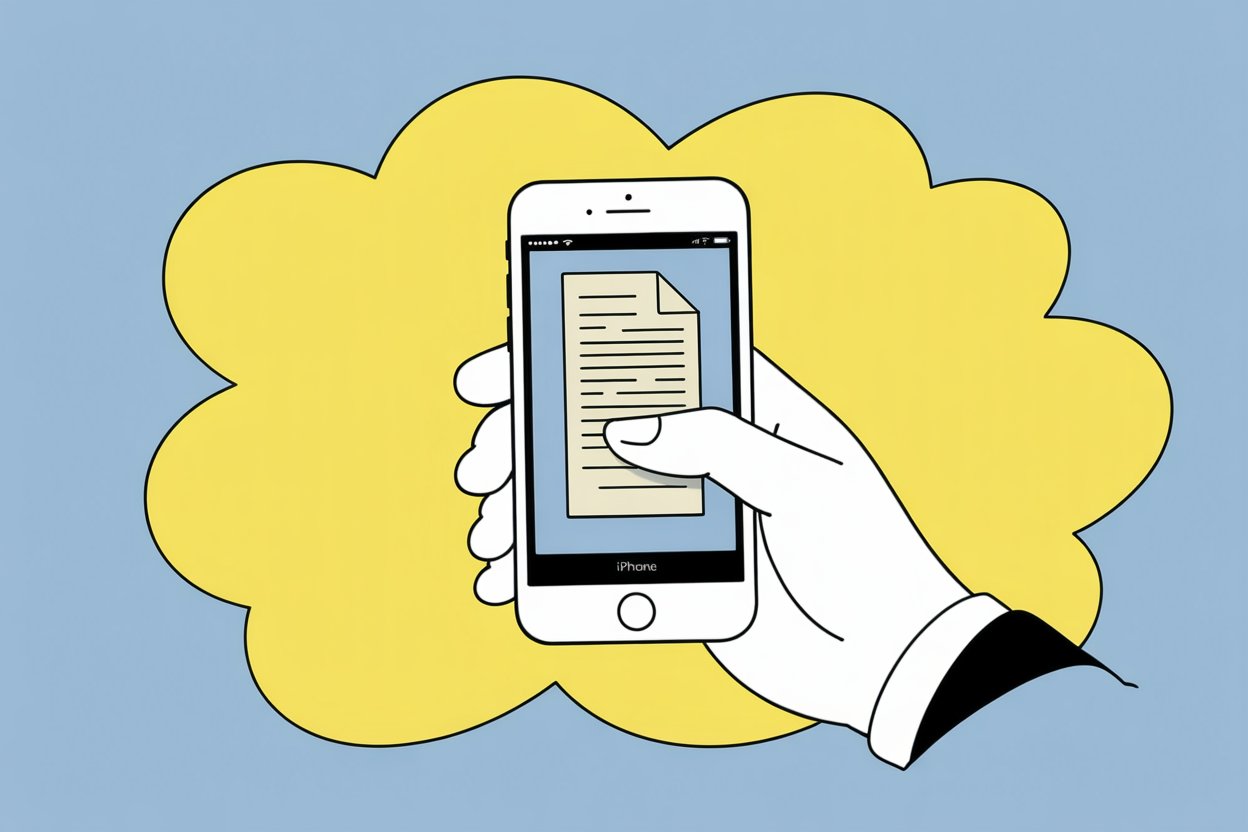
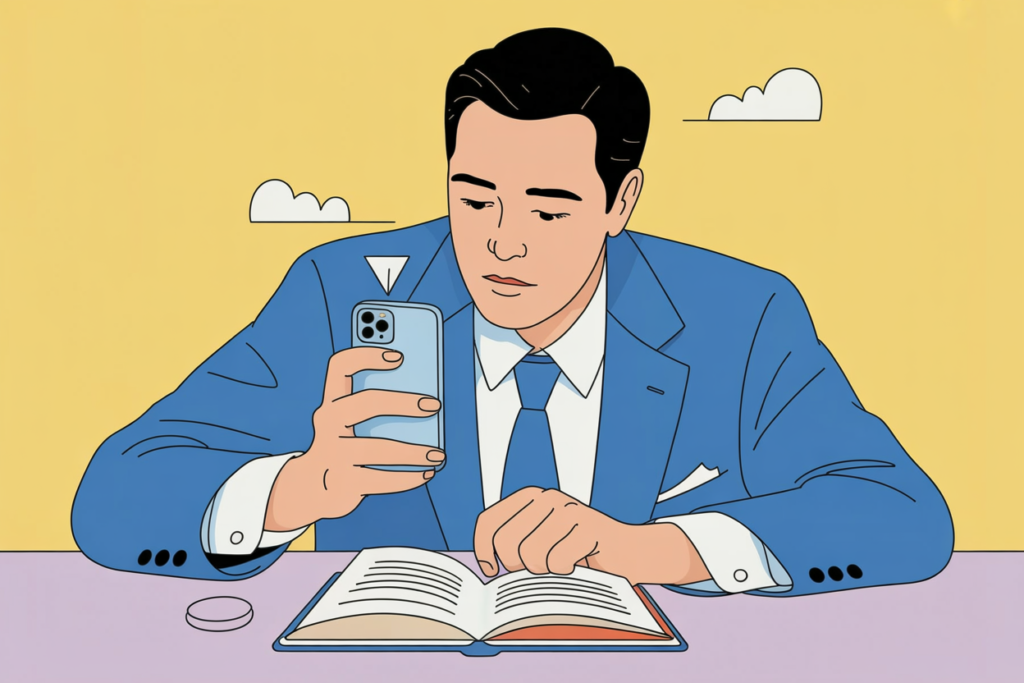
Scanning a PDF with an iPhone has never been easier—or faster. Anyone can point their iPhone camera at a document, tap a button, and save it instantly as a PDF, all with just a few quick taps. With built-in tools and user-friendly apps like Scanner App, turning paper into digital files fits right into a daily routine, no tech guru required.
But why stop at just scanning? There’s a whole world inside these apps—cleaning up blurry shots, organizing receipts, sharing meeting notes with teammates, or sending homework to teachers with the clean look of a real PDF. It’s a small change in workflow that can actually save time, reduce clutter, and keep important paperwork from vanishing in a messy desk drawer.
Maybe they’re a student who needs to submit homework, or someone at work who wants to digitize piles of invoices (who doesn’t have that one never-ending pile?). The iPhone can take care of all that now. Isn’t it wild how something as simple as a phone has become a desktop scanner, right in your pocket?
Getting Started: Requirements and Setup
Scanning a PDF with an iPhone or iPad is pretty straightforward—if you’ve got the right device, a solid app, and your document prepped. Smooth results depend not just on technology but also on how you set up your space before tapping that camera button.
Supported iPhone and iPad Models
Not every iPhone or iPad handles PDF scanning equally. Generally, any iPhone or iPad running iOS 13 or later will support modern scanning tools, including handy features inside the Notes app and Files app. Older models, while sometimes capable, might miss out on software updates or camera quality that really elevates document captures.
Here’s a quick rundown:
| Minimum iOS Version | Supported Devices |
|---|---|
| iOS 13 and up | iPhone SE (1st gen) or newer |
| iPhone 6s/6s Plus and newer | |
| iPad (5th gen) or newer | |
| iPad mini 4 and newer | |
| iPad Air 2 and newer |
Honestly, even budget models released in the last five years handle scans just fine. But for crystal-clear PDFs, newer iPhones—from the XR onward—pretty much always win thanks to sharper cameras and faster processors. So, double-check your device version; nobody wants fuzzy receipts.
Essential Apps for Scanning
Most people reach for Apple’s built-in Notes app or Files app when scanning to PDF—it’s quick, reliable, and, best of all, already on the device. The Notes app can scan, crop, and save straight to a PDF file, while the Files app lets users organize and share scans in a few taps. If those aren’t cutting it, specialized scanning apps like Scanner App, CamScanner, Adobe Scan, or iScanner go further with features like automatic edge detection or text recognition (this can really help when you’re archiving receipts or forms).
For convenience, here are some key apps and features:
- Notes app: Scans multi-page documents, converts to PDF, saves or shares.
- Files app: Direct PDFs, folder management, iCloud integration.
- Scanner App and competitors: Advanced editing, cloud exports, OCR, batch scanning.
Choosing an app depends on what’s needed—a basic invoice for your taxes or a twenty-page contract with searchable text? Sometimes, a simple tap on Notes is perfect. Other times, power features make life a lot easier.
Preparing Your Document and Flat Surface
Anyone who’s tried scanning a wrinkled receipt on their lap knows the pain—flat surfaces save the day. Pick a spot with even lighting (natural sunlight is great, but an LED desk lamp works too) and make sure the document is as wrinkle-free as possible. Clear away stray pens, coffee mugs, and, yes, crumbs—background noise messes with scan quality.
A clean, light backdrop helps the iPhone or iPad camera find the document edges. White tables work best, but a pale wooden desk gets the job done. Smooth out corners and press pages flat with a book or your palm. You know what? Even a little shadow from your hand can make the page look warped in the scan, so keep hands steady or set the phone down if possible.
Before scanning, give the lens a quick wipe (a shirt hem does wonders in a pinch). Align your camera directly above the document, center it in the frame, and use auto mode if the app supports it. Good prep means fewer re-scans—nobody wants to redo that finicky utility bill twice.
Scanning Documents with the Notes App
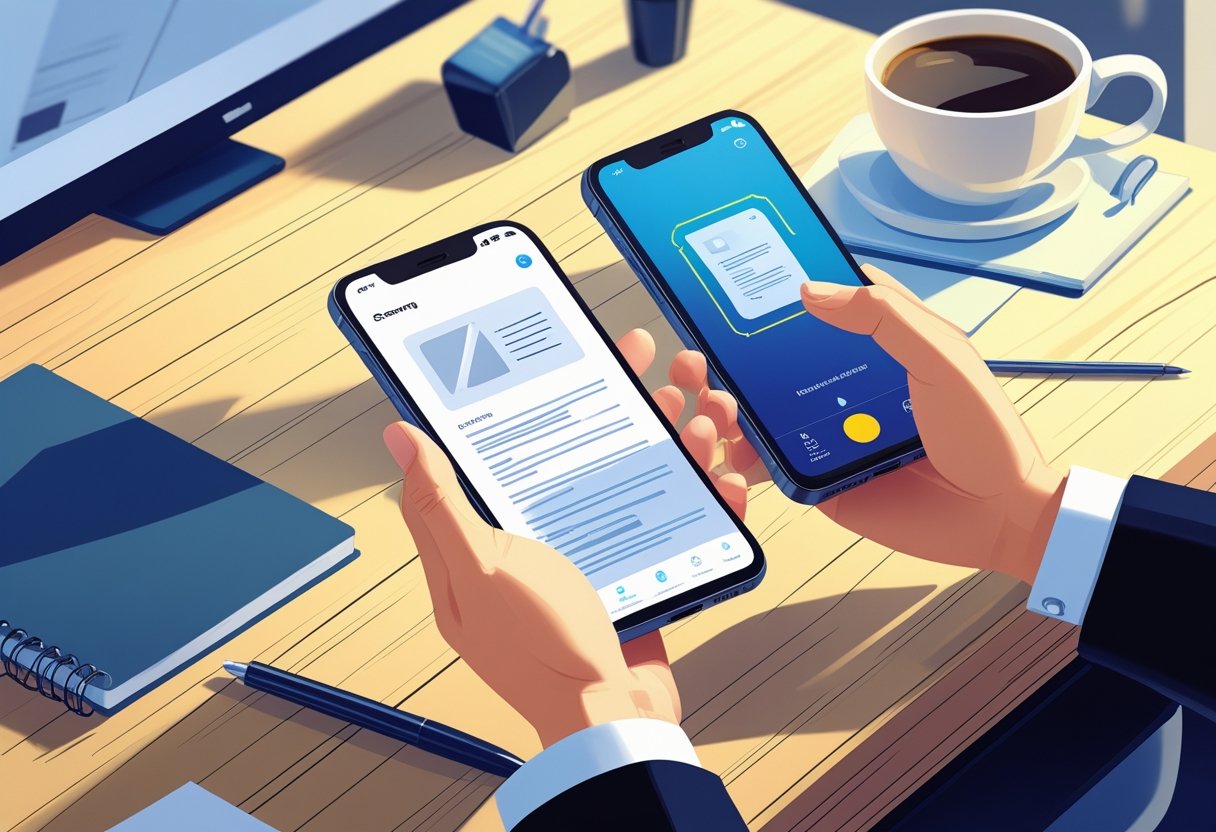
Scanning a PDF on an iPhone using the Notes app is both practical and simple. Anyone can quickly scan documents, crop and adjust pages, and save a neat PDF file—no fancy tricks needed.
Launching the Notes App and Creating a New Note
First things first—locate the Notes app on the home screen. If it’s hidden, swipe down and search for “Notes.” Tap it, and once inside, you’ll notice a small square with a pencil—this button starts a new note.
People often make a mistake here and start typing. Don’t. Just tap that new note icon and get ready. The blank note opens. Now everything is set up and waiting for the next step.
On newer iPhones, the app feels lightning-fast, but old devices can hang for a second. Don’t worry, that’s normal. If you use iCloud, your notes will sync everywhere—perfect for multi-device folks. Now, get your document ready. It could be a bill, a report, a receipt, or even a favorite drawing worth saving.
Accessing the Scan Documents Feature
Inside the new note, look above the keyboard or at the bottom menu. There’s a small camera icon—tap it. Three options pop up, but “Scan Documents” is what counts here.
When you hit it, the camera opens and a yellow box will outline what it thinks is a document. You might hear a soft click if auto mode works its magic. But if the lighting’s tricky or the paper has folds, tap the shutter button (that big white circle)—manual always works. The easiest way? Lay the paper flat on a contrasting surface. Dark tables are perfect for white sheets. If you’re trying to scan unusual-sized receipts or wrinkly notes, sometimes the app misses the edges—don’t fret, adjustments are coming soon.
Pro tip: If the camera struggles, move to brighter light or tap the flash icon for extra brightness. For multiple pages, just keep scanning—Notes strings them together without hassle.
Capturing a Scan Using the Camera and Shutter Button
Now, let’s talk snapping the perfect scan. Hold the iPhone steady—no one likes a blurry PDF. It helps to rest your elbows on the table or hold the phone with two hands.
If auto-capture doesn’t get it just right, tap the shutter button yourself. This gives you more control, especially with odd-sized or colorful pages. Don’t like the result? Hit the retake button to try again. Each time you snap, a thumbnail pops up in the corner, so you know what’s saved.
You can scan a few pages—like a contract, receipts, or even your kid’s doodle masterpiece—and Notes keeps each one as a separate page in the same file. Hit “Save” once you’re done. All pages group together as, you guessed it, a complete PDF file, perfect for sharing or emailing.
Cropping and Adjusting Your Scan
After the scan, a preview pops up with bright blue circles at the corners. Drag these to match the document edges. It’s like straightening out a photograph in a picture frame—move each point until everything fits snugly.
There are options at the bottom too. You can change the filter to make your scan look more like a crisp black-and-white document, or keep it full color—ideal for receipts or artwork. Rotate with a tap of the rotate icon if your scan’s sideways. Cropping is forgiving, so don’t stress about precision right away—the Notes app lets you go back and fix things if you missed a corner.
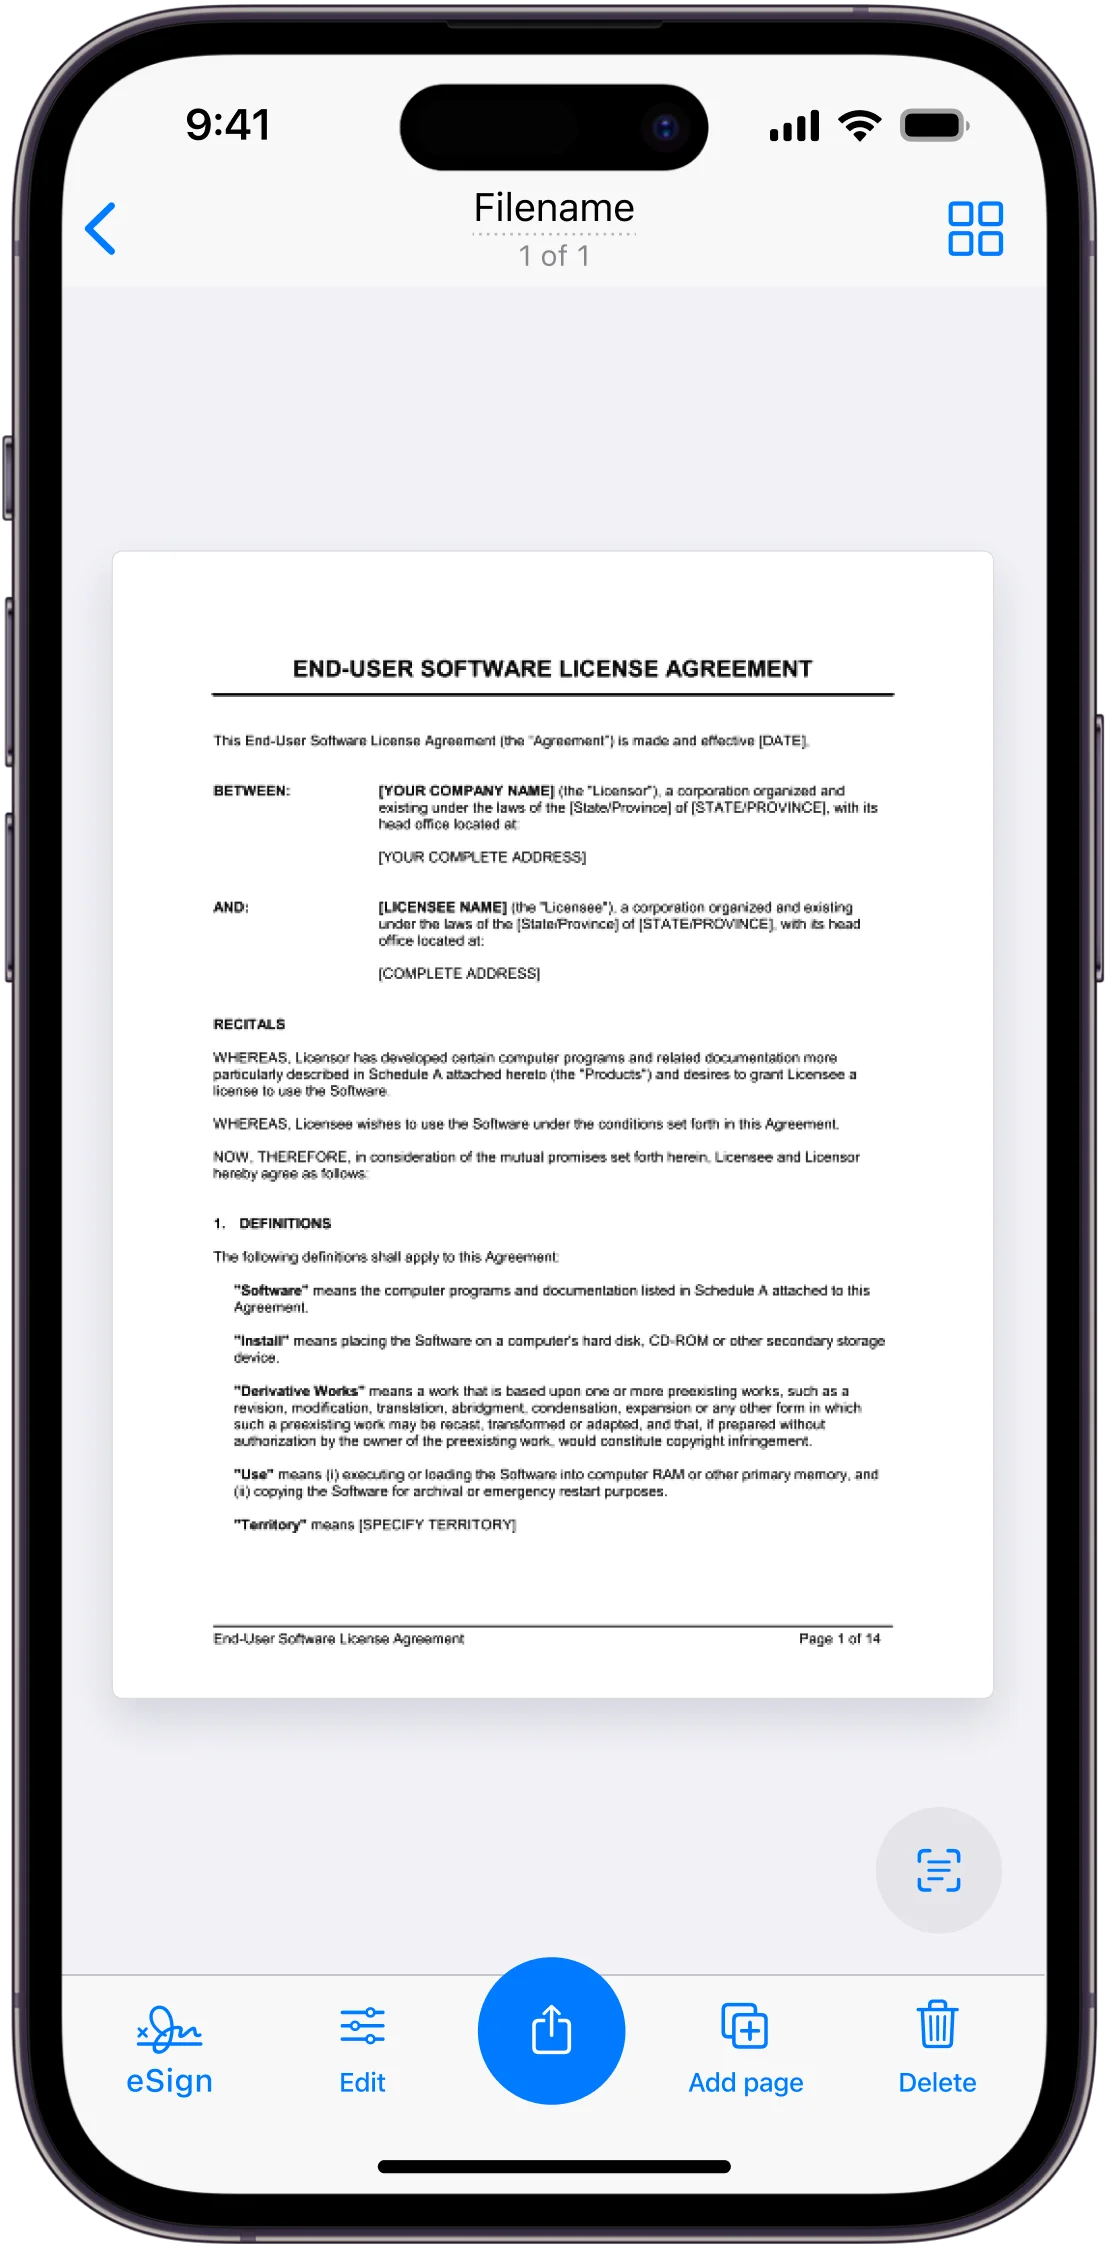
When satisfied, tap “Done.” The scan gets saved as a PDF file right inside your note. From here, you can mark up, sign, or share the PDF in seconds. This might just make you wonder why old scanners are still lying around gathering dust.
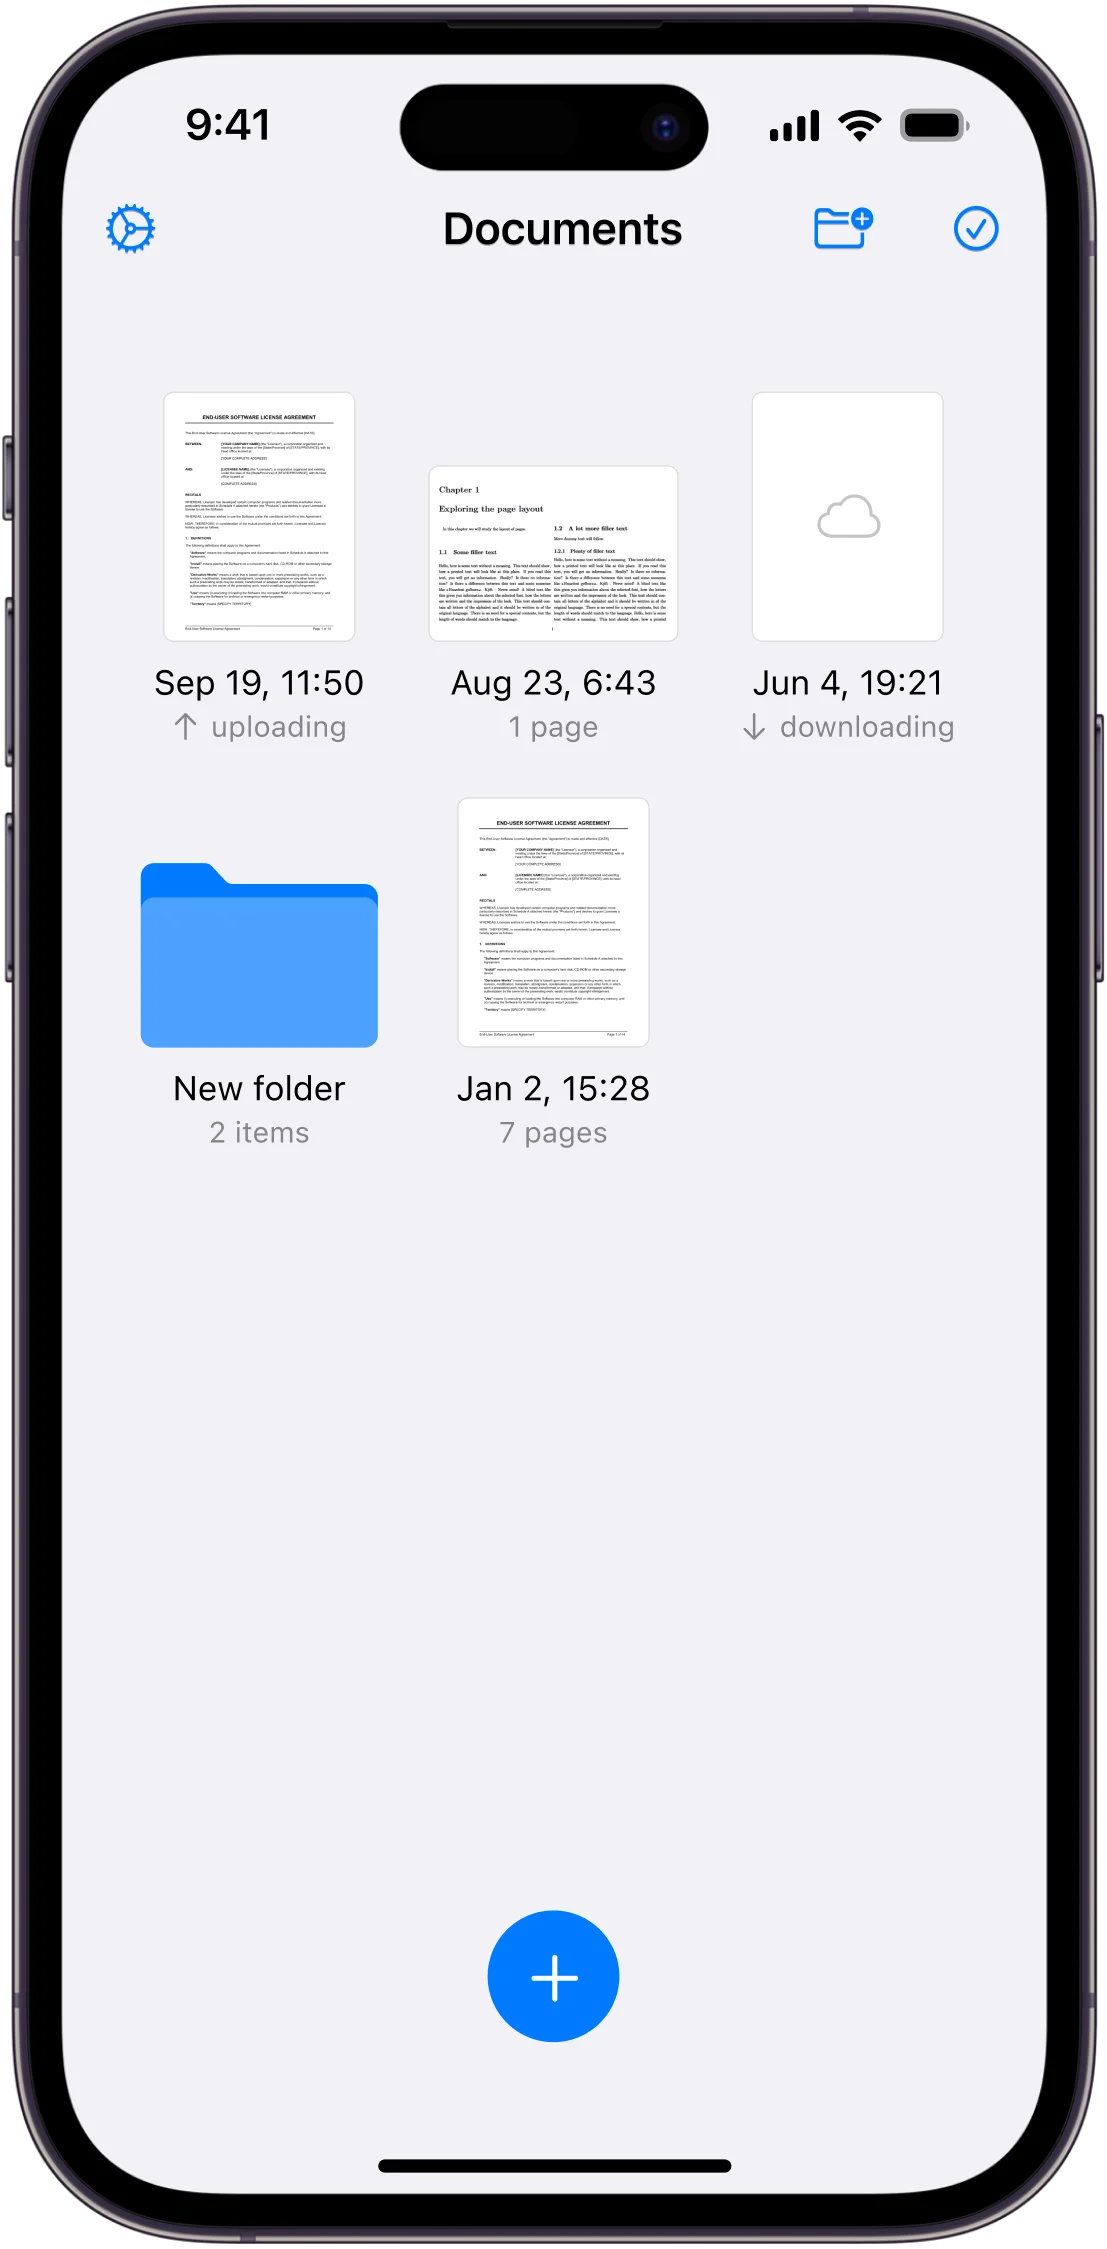
Saving, Managing, and Sharing Scanned PDFs
Taking control of scanned PDFs doesn’t have to be complicated. With just a few steps, anyone can save, organize, and share documents straight from their iPhone, whether it’s a quick photo of homework or a stack of essential receipts.
Saving Scans as PDF Files
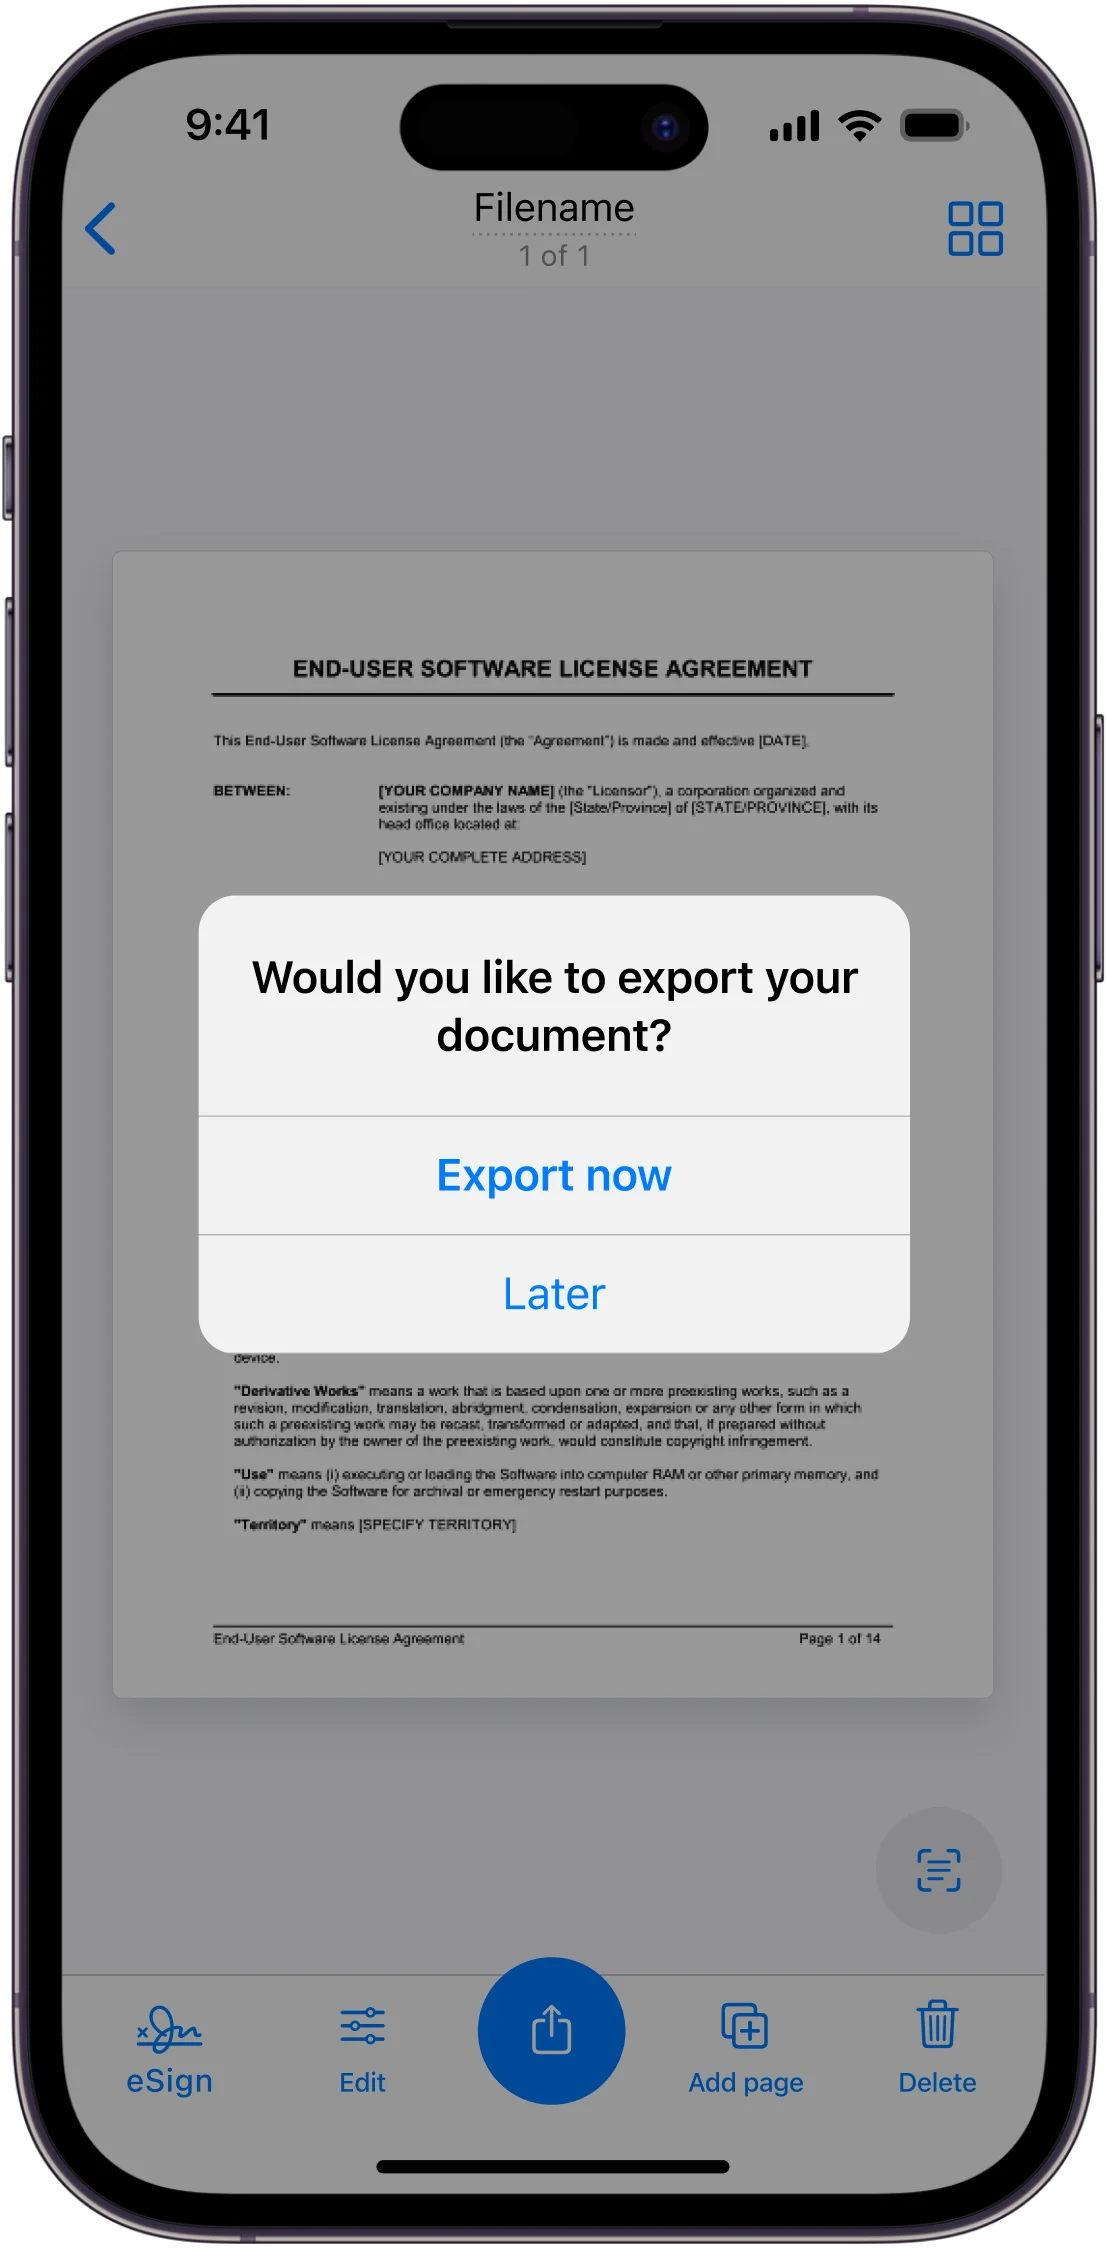
Once the document is scanned, most scanning apps and the built-in Notes app let users save the file directly as a PDF. After reviewing the scan and making edits like cropping or adjusting color, users tap the share or save icon.
Typically, a prompt appears allowing selection of the “Save as PDF” option. This takes just a second. For those using the Scanner App, there’s often an option to choose between PDF and JPEG formats, so the right file type is never out of reach.
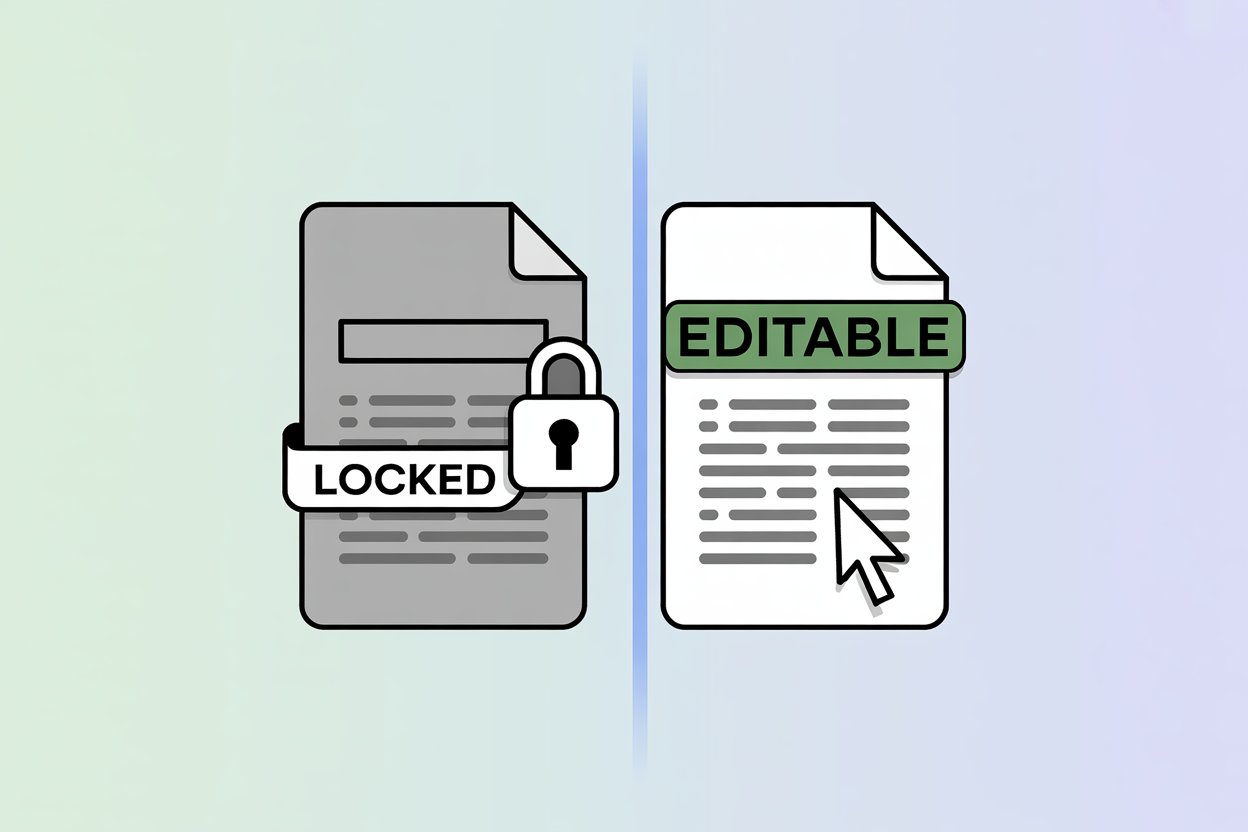
Saving as a PDF is ideal—PDFs keep documents looking the same across devices, and text can easily be copied or searched with OCR (Optical Character Recognition). After saving, the document appears in the chosen location, ready to be renamed or organized.
Sometimes, a scanned document may have multiple pages. Many apps, including Notes and Scanner App, automatically bundle these into a single PDF, so those big projects don’t end up messy.
Renaming and Organizing Scanned Files
Nobody wants to play hide-and-seek with important documents. That’s where naming scans clearly comes in handy—imagine trying to find “IMG_2334” versus “Signed Lease June 2025.” It’s an obvious win for clarity.
The Scanner App and Files app on iPhone make renaming simple. Just tap and hold the scanned file, pick “Rename,” and enter something specific. Keeping a consistent pattern such as “Date – Document Type” (like “2025-06-29 – School Report”) really helps when searching for files later.
Organization doesn’t stop with names. Folders work wonders for managing projects, bills, or anything else that piles up. Users can tap the “New Folder” button in the Files app, group PDFs together, and drag files where they belong. Some apps allow color labels or tags for extra flair.
Taking a minute to organize right away can save a lot of time and frustration on hectic mornings. Plus, with everything tidy, sharing or searching later feels less like a chore.
Sharing via Email, Messages, and Other Apps
So, the scan is done—what’s next? Maybe it needs to go to a colleague, a teacher, or just back to a forgetful sibling. Sharing is where iPhone scanning shines. With a PDF open, tap the share icon (it’s the little box with an arrow) and a menu of choices pops up.
Email? Tap the Mail app, and it attaches the PDF automatically—no fuss. Need to send with Messages or WhatsApp? Just select the app, pick a contact, and hit send. Many scanning apps—even the built-in Notes—let users “Send a Copy” or “Share as PDF” directly.
If another app is needed—like Slack, Teams, or even social media—it’s often right there on the share list. The beauty of PDFs, after all, is that they hold up on just about any platform. Quick tip: Double-check if the PDF file’s too large for a single email, though most scans are small enough to send anywhere.
Uploading to Google Drive and Files App
Sometimes, PDFs need a safe home—one that doesn’t live just on a single device. That’s where Google Drive and the Files app are real lifesavers. Uploading scanned PDFs ensures access from laptops, other phones, or tablets later.
After scanning, tap the share icon and look for the Google Drive logo. Selecting it will prompt the user to pick a folder, set the file name, and upload—usually in seconds. Over in the Files app, dragging a PDF into any folder or subfolder makes organization a breeze, and files stored here can sync via iCloud.
For those juggling school, work, or family paperwork, these backup options mean never losing a document—even if a phone goes missing. And since both apps support sharing links, it’s easy to let others access the file directly from the cloud without clogging up inboxes. Fast, flexible, and worry-free—exactly what digital organization should be.
Advanced Features and Editing Tools
Scanning a PDF with an iPhone has become quicker and less stressful, but that’s hardly where it ends. Modern scanning apps add plenty of other tools, making it simple to get organized, tidy up pages, and even add notations or signatures—all right from your palm.
Adding Additional Scans to a PDF
Sometimes a single page just isn’t enough. Users often need to combine receipts, add new pages to class notes, or keep a running file of project sketches. Most quality scanning apps, like Scanner App, make adding extra scans to a PDF feel effortless.
After capturing the initial scan, look for an option labeled something like Add Page or Keep Scan. This lets you snap as many extra pages as needed, back-to-back, then reorder them with a quick drag-and-drop. Need to fix a blurry shot or swap a page’s position? Those tools are built in too.
The real plus here is that everything stays tidy in one file—no messy lists of separate PDFs. Shopping lists, homework packets, or meeting notes all live together, making life just a bit easier. It really helps when trying to track down a specific page later.
Using Markup to Annotate Documents
Once the scan is saved, editing isn’t out of reach—there’s plenty more you can do. Markup tools make it a snap to jot notes, circle key items, or highlight text that stands out. Forget re-scanning just to add a sticky note.
With a quick tap on the Markup or Edit icon, users can sketch freehand, underline points, or drop in arrows using their finger or a stylus. There are color and pen style options—so highlighting in yellow? Sure thing. Drawing a box around an error? It’s quick, too.
Teachers marking assignments, professionals sending drafts, or students teaming up for group projects—anyone can leave a comment, even on the go. So instead of playing email tag to clarify changes, just mark it up and send the PDF straight back.
Inserting Signatures and Managing Them
Signing a PDF on an iPhone? It’s become almost routine. Signing forms, contracts, or school papers used to mean printing—and then scanning all over again. Now, with Scanner App and similar tools, users can create, insert, and manage signatures right within their digital documents.
Here’s how it works: tap the Signature button (sometimes found under Markup), and either scribble a signature with your finger or import a saved version. Many scanning apps allow storing multiple signatures, which is surprisingly handy for families or work teams sharing a device.
Adjustment tools help tweak size and placement, so that digital signature doesn’t stick out awkwardly. There’s even an option to manage saved signatures—delete old ones, name them for different purposes, or add new styles as they’re needed. Sending the document? Just tap to insert the signature, save, and share the signed PDF without ever touching a printer.
Tips for Optimizing Your Scans
Scanning a PDF with an iPhone can be quick and easy, but simple adjustments can make a big difference in quality, file size, and how you use the files later. Choosing the right settings and organizing scans the smart way saves both time and storage.
Improving Scan Quality and File Size
Getting a clear scan isn’t just about snapping a photo—it’s about the little details. Lighting matters most. Scanning on a sunny kitchen counter or under a reading lamp helps avoid weird shadows and blurry blobs. Holding the phone steady cuts down on distortion. Some use a stack of books for support or even snag a quick shot with friends holding the edges flat—teamwork!
The Scanner App (plus similar apps like CamScanner or iScanner) usually offer automatic edge detection, but it’s worth double-checking the corners don’t crop off a signature or number. Choosing a clean, contrasting backdrop (a white desk under dark text, for example) helps the app pick up edges.
About file size—scanning in color usually produces bigger files, while black & white or grayscale PDFs are much smaller and still readable for things like forms or notes. Adjusting image resolution saves space. For archiving, medium DPI (dots per inch) balances sharpness and file size—think of it as not overstuffing your phone with huge files for a quick grocery receipt. When scanning photos, sticking with JPEG offers higher detail, but for standard docs, PDF is the way to go.
Quick Points:
- Good lighting = better quality
- Dark text on a light background helps edge detection
- Lower resolution shrinks file size
- PDF for multi-page docs, JPEG for single images
Converting and Exporting File Formats
Sometimes, it’s not just about getting a scan, but getting the right type of file. Maybe a school office wants a PDF, but your art teacher just needs a JPEG. Most scanning apps—including Scanner App—let users pick between PDF and JPEG formats before saving or sharing.
PDFs are perfect for multi-page documents—think contracts, homework packets, or legal forms. They preserve formatting and combine dozens of pages into one file. JPEGs suit single images, like a signed permission slip or snapshot of a poster.
Exporting is easy. A quick tap usually pulls up sharing options for email, text, or cloud storage—Google Drive, Dropbox, and even AirDrop all work smoothly. Saving to the Files app on an iPhone lets users organize scans in folders or sync them to iCloud for peace of mind.
When sending files, consider who needs access. PDF is often best for printing or archiving, but some social apps—or finicky printers—prefer JPEG. If file size is an issue (especially for email attachments), the app often gives the option to compress files before sending, trimming megabytes without losing too much clarity.
Accessing Scans on Mac and Preview
For many, the real magic happens when an iPhone and Mac work together. With features like Continuity Camera, users can scan a document on their iPhone, then watch it appear instantly in apps like Preview or Notes on their Mac—no emailing or bugging themselves with AirDrop. It feels almost like a magic trick (or at least a handy shortcut during a busy day).
The Files app on iPhone syncs with iCloud, so scans saved there show up automatically on a Mac. Preview (the default photo and PDF viewer on Mac) lets users open, annotate, sign, or even merge scanned PDFs together without extra software.
This seamless integration means work started on a phone can easily finish on a computer. Think of scanning a permission slip at breakfast, then editing or submitting it after logging into a Mac at the library later. Searching for scanned PDFs by name or date is quick, avoiding the messy photo library chaos. All in all, it’s a workflow that saves stress and keeps things tidy—something most people can appreciate, right?